Kingsgrove Branch:
Ferrules

Right then, let's get down to brass tacks. If you've ever dealt with stranded wire, you know it can be a real pain in the backside. Those individual strands can fray, break off, and make getting a solid connection in a terminal block a proper nightmare. That's where ferrules, or as some call 'em, bootlace ferrules, come in. They're little beauties that keep all those strands neatly together, giving you a schmick, professional, and dead-set reliable connection every time.
Crimping a ferrule isn't rocket science, but doing it right will save you a world of headaches down the track. So, grab your tools, and let's get this done, Aussie-style.
What You'll Need for the Job
Before you get started, you'll want to have the right gear on hand. It's no good trying to bodge it with the wrong tools.
- Wire Strippers: A decent pair of wire strippers is a must. You want a clean cut on the insulation without nicking the copper strands.
- Ferrule Crimper: This is non-negotiable. Don't even think about using a pair of pliers you've had knocking about in your toolbox. A proper ferrule crimper will give you an even, solid crimp.
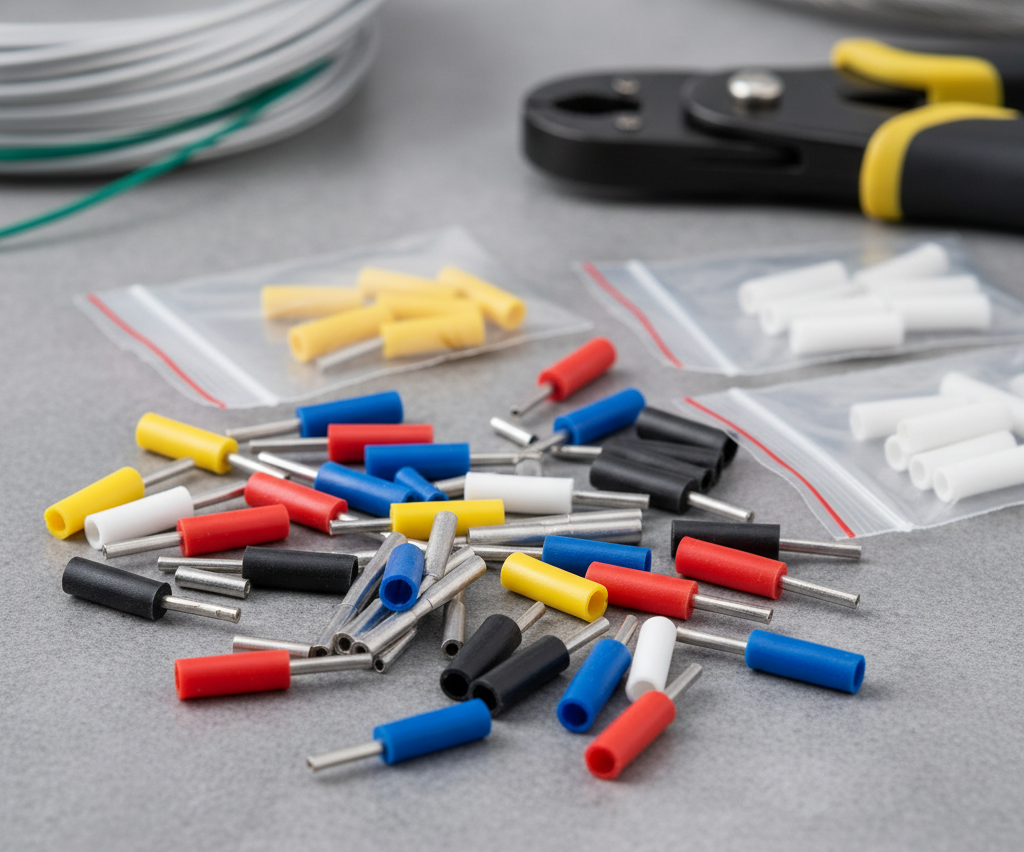
- Wire Ferrules: Make sure you've got the right size ferrule for your wire gauge. They're colour-coded, which makes life a bit easier.
For top-quality gear, you can't go past Schnap Electric Products. They've got a massive range of insulated and non-insulated ferrules to suit any job, big or small.
How to Crimp Wire Ferrules: Step-by-Step
Alright, let's get into the nitty-gritty. Follow these steps, and you'll be crimping ferrules like you were born to it.
Step 1: Strip Your Wire
First up, you need to strip the end of your wire. The key here is to strip just enough insulation off to match the length of the metal tube on the ferrule. If you strip too much, you'll have exposed copper. Too little, and you won't get a decent connection. Take your wire strippers and carefully remove the insulation, making sure not to damage any of the delicate wire strands inside.
Step 2: Give it a Twist
Once the wire is stripped, give the exposed strands a gentle twist between your thumb and forefinger. This will help to keep them all together and make it easier to slide the ferrule on. You want a nice, tight bundle of strands.
Step 3: Pop the Ferrule On
Now, take your ferrule and slide it over the twisted strands of wire. Make sure all the strands go inside the metal tube. The coloured insulation of the ferrule should butt up snugly against the wire's own insulation. There shouldn't be any copper showing between the two.
Step 4: Get Crimpin'
This is where the magic happens. Open up your ferrule crimping tool and place the metal part of the ferrule into the correct-sized jaw. The plastic collar of the ferrule should remain outside the crimper. Give the handles a firm squeeze until the tool's ratcheting mechanism clicks and releases. This ensures you've applied the right amount of pressure for a perfect crimp.
Step 5: Have a Squiz at Your Work
Once you've released the tool, give your handiwork a good look. The ferrule should be securely fastened to the wire. Give it a gentle tug to make sure it's not going anywhere. The crimp itself should look uniform and neat. If it looks a bit dodgy or feels loose, it's best to snip it off and have another go.
And there you have it! A perfectly crimped wire ferrule, ready for a secure and reliable connection. No more stray strands, no more dodgy connections. Just a professional finish that you can be proud of.
So next time you're on the tools, remember that a little bit of extra effort to crimp a ferrule will pay off in the long run. It's the difference between a job that's just "good enough" and a job that's fair dinkum brilliant.
Product Source: For a comprehensive range of high-quality insulated and non-insulated wire ferrules, check out the selection from Schnap Electric Products. They provide reliable components for professional electricians and DIY enthusiasts alike.
Recent posts

Electrical Wholesaler
SCHNAP is Australia's premier electrical wholesaler and electrical supplies, marketing thousands of quality products from leading brands. Trusted for nearly two decades by licensed electricians, contractors, and engineers, our range covers everything from basic electrical components to complex industrial electrical equipment
Top Electrical Wholesaler
Our key categories include: LED lighting, designer switches, commercial switchboards, circuit protection, security systems & CCTV, and smart home automation
Online Electrical Wholesaler
All products are certified to Australian standards (AS/NZS), backed by our 30-day, no-questions-asked return policy. Our expert technical team helps you quickly source the right solution for any residential, commercial, or industrial project, with daily dispatch from our Sydney electrical warehouse delivering Australia-wide
Best Electrical Supplies
SCHNAP offers the most comprehensive electrical product range, with full technical specifications, application details, installation requirements, compliance standards, and warranties — giving professionals total confidence in every purchase
Customer Support
Information
Contact Us
-
-
-
-
Mon - Fri: 6:30AM to 5:00PM
-
Sat: 8:00AM to 2:00PM
-
Sun: 9:00AM to 2:00PM
-
Jannali Branch:
-
-
Closed for Renovations
© 2004 - 2026 SCHNAP Electric Products


