
Kingsgrove Branch:
![]()

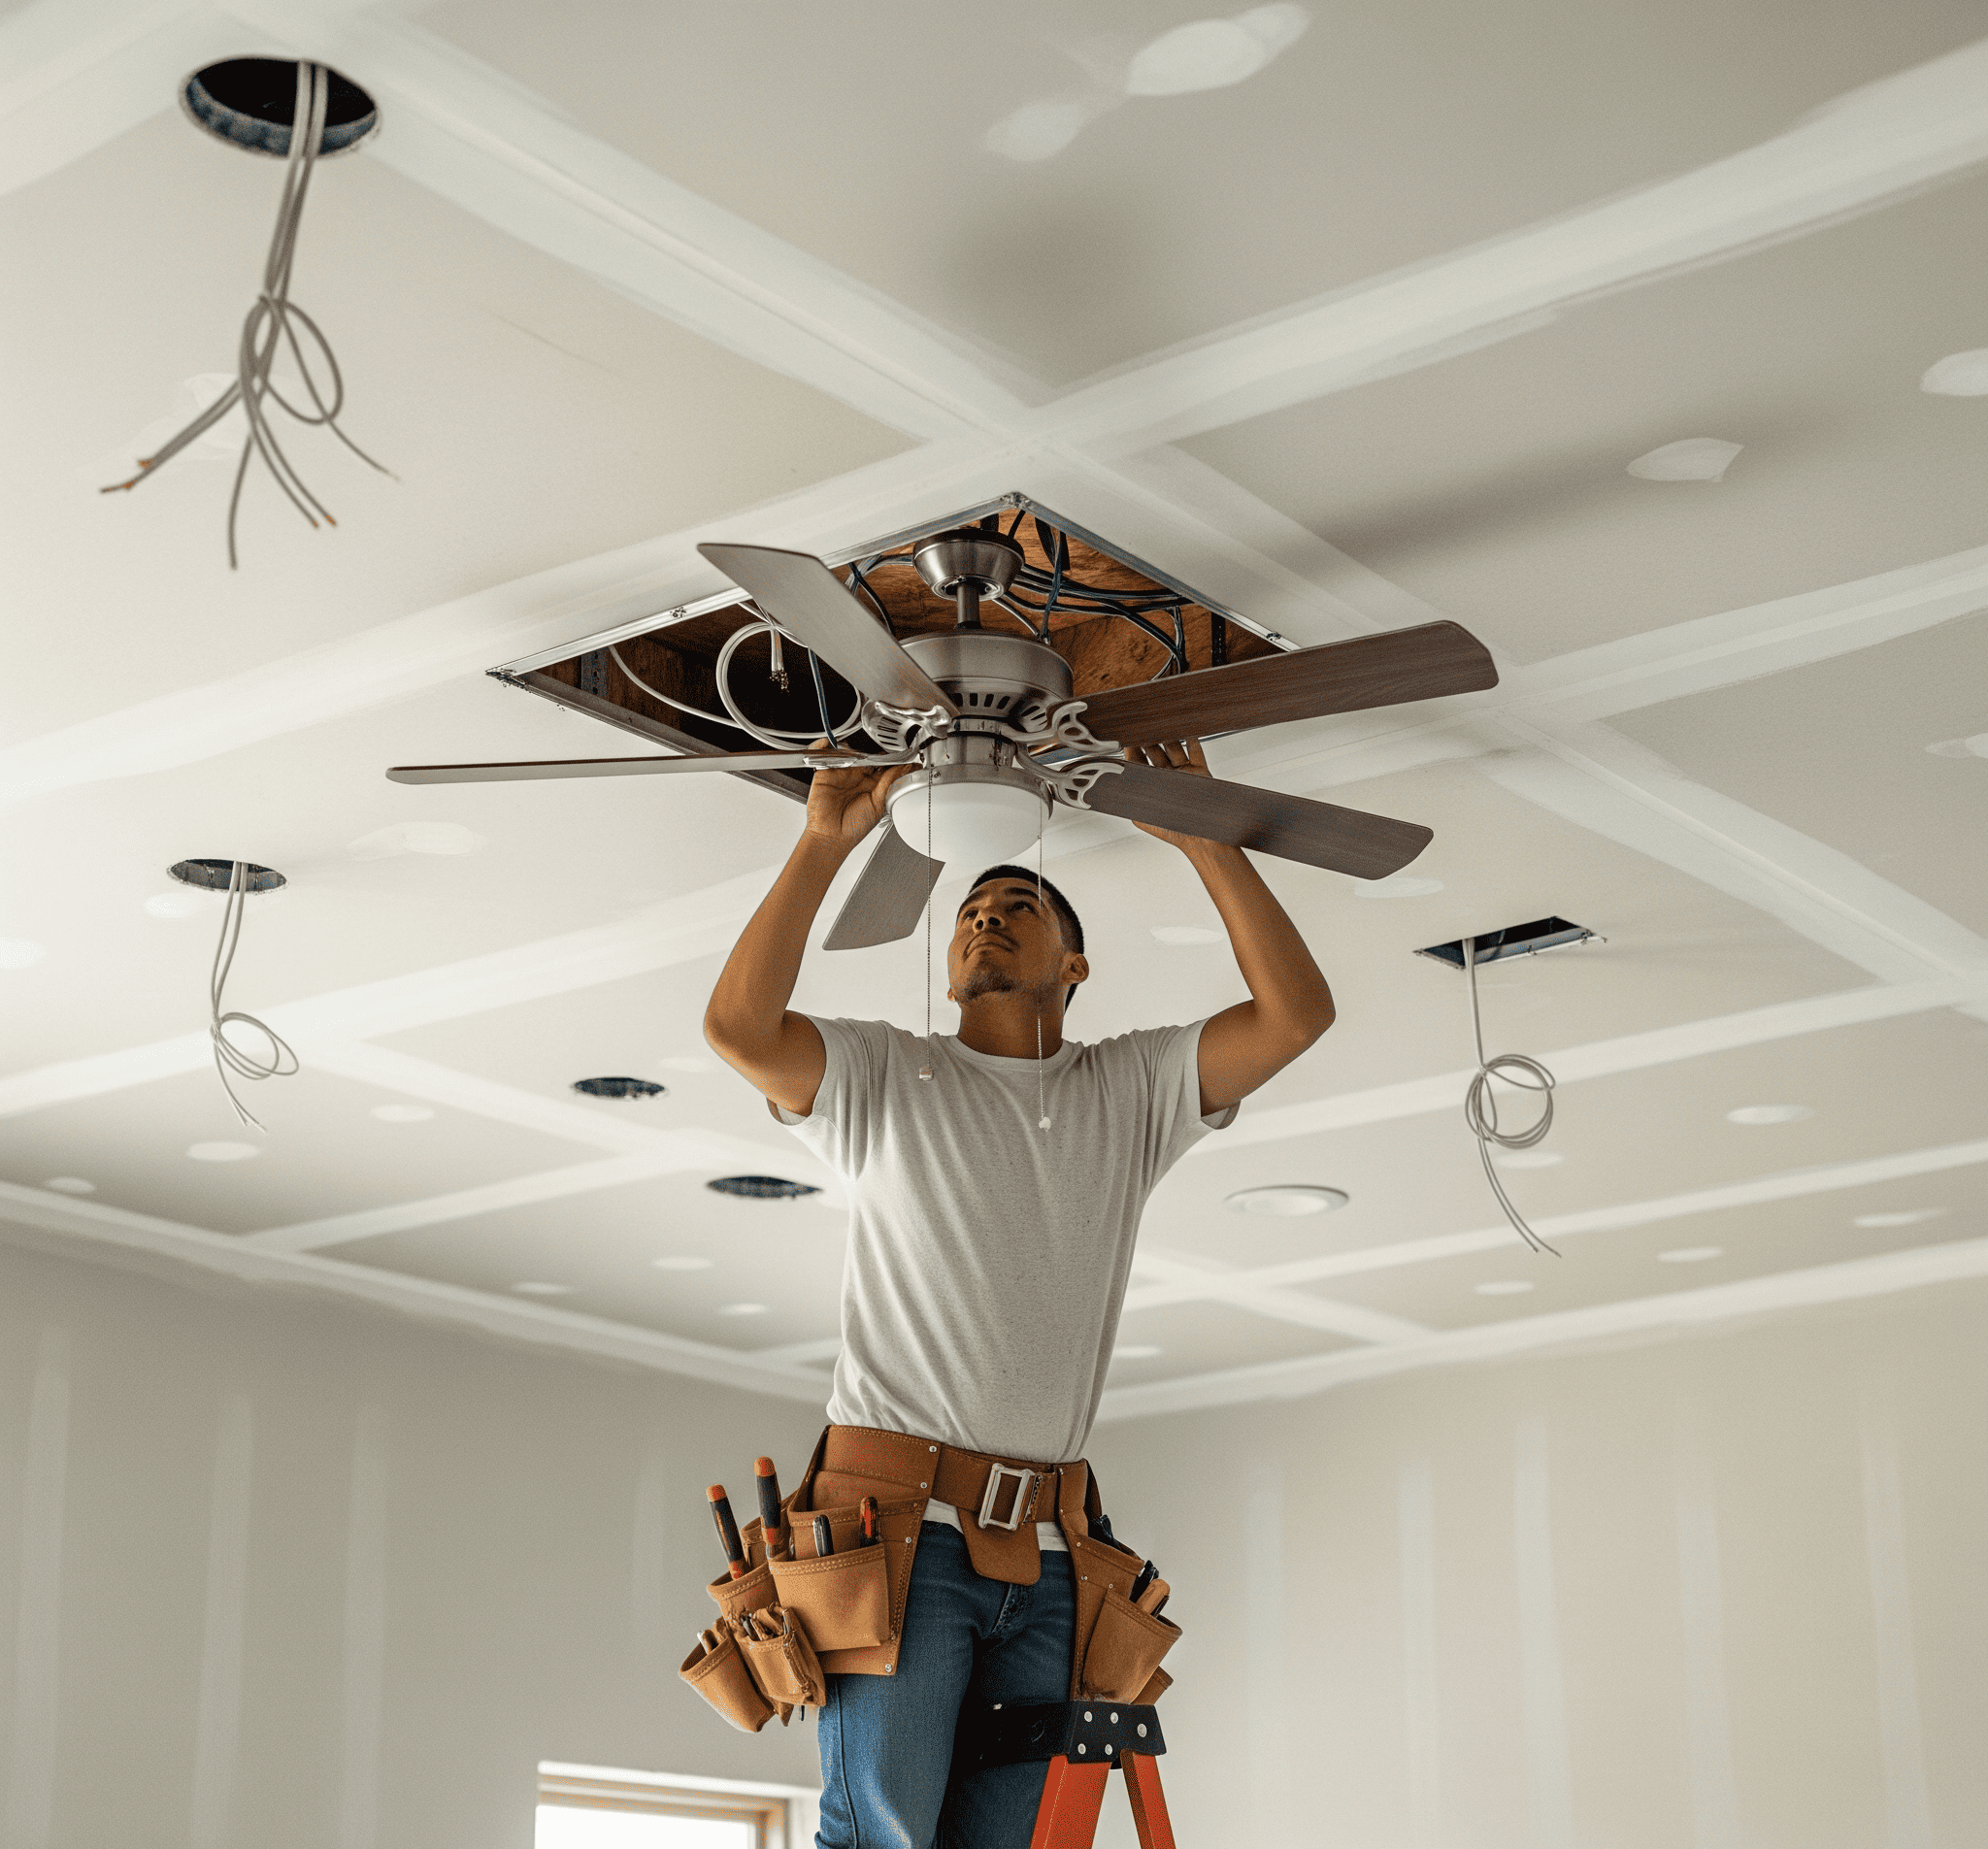
How to install ceiling fan? This isn't just about screwing a fan to the ceiling; it's about mastering a skill that can transform your space. From the initial assessment to the final test, this guide will walk you through every step, ensuring a smooth and safe installation. Imagine the satisfying hum of a perfectly installed fan, cooling your home efficiently and adding a touch of elegance
Let's get started
This comprehensive guide details the entire ceiling fan installation process, from the essential tools and materials to the crucial safety precautions. We'll meticulously cover each step, providing clear instructions and practical advice to ensure a successful outcome. Prepare to become a ceiling fan installation pro
Installing Your Ceiling Fan: A Comprehensive Guide
A properly installed ceiling fan not only adds style to your room but also provides essential cooling and comfort. Ignoring safety precautions during installation can lead to serious electrical hazards, or worse, a fan that doesn't function correctly, causing discomfort and even potential damage to your home. This guide provides a step-by-step approach, covering everything from gathering the right tools to testing your finished installation
Let's get you up and running with a cool, functional ceiling fan
Tools and Materials, How to install ceiling fan
Before you start, gather the necessary tools and materials. Having them all ready will make the installation process much smoother
| Tool | Description | Purpose |
| Screwdriver (Phillips and Flathead) | Phillips screwdrivers are designed for Phillips head screws, while flathead screwdrivers are for flathead screws. Different types of screws are used throughout the installation | Removing and tightening screws to secure various components |
| Measuring Tape | A reliable measuring tape is crucial for accurate measurements. Pay close attention to dimensions for precise alignment | Determining distances and dimensions to ensure proper placement and alignment |
| Level | A level ensures the fan is installed perfectly straight. Both bubble levels and laser levels are helpful for this | Ensuring the fan is level to avoid uneven rotation or movement |
| Wire Strippers | Essential for safely and cleanly removing the insulation from electrical wires | Preparing wires for connections |
| Voltage Tester | A voltage tester confirms the power is off before working with electrical components | Verifying the power is off to avoid electrical shocks |
| Wire Connectors (or wire nuts) | These connectors join electrical wires securely | Securely joining wires for electrical connections |
| Utility Knife | Used for cutting materials like plastic or cardboard | Cutting materials for adjustments and installations |
Materials you'll need include electrical wire, mounting hardware (screws, anchors), and the ceiling fan itself, of course. The specific requirements depend on your particular fan model
Safety Precautions
Safety is paramount. Always turn off the power to the electrical box before starting any electrical work. This is crucial to avoid electric shocks
Disconnecting and Preparing the Electrical System
Disconnect the power to the electrical box before working with any electrical components. This prevents accidental shocks. Properly label the wires before disconnecting them
Mounting the Fan Housing
Carefully follow the instructions provided with your ceiling fan. The steps and materials may vary slightly from model to model
Installing the Electrical Connections
Connecting the wires from the fan to the electrical box is a crucial step. Follow the provided wiring diagram carefully
Attaching the Blades and Canopy
The blades should be attached correctly and balanced. The canopy should be secured to the fan housing
Testing and Final Checks
Before turning the power ceiling fan back on, thoroughly check the installation for any potential issues
Troubleshooting Common Issues
This section addresses potential problems during the installation process
| Problem | Cause | Solution |
| Fan not turning on | Incorrect wiring, tripped breaker | Check wiring, reset breaker |
| Fan wobbles | Loose mounting, unbalanced blades | Tighten mounting, rebalance blades |
Additional Tips and Considerations
These tips will help you maintain your new ceiling fan
Closure
Congratulations! You've successfully navigated the intricate process of installing your new ceiling fan. Remember to double-check your work, especially the electrical connections and mounting stability. Now, sit back, relax, and enjoy the cool breeze that your newly installed ceiling fan brings! If you encounter any difficulties, refer to the FAQs or seek professional assistance. Happy cooling
FAQs: How To Install Ceiling Fan
What kind of screwdriver should I use?
You'll likely need both Phillips and flathead screwdrivers. Refer to the fan's instructions for specific sizes
How do I know if the wires are properly insulated?
Insulation is crucial! Ensure the wires are covered with their proper insulation sleeves, and look for any exposed wires. If unsure, consult an electrician
What if my ceiling fan doesn't turn on after installation?
First, check the circuit breaker. If it's tripped, reset it. Then, double-check all the wiring connections. If the problem persists, contact a qualified electrician
Can I install a ceiling fan without disconnecting the power? Absolutely not. Always disconnect the power supply before starting any electrical work. This is a critical safety precaution

SCHNAP is Australia's premier electrical wholesaler and electrical supplies, marketing thousands of quality products from leading brands. Trusted for nearly two decades by licensed electricians, contractors, and engineers, our range covers everything from basic electrical components to complex industrial electrical equipment
Our key categories include: LED lighting, designer switches, commercial switchboards, circuit protection, security systems & CCTV, and smart home automation
All products are certified to Australian standards (AS/NZS), backed by our 30-day, no-questions-asked return policy. Our expert technical team helps you quickly source the right solution for any residential, commercial, or industrial project, with daily dispatch from our Sydney electrical warehouse delivering Australia-wide
SCHNAP offers the most comprehensive electrical product range, with full technical specifications, application details, installation requirements, compliance standards, and warranties — giving professionals total confidence in every purchase
Kingsgrove Branch:
Mon - Fri: 6:30AM to 5:00PM
Sat: 8:00AM to 2:00PM
Sun: 9:00AM to 2:00PM
Jannali Branch:
Closed for Renovations
© 2004 - 2025 SCHNAP Electric Products