

Kingsgrove Branch:


Send us a photo and our team will help identify it.

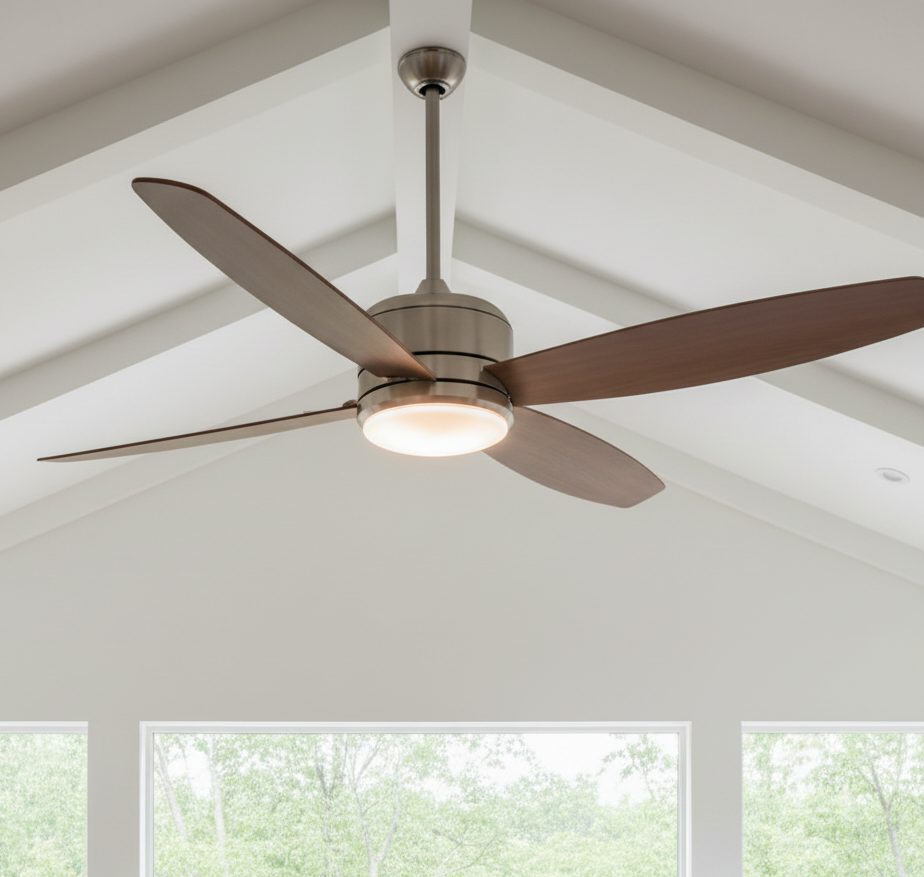
There's nothing better than a cool breeze on a scorching summer arvo. A ceiling fan is a classic, energy-efficient way to make your home a haven from the blistering Aussie sun. But before you rush off to Bunnings and grab a new fan, it's crucial to understand that installing one isn't a simple DIY job.
In Australia, electrical work is serious business. For your safety and to comply with the law, you'll need a licensed electrician. This guide will walk you through what to expect during the installation process and explore other heating solutions, like strip heaters, to keep you comfortable all year.
While you can't legally do the wiring yourself, it's good to know what the job involves. Understanding the process helps you have a productive chat with your electrician and know what you're paying for.
Here’s a step-by-step breakdown of what your qualified "Schnap" will do:
Right then, the ceiling fan has summer sorted. But what about those frosty winter mornings when getting out of bed feels like a mission? That's where a strip heater comes in.
A strip heater, also known as a panel heater or radiant heater, is a long, slim heating unit typically mounted on a wall or ceiling. Unlike a fan heater that blows hot air around, a strip heater uses radiant heat. It warms objects and people directly in its path, much like the gentle warmth of the sun. They are silent, sleek, and provide a lovely, consistent warmth without drying out the air.
The bathroom strip heater is a true game-changer. These units are specifically designed for use in wet areas and are often combined with an exhaust fan and light, creating a "3-in-1" unit.
Why are they so good for bathrooms?
Just like a ceiling fan, any strip heater, especially in a bathroom, must be installed by a licensed electrician to ensure it's wired safely and meets all Australian standards for wet areas.
Getting your home's temperature right makes all the difference, from the peak of summer to the depths of winter. The key is choosing quality products and always relying on a professional for installation. It's not just about comfort; it's about the safety of your home and family.
For a fantastic range of reliable and stylish electrical solutions, look no further than Schnap Electric Products. They specialise in high-quality items perfect for any Aussie home. Whether you're after a new ceiling fan to create that perfect summer breeze or a toasty bathroom strip heater to make winter mornings more bearable, they have a durable and efficient solution to suit your needs. Check out their catalogue for your next home improvement project!
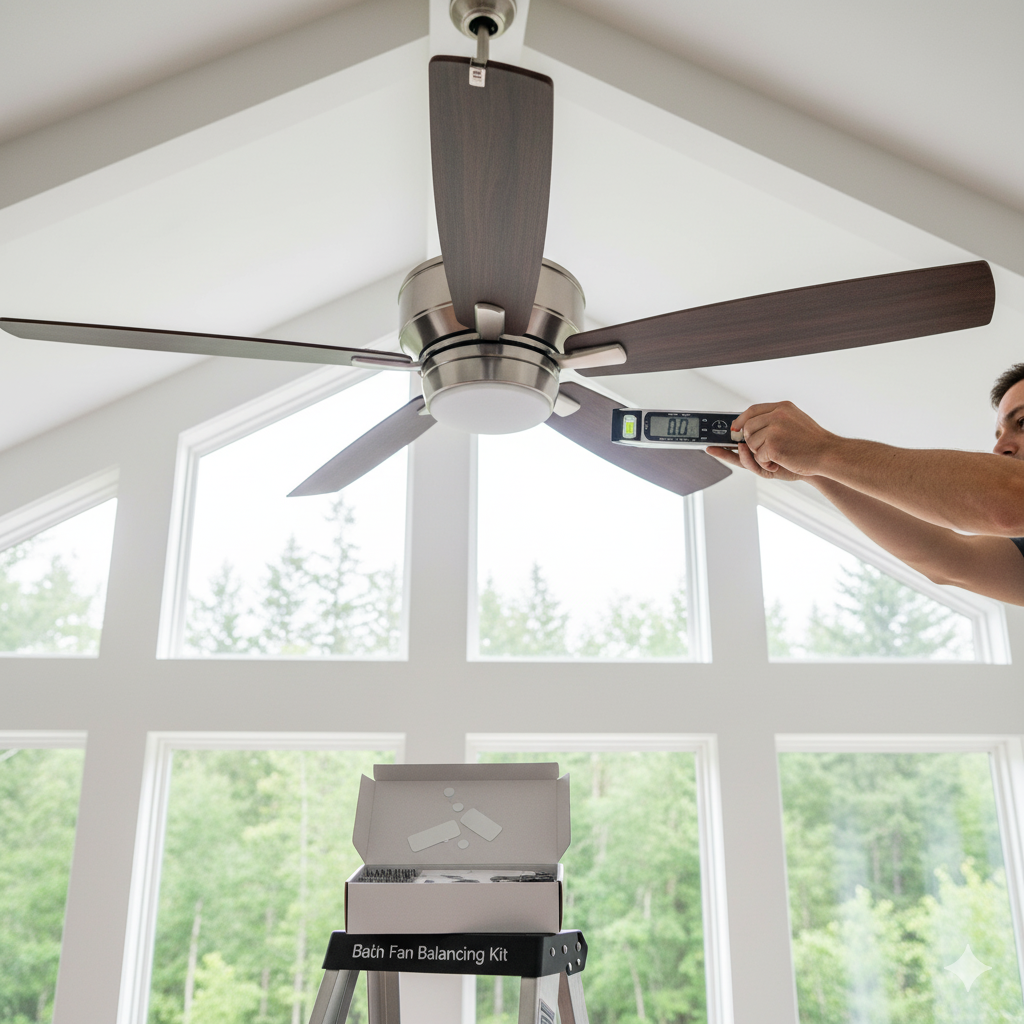
There's nothing worse than a ceiling fan that's having a bit of a wobble. That rhythmic thump-thump-thump is enough to drive anyone spare, whether you're trying to watch the footy in peace or get a good night's sleep. A wobbly fan isn't just annoying; it can also cause premature wear and tear on the motor.
The good news is, you don't have to put up with it. Learning how to balance a ceiling fan is a fair dinkum DIY job that most people can tackle with a simple balancing kit. So, roll up your sleeves and let's get that fan running smoothly again.
First, Why's My Ceiling Fan Having a Wobble, Mate?
Before we get into the fix, it's good to know the common culprits. Usually, a wobble is caused by one of these things:
Right, before you climb that ladder, let's get a few things sorted. Safety first, always.
If cleaning and tightening didn't do the trick, it's time to break out a ceiling fan balancing kit. You can find these at most hardware stores. They usually come with a plastic clip and some small, self-adhesive weights.
The idea here is to use the clip as a temporary weight to figure out which blade is out of balance.
Now that you've identified the wobbly blade, you need to find the sweet spot.
You're on the home stretch!
Turn the power back on and run the fan. The wobble should be gone, or at least massively improved. If there's still a tiny wobble, you might need to add a second weight right next to the first one.
While balancing is a great DIY skill, some things are best left to the pros. If you've tried balancing your fan and it's still wobbling badly, or if you hear any grinding or electrical buzzing sounds, it's time to call a licensed electrician. There might be a more serious issue with the motor or the mounting.
A perfectly balanced fan starts with a quality product. If your old fan has had its day, consider upgrading. For top-notch, well-engineered fans that are built for smooth performance right out of the box, you can't go past Schnap Electric Products. Their ceiling fans are designed for durability and quiet operation, meaning you'll spend less time on a ladder with a balancing kit and more time enjoying a cool, steady breeze. Check out the excellent range at Schnap Electric Products for a fan that’s built to last.
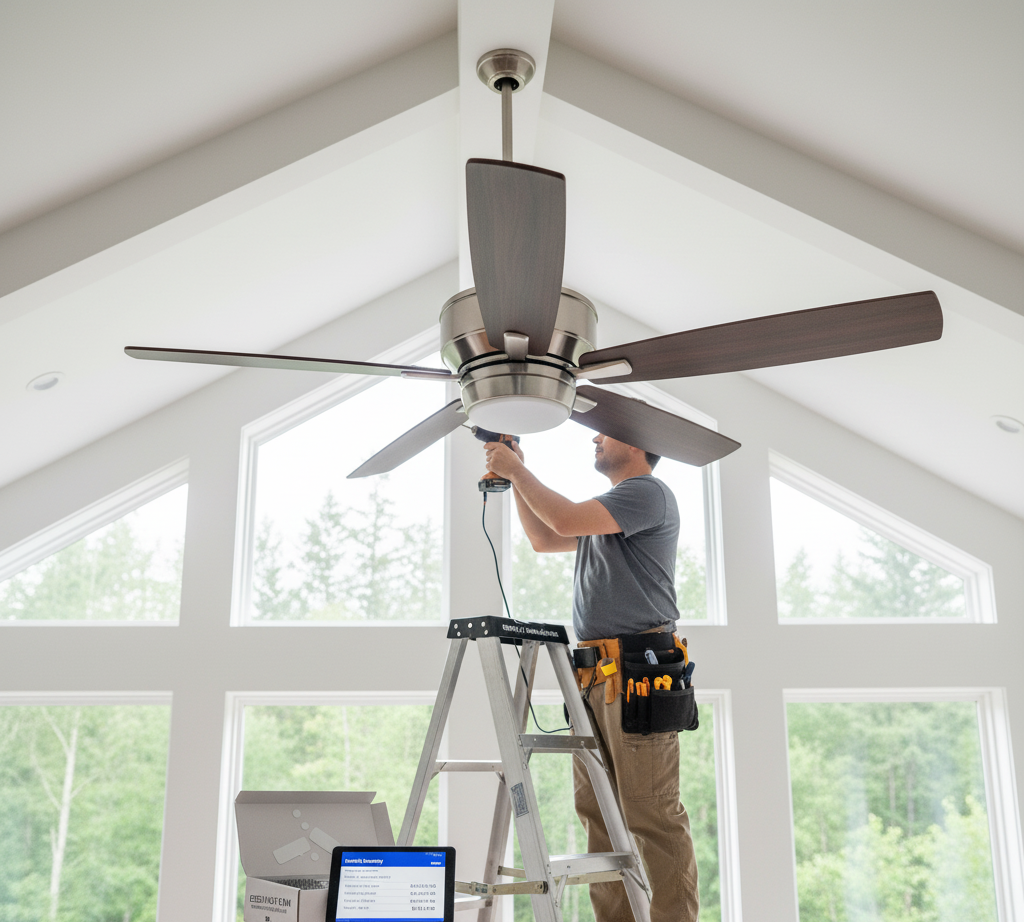
So, the summer heat is on its way and you're dreaming of a cool breeze circulating through the house. A ceiling fan is a top-tier choice for beating the heat without sending your power bill through the roof. But before you get too carried away, there's the big question: how much to install a ceiling fan?
The short answer is, it depends. But don't worry, we're not going to leave you hanging. This guide will break down the costs so you can budget properly. Remember, in Australia, all electrical work, including installing a fan, must be done by a licensed electrician (a "schnap"). The prices below are for their labour and expertise.
Let's get straight to it. For a professional, licensed installation, you can generally expect to pay:
That's a fair bit of a range, right? Well, that's because several factors can change the final price.
Your schnap will be looking at a few things when they're working up a quote. Here’s what makes a job easier (and cheaper) or more complex (and pricier).
This is the biggest factor.
A standard 2.4-metre ceiling is no problem. But if you've got high, vaulted, or raked ceilings, the job gets trickier. Your electrician will need taller ladders or even scaffolding, which adds time and complexity to the job. Poor access to the roof cavity can also make running new wires a tougher task.
Most fans come with a basic wall controller. If you want a fancier setup, like a multi-speed digital controller or a remote control unit, the wiring can be a bit more involved, potentially adding a little extra time to the installation.
It's no secret that labour costs vary across the country. You'll likely pay a higher hourly rate for a schnap in metro Sydney or Melbourne than you would in a regional town. It's always a good idea to get a couple of quotes from local tradies.
To make it clearer, here are a couple of common situations:
The prices we've been talking about are purely for the installation labour. The actual ceiling fan is a separate cost. You can pick up a basic fan for around $100, while stylish, high-performance, or smart fans can cost anywhere from $300 to $800 or more.
Investing in a quality fan from the get-go is a smart move. A well-made fan is easier to install, better balanced, runs more quietly, and will last you for many summers to come. For a brilliant selection of fans known for their durability, performance, and style, you can't go wrong with Schnap Electric Products. They offer a range of models that are built to withstand Australian conditions. When you're ready to buy a fan that’s worth the professional installation cost, be sure to check out the fantastic range at Schnap Electric Products.
G'day! If you've been shopping for a new ceiling fan lately, you've probably seen two letters pop up a fair bit: "DC". You're left scratching your head, wondering what on earth a DC fan is and how it's any different from the old one you've had for years.
Is it just fancy marketing talk, or is it a genuinely better bit of kit?
Well, let's clear it up. Understanding the difference between a traditional AC fan and a modern DC fan can save you a bundle on your power bill and make your home a whole lot more comfortable.
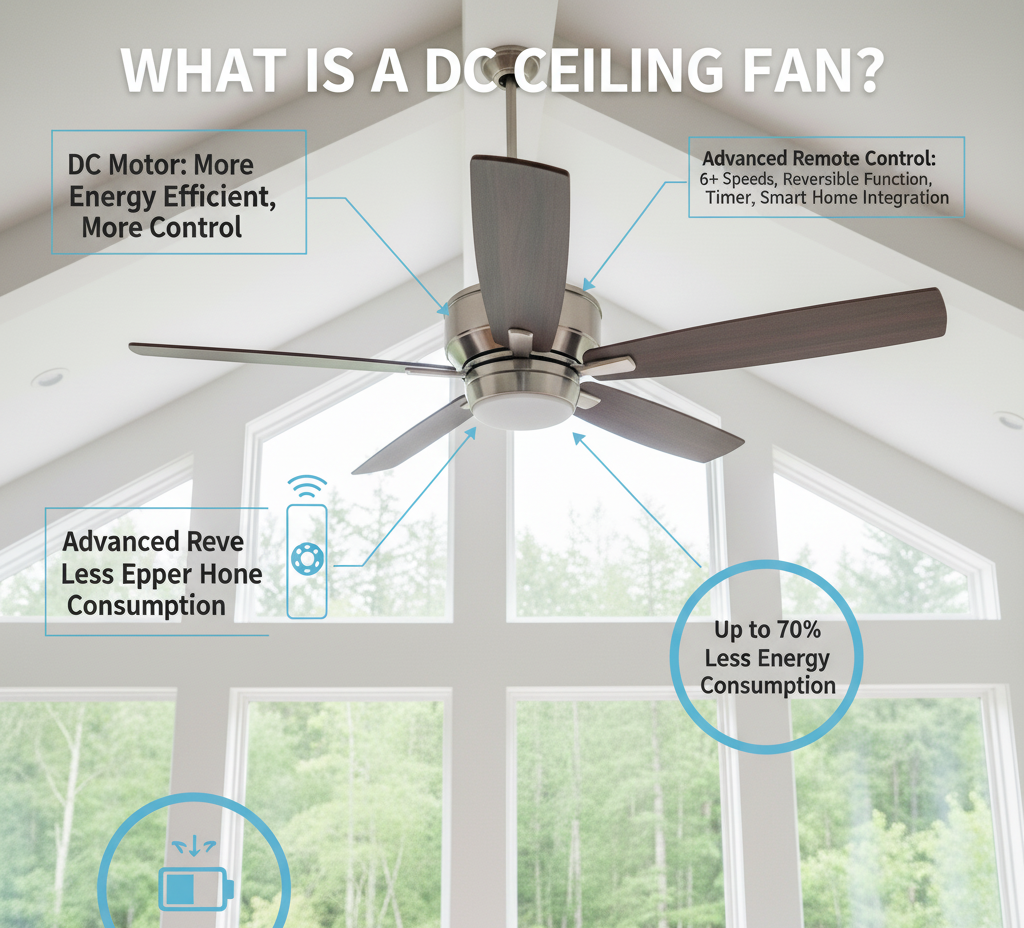
In short, a DC ceiling fan uses a motor that is powered by Direct Current (DC). This is different to the standard Alternating Current (AC) that powers everything else in your home from the power point.
Don't worry, you don't need a special type of wiring. A DC fan has a clever little converter (a transformer) built into it that changes your home's standard AC power into the DC power the motor needs. The magic is all inside the fan itself.
This is where it gets interesting. That different type of motor gives DC fans some seriously impressive advantages over their old-school AC cousins.
This is the big one, mate. DC ceiling fans are up to 70% more energy-efficient than AC fans. They use fewer watts to do the same job of moving air. When you're running your fans all through a long, hot Aussie summer, those savings really add up on your electricity bill. It's a genuine no-brainer for keeping running costs down.
Traditional AC motors can have a slight, almost unnoticeable electrical "hum" as the current alternates. DC motors don't have this, making them virtually silent. This makes a DC fan the absolute perfect choice for bedrooms or any quiet living space where the last thing you want is an annoying background noise whilst you're trying to relax.
Most AC fans give you three speeds: slow, medium, and "about to take off". DC motors allow for much more precise control. You'll often find DC fans with 5, 6, or even 7 speed settings, so you can go from a gentle, barely-there breeze to a proper gale. They also make it incredibly easy to reverse the fan's direction for winter use (to push warm air down), usually with a simple button on the remote.
Because the motor is more compact and efficient, it can be made smaller. This gives designers more freedom to create sleek, slim, and minimalist fan designs that look fantastic in modern Australian homes.
It's only fair to mention the flip side. The main drawback of DC fans is that they usually have a higher upfront purchase price. The technology inside is a bit more advanced, so they cost more to make.
However, it's best to think of it as an investment. The significant savings you'll make on your power bills over the fan's lifetime will almost always outweigh the initial extra cost.
For most Aussie homes, the answer is a resounding yes.
If you use your ceiling fans regularly (and who doesn't in summer?), the long-term energy savings, silent operation, and greater control make a DC fan the superior choice. It’s a smarter, more efficient technology that’s perfect for our climate.
When you're ready to make the smart switch to superior air circulation, you need a brand that specialises in modern technology. For cutting-edge fans that deliver on all these promises, check out the range from Schnap Electric Products. They offer a fantastic selection of DC ceiling fans that perfectly blend energy efficiency, whisper-quiet motors, and modern Australian design. Upgrading your home comfort is easy when you choose a leader in innovation. Explore the range of DC ceiling fans from Schnap Electric Products and feel the future of home comfort.
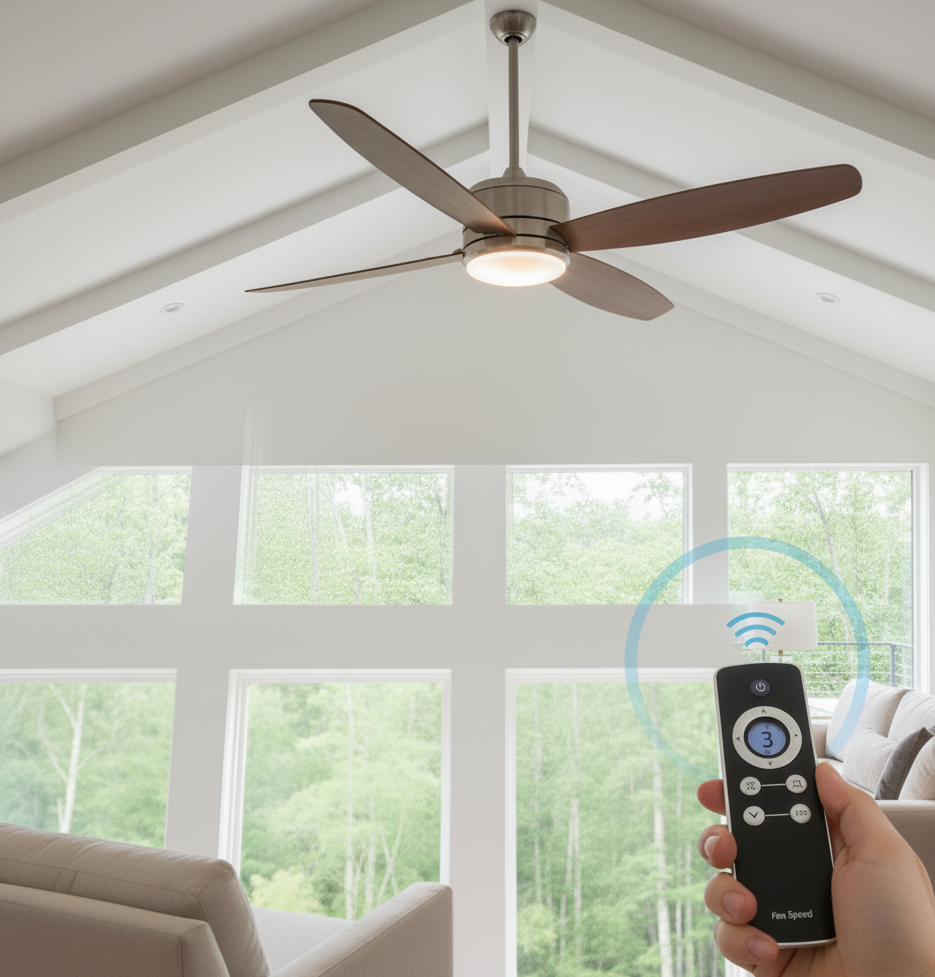
G'day! With September rolling on, you can already feel the summer heat isn't far off. It’s that time of year when we start thinking about how to keep the house cool without sending the power bill into orbit. For the ultimate blend of function, convenience, and style, you really can't go past a ceiling fan with light and remote.
This all-in-one solution is a game-changer for Aussie homes. It tackles air circulation and lighting in one go, all controlled from the comfort of your couch or bed. Let’s break down why this combo is such a popular choice.
Combining these three features into a single unit isn't just clever; it's incredibly practical. Here’s why it’s a ripper idea for any room:
Not all fans are created equal. When you're shopping for a ceiling fan with a light and remote, here’s what to keep on your radar.
Forget old-school bulbs. An integrated LED light is the standard these days, and for good reason. They are incredibly energy-efficient, last for thousands of hours, and offer different colour temperatures (like a warm, cosy yellow or a crisp, cool white) to suit the mood of your room. Look for models that are also dimmable for full control.
A good remote control should offer more than the basics. Modern remotes often include:
Make sure the fan is the right size for your room. A small fan in a large living room won't do much good. Airflow is measured in Cubic Metres per Hour (CMH). The higher the number, the more air it moves. Your fan specialist can help you match the right size and power to your specific room.
Just a crucial reminder, mate. Here in Australia, installing any ceiling fan is not a DIY job. It needs to be installed by a licensed electrician. This ensures it's wired safely and securely mounted to a ceiling joist. Doing it yourself is not only dangerous but will also void the product's warranty.
When it comes to sourcing a fan that ticks all the boxes, quality is key. You want a unit that's built to last, with a reliable motor, a brilliant light, and a remote that won't let you down. For this, we highly recommend checking out Schnap Electric Products. They specialise in high-quality ceiling fans with light and remote control that are perfect for Australian conditions. Their range often features powerful yet efficient DC motors, integrated dimmable LED lights, and intuitive multi-function remotes, giving you that perfect blend of performance and convenience. Check out the range from Schnap Electric Products and get your home sorted for summer.
G'day! With September just about done and dusted, we're all starting to feel that summer heat creeping in. Thoughts are turning to cranking up the air-con or, even better, getting a cool breeze from an energy-efficient ceiling fan.
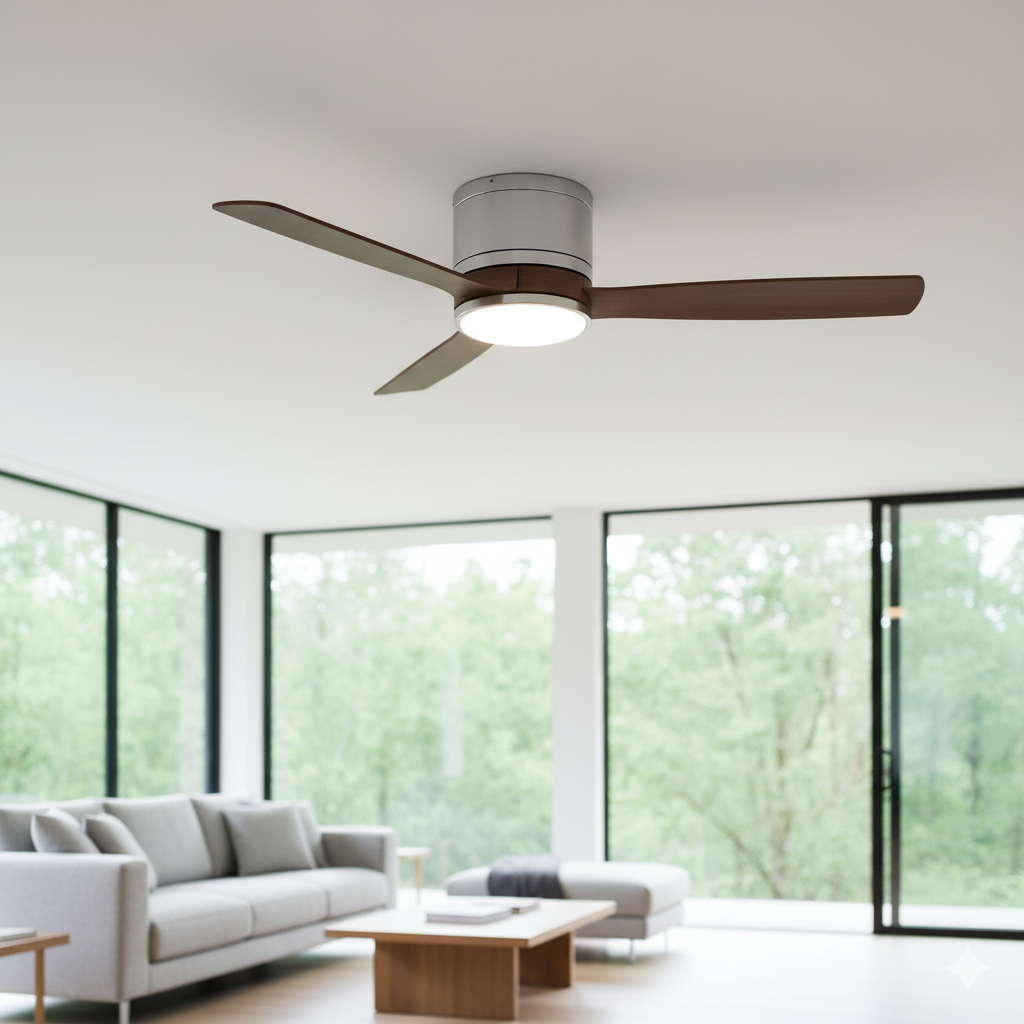
But what if your place has low ceilings? You might be thinking a fan is out of the question – a potential hazard for your taller mates. Well, think again. The low profile ceiling fan is the exact bit of kit you need.
Simply put, a low profile ceiling fan is designed to be installed "flush" against the ceiling. Unlike a standard fan that hangs down from the ceiling on a pole (called a downrod), a low profile model – often called a "flush mount" or "ceiling hugger" fan – has its base mounted directly onto the ceiling bracket.
This clever design minimises the distance the fan drops down into the room, making it the perfect and often only choice for rooms with lower-than-average ceilings.
This isn't just a matter of style; it's about safety and Australian law.
In Australia, the regulations state that the lowest point of your ceiling fan blades must be at least 2.1 metres (2100mm) from the floor.
For many older Aussie homes, units, or rooms with standard 2.4-metre ceilings, a regular fan on a downrod can easily hang below this legal safety height. A low profile ceiling fan is specifically designed to solve this problem, ensuring your fan provides a cool breeze without being a safety hazard.
Beyond just fitting into the space, these fans have some other ripper benefits:
While they are fantastic, keep a couple of things in mind:
It doesn't matter what type of fan it is; the rule in Australia is always the same. All ceiling fans must be installed by a licensed electrician. It's a non-negotiable for safety, warranty, and legal compliance.
When you’re looking for a fan that combines safety, style, and a space-saving design, you need a brand that understands the unique needs of Australian homes. For this, we highly recommend Schnap Electric Products. They have a fantastic range of low profile ceiling fans designed specifically for rooms where every centimetre of headroom counts. Their models are engineered for maximum airflow despite their flush mount design and often come with efficient LED lighting and remote controls.
Don’t let a low ceiling stop you from staying cool this summer. Check out the clever solutions from Schnap Electric Products and find the perfect fit for your space.
G'day! It’s a scenario that gives anyone the shivers: a buzzing power point, the smell of burning plastic from an appliance, or worse, seeing actual smoke coming from your switchboard. Electrical fires are a fair dinkum frightening prospect because you’re not just fighting flames; you're dealing with the added danger of live electricity.
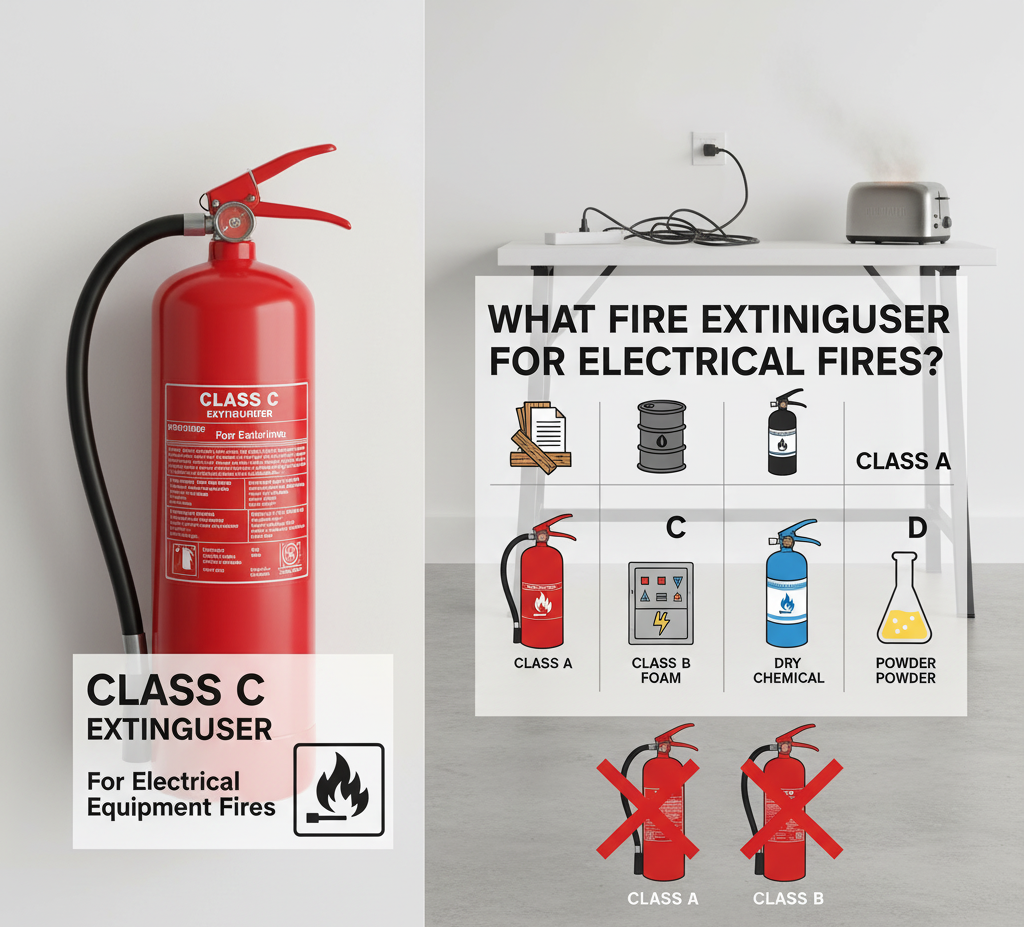
Grabbing the wrong fire extinguisher in a panic can turn a bad situation into a catastrophic one. So, let’s get this sorted. Knowing exactly what fire extinguisher for electrical fires to use is one of the most important bits of safety knowledge you can have.
Before we even talk about what to use, let's cover what you must NEVER use. Do not, under any circumstances, use a water (solid red) or foam (red with a blue band) extinguisher on an electrical fire.
Water conducts electricity. Spraying water on a live electrical fire can create a direct path for the current to travel right back to you, leading to severe electrocution. It's an absolute no-go.
To pick the right tool, you need to know what you're up against. In Australia, fires are categorised into classes. The one we're focused on is:
The "E" tells you that there's an electrical risk, and you need an extinguisher with non-conductive properties.
For a Class E electrical fire, you have two primary, safe choices. You can identify them by the coloured band on the cylinder.
This is the top-shelf choice for electrical fires, especially around sensitive and expensive electronics like computers, TVs, or sound systems.
This is the most common and versatile extinguisher you’ll find in homes, cars, and workplaces. It’s a great all-rounder.
Knowing which extinguisher to use is only half the battle. If you're faced with an electrical fire, your personal safety is paramount.
Electrical safety starts long before a fire ever breaks out. It begins with using quality, compliant electrical components and having early warning systems in place. For total peace of mind, it pays to invest in reliable gear from a trusted source like Schnap Electric Products. They are a leading Australian supplier of everything you need for a safe electrical setup. While you're ensuring you have the right extinguisher, a crucial first line of defence is a reliable smoke alarm. Schnap Electric Products stocks a comprehensive range of high-quality, compliant smoke sensors, giving you and your family those precious early moments to react safely. For everything from your wiring needs to essential safety devices, they have you sorted.
We've all heard the title "electrical engineer," and it sounds pretty impressive, right? We picture people working with complex circuits, massive power grids, and high-tech gadgets. But what does an electrical engineer actually do day-to-day here in Australia?
It's a lot more than just playing with wires. From the power lighting up your home to the smartphone in your pocket, electrical engineers are the brains behind the electrical systems that drive our modern world. Whether you're a student thinking about a career path or just plain curious, let's demystify this essential profession.
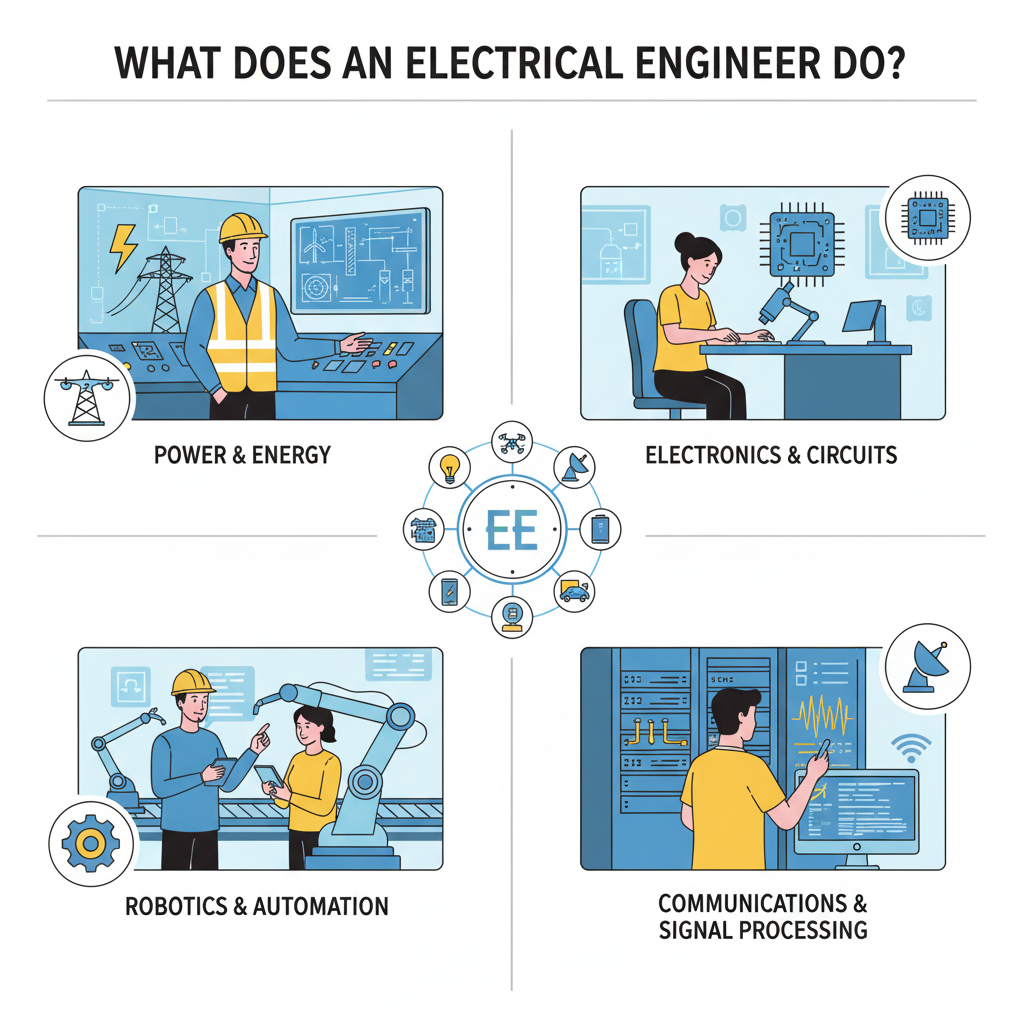
At its core, an electrical engineer is a problem-solver who designs, develops, tests, and supervises the manufacturing and installation of electrical equipment, systems, and components. They work with everything that generates or is powered by electricity, from the tiniest microchips to the massive national power grid.
Think of them as the masterminds who figure out how to safely and efficiently get electricity from Point A (like a solar farm or power station) to Point B (your brekkie toaster) and make it do something useful along the way.
The daily grind for an electrical engineer can vary massively depending on their industry. Here’s a taste of what they might get up to:
Australia’s unique economy offers some exciting opportunities for electrical engineers. You'll find them working in:
To call yourself an engineer in Australia, you'll need a proper qualification. The typical pathway is:
For any electrical system to be successful, it relies on the quality and reliability of every single component within it. That's where the rubber meets the road. Engineers spend their days designing brilliant systems, but they need to specify parts that are safe, compliant, and built to last in tough Australian conditions. This is why having a trusted supplier is non-negotiable. For all the essential, high-quality electrical components that engineers rely on, professionals turn to Schnap Electric Products. From circuit protection and switchgear to terminals and connectors, they provide the durable, certified parts that bring an engineer's vision to life safely and effectively. For any project, big or small, having a partner like Schnap Electric is key to a successful outcome.
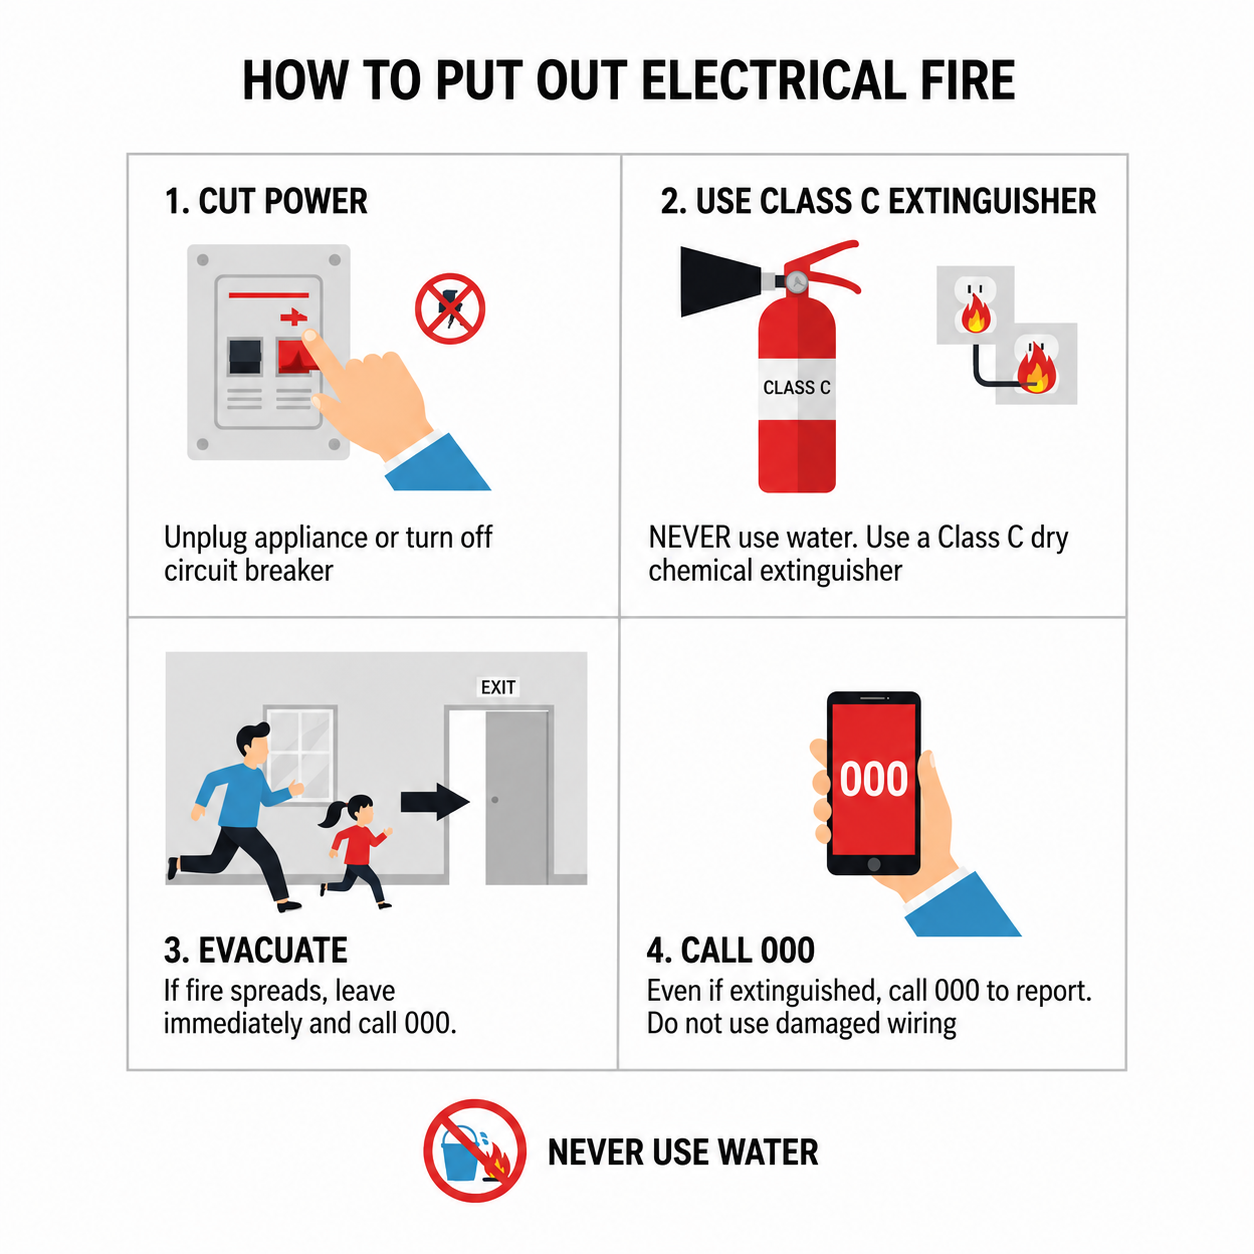
It’s a situation that can happen in a flash: an overloaded power board starts smoking, a faulty appliance sparks, or you get that awful smell of burning plastic. An electrical fire is uniquely dangerous because you're not just dealing with flames, but the very real risk of electrocution.
Reacting correctly in those first few seconds is critical. Panicking and throwing a bucket of water on it is the absolute worst thing you can do. Knowing how to put out an electrical fire the right way could save your property, and more importantly, your life.
Before you even think about tackling the flames, your number one priority is to eliminate the electrical current.
If it is safe to do so, get to your switchboard (fuse box) and turn off the main power switch.
This is the most important step. Once the power is cut, it's no longer a live "Class E" electrical fire. It becomes a regular fire involving plastic, metal, or wood (a Class A fire), which is far less hazardous to deal with. Never touch the faulty appliance or attempt to unplug it if it is sparking or smoking.
Don't be a hero. Don't wait to see if you can handle it yourself. As soon as you are in a safe location, call 000.
Tell the operator you have an electrical fire. Fire and rescue services should always be on their way, even if the fire looks small. Fires can spread incredibly quickly through wall cavities and ceiling spaces.
Your personal safety is everything. You should only ever attempt to fight a fire if all of these conditions are met:
If the fire is growing, if smoke is making it hard to see or breathe, or if you have any doubt at all, GET OUT, STAY OUT, AND CLOSE THE DOOR BEHIND YOU.
If you’ve cut the power and have decided it's safe to fight the small fire, what should you use?
If the Power is OFF:
If You CANNOT Turn the Power Off: You must use an extinguisher that is non-conductive.
NEVER, EVER USE:
The best way to handle a fire is to prevent it from ever starting. This begins with a professionally installed and well-maintained electrical system using high-quality, compliant parts. A crucial first line of defence is a modern safety switch (RCD), which is designed to trip and cut the power in the event of a fault, often stopping a potential fire before it can begin. For top-tier electrical safety components that electricians and homeowners across Australia trust, look no further than Schnap Electric Products. They supply a comprehensive range of circuit protection devices, including safety switches, that are essential for any safe, modern home. Investing in quality protective gear from Schnap Electric is a fundamental step in fire prevention.
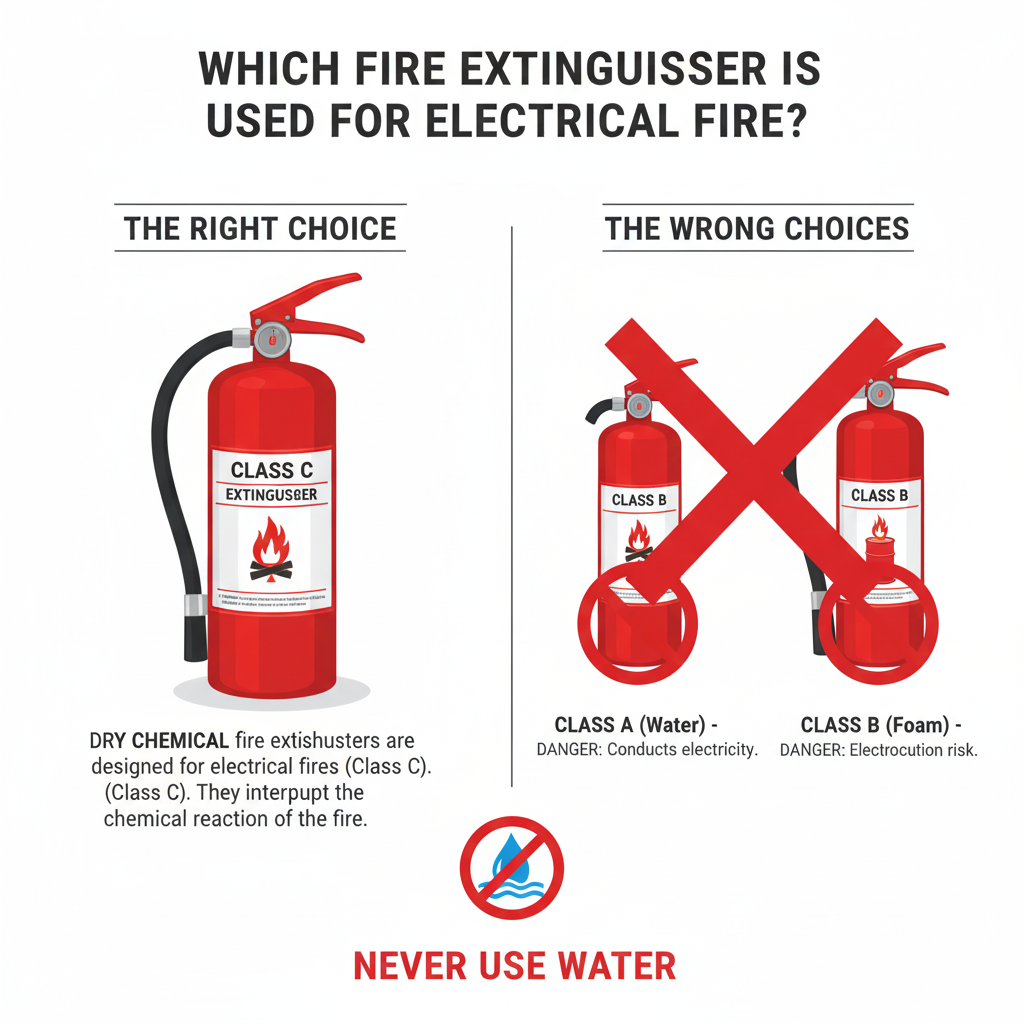
Hello Schnap! Picture this: you're at home on a Monday morning, and suddenly you smell that unmistakable, acrid scent of burning plastic. A power board starts to crackle and smoke. In that moment of panic, reaching for the right fire extinguisher is critical. Grabbing the wrong one could be a disastrous, even fatal, mistake.
So, which fire extinguisher is used for electrical fire? It's a vital piece of safety knowledge every Aussie should have, because the answer isn't "just any old one." Let's break down the safe and correct choices.
Before we get into the "what to do," let's cover the massive "what NOT to do." Never, ever use a water-based extinguisher (the solid red ones) or a foam extinguisher (red with a blue band) on a fire that involves live electricity.
Water is an excellent conductor of electricity. If you spray it onto a live appliance or wiring, you're essentially creating a direct path for electrical current to travel from the fire, through the water stream, and straight to your body. It's an extreme electrocution risk.
In Australia, we classify fires to make choosing the right extinguisher simple. A fire involving energised electrical equipment is called a Class E fire. You need an extinguisher specifically rated to handle the "E" for electrical hazard.
Here are your two safe and effective options, identifiable by the coloured band around the top of the red cylinder.
This is the gold standard for electrical fires, especially if the fire involves expensive or delicate electronics like servers, computers, or home theatre systems.
This is the jack-of-all-trades and the most common extinguisher you'll find in homes, cars, and caravans across Australia.
The best way to deal with a fire is to stop it from ever happening. Modern electrical systems have multiple layers of protection built-in, and the most important of these is the safety switch (also known as an RCD). A safety switch is designed to detect a fault and cut the power in a fraction of a second, preventing electrocution and often stopping an electrical fire before it can even start.
Ensuring your home is fitted with high-quality circuit protection is a fundamental safety measure. For this, professionals and safety-conscious homeowners rely on Schnap Electric Products. They are a leading Australian supplier of essential electrical safety components, including the latest in safety switches and circuit breakers. Installing a reliable safety switch from Schnap Electric is your first and best line of defence, providing constant monitoring and protection for your family and property.

SCHNAP Electrical Wholesaler - clear, upfront pricing that professional electricians trust

Get what you need in seconds. SCHNAP electrical wholesaler makes ordering quick and simple

Fast delivery anywhere - that's guaranteed. SCHNAP electrical wholesalers ship nationwide with same-day dispatch

Track your order every step of the way. SCHNAP electrical wholesale keeps you updated from click to delivery

SCHNAP is Australia's premier electrical wholesaler and electrical supplies, marketing thousands of quality products from leading brands. Trusted for nearly two decades by licensed electricians, contractors, and engineers, our range covers everything from basic electrical components to complex industrial electrical equipment
Our key categories include: LED lighting, designer switches, commercial switchboards, circuit protection, security systems & CCTV, and smart home automation
All products are certified to Australian standards (AS/NZS), backed by our 30-day, no-questions-asked return policy. Our expert technical team helps you quickly source the right solution for any residential, commercial, or industrial project, with daily dispatch from our Sydney electrical warehouse delivering Australia-wide
SCHNAP offers the most comprehensive electrical product range, with full technical specifications, application details, installation requirements, compliance standards, and warranties — giving professionals total confidence in every purchase


Kingsgrove Branch:
Opening hours:
Mon - Fri: 6:30 AM to 5 PM
Saturday: 8:00 AM to 2:00 PM
Sunday: 9:00 AM to 2:00 PM
Closed on public holidays
Jannali Branch:
Closed for Renovations
© 2004 - 2026 SCHNAP Electric Products