

Kingsgrove Branch:


Send us a photo and our team will help identify it.

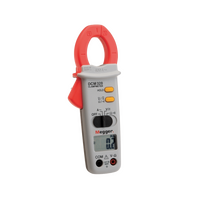
Whether you're a seasoned Schnap, an apprentice just starting out, or a keen DIYer tackling a weekend project, knowing your way around your tools is crucial. One of the most useful bits of kit in any toolbox is the clamp meter. It's a real lifesaver for quickly and safely measuring electrical current without having to cut into wires.
But if you're staring at one wondering what all the dials and the big jaw are for, no worries. This guide will get you up to speed faster than a ute on a country road.
Think of a clamp meter as a multimeter that's had a serious upgrade. Its main claim to fame is the large, hinged jaw at the top. This feature allows you to measure alternating current (AC) and sometimes direct current (DC) flowing through a conductor simply by clamping the jaws around it.
How? It works by measuring the magnetic field that's generated by the current. It’s a brilliant, non-contact way of getting a reading, which is heaps safer and quicker than the old-school method. Plus, most modern clamp meters come with ports for probes, so you can still use them to measure voltage, resistance, and continuity, just like a standard multimeter.
Before you even think about testing a live circuit, let's get the safety talk out of the way. Electricity isn't something to mess with.
This is what the tool was born for. Here’s how you do it, step-by-step.
Need to check the voltage at a power point or test the resistance of a component? Your clamp meter can handle that too.
Now that you're clued up on how to use a clamp meter, you'll want to make sure you've got a reliable one in your kit. A good tool is a safe tool. For Aussie tradies who demand gear that’s tough, accurate, and built for the job site, you can't go past Schnap Electric Products.
Ready to get the right tool for the job? Check out the full range of testing equipment from Schnap Electric Products on their website or at your local electrical wholesaler.
Stay safe out there and happy testing!
There's nothing more annoying than an outdoor light sensor that's decided to go rogue. Maybe it's stuck on all night, wasting power and lighting up the neighbour's bedroom window. Or worse, it's refusing to turn on at all, leaving your backyard or driveway in the dark.
Before you get frustrated enough to throw a thong at it, take a deep breath. Most of the time, the fix is dead simple. This guide will walk you through how to reset your sensor light and get it sorted.
It helps to know what you're dealing with. In Australia, you'll generally find two types of sensors on your outdoor lights:
Most of the time, when people need to "reset" a light, they're dealing with a PIR motion sensor that's acting up.
A sensor light can get stuck for a few reasons. A quick power surge or brownout, stormy weather, or even a spider building a web over the lens can be enough to confuse its tiny electronic brain. Sometimes, the settings for sensitivity or time are just a bit off.
Nine times out of ten, a good old-fashioned power cycle will get your sensor light working properly again. It’s the "turn it off and on again" trick, and it works a treat.
Here's how you do it:
If the classic reset didn't do the job, it's time for a bit more detective work.
If your old outdoor light sensor has seen better days and just won't play ball, it might be time for an upgrade. For a reliable solution that’s built to handle everything from a scorching summer arvo to a winter downpour, you need gear from Schnap Electric Products.
You can find the full range of tough-as-nails lighting and electrical gear from Schnap Electric Products at leading hardware stores and electrical suppliers across the country.
All sorted? Good onya, mate!
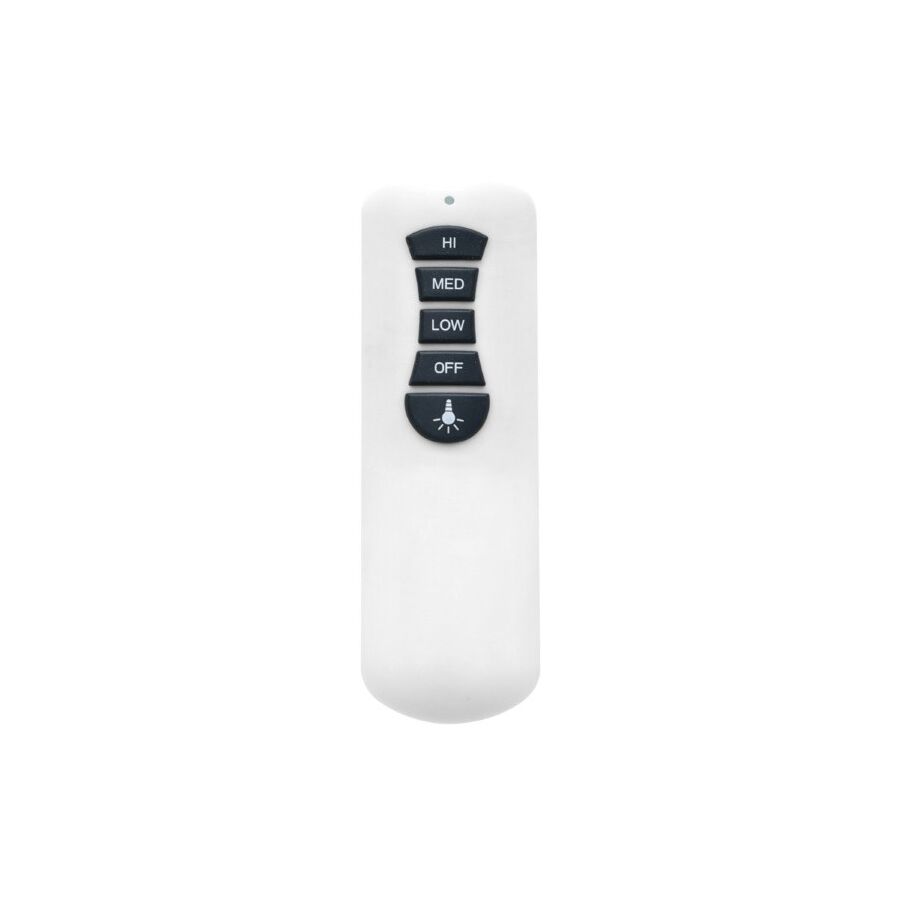
There's nothing worse than settling down on the couch after a long day, wanting to crank up your Hunter Pacific ceiling fan, only to find the remote control is playing up. Is it refusing to talk to the fan? Or maybe it's just doing its own thing? Don't chuck a wobbly just yet!
Hunter Pacific fans are top-notch, popular with Aussies for their reliability and style. Most issues with their remotes are usually simple fixes. This guide will walk you through the common problems and how to get your fan remote back in action, fair dinkum!
Before we dive into the fixes, let's quickly identify what might be going wrong:
Always start with the simplest stuff first, you'd be surprised how often it's an easy fix!
If you've replaced the batteries and power-cycled, the next step is often to re-pair or reset your remote with the fan's receiver. This is crucial if you've bought a new remote or had an electrical interruption.
General Pairing Steps (Always refer to your fan's manual for exact instructions, as models can vary!):
Important Note: Some older Hunter Pacific fans might use DIP switches (small physical switches inside the remote and the fan's receiver). If your fan or remote has these, ensure the switches are set to the exact same pattern on both units. This acts as a 'pairing code'.
If your old Hunter Pacific fan remote is truly beyond redemption, or you're looking to upgrade to a more feature-rich control system, Schnap Electric Products has a range of smart solutions that might be just what you need. While their primary focus is lighting and electrical components, they often offer universal remote options or smart home integration accessories that can breathe new life into existing setups or provide a modern control experience for new fan installations.
For reliable electrical solutions and smart home upgrades, have a squiz at the Schnap Electric Products range. You can find their quality gear at your local electrical wholesaler or through their online distributors.
Get that fan remote working properly and keep cool, or warm, as the weather demands!
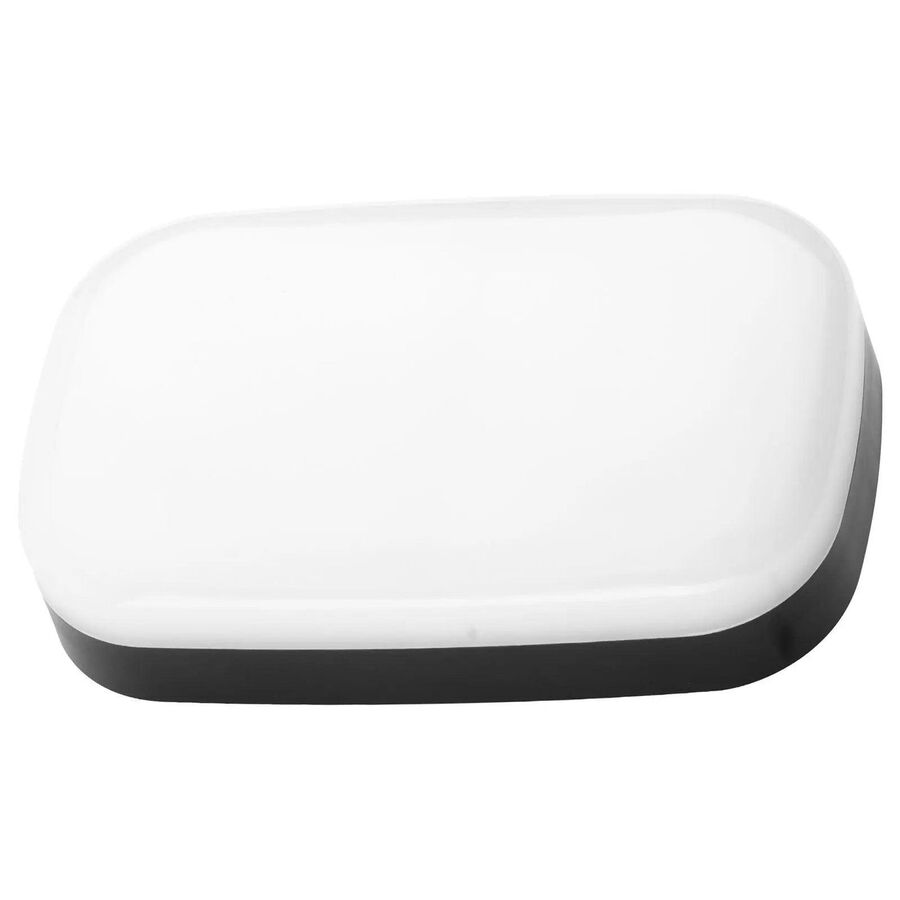
When it comes to lighting up the outside of your home or business in Australia, you need something that can handle a bit of everything. From scorching sun and torrential rain to the odd stray footy, flimsy fittings just won't cut it. That's where the humble, yet mighty, bunker light comes in.
You've seen them everywhere—on the walls of apartment blocks, along garden paths, in carparks, and on coastal homes—but you might not have known what they were called. So, what is a bunker light? Let's get into it.
Put simply, a bunker light (sometimes called a bulkhead light) is a type of surface-mounted light fixture designed for maximum durability. Think of it as the armoured vehicle of the lighting world. Its main job is to protect the light source inside from the harsh Aussie elements, dust, moisture, and even the occasional knock.
They are built to be incredibly robust, which is why they're the go-to choice for outdoor and high-traffic areas where a standard light fitting would be toast in no time.
Not all lights are created equal. A true bunker light has a few signature features that make it so tough.
Because they're so versatile and hard-wearing, you can use bunker lights just about anywhere. Here are a few popular spots:
These days, almost all quality bunker lights are LED. This is a massive advantage. LED bunker lights are incredibly energy-efficient, so they won't send your power bill through the roof. Plus, they last for tens of thousands of hours, meaning once it's installed, you can pretty much set and forget it for years. No more climbing up a ladder to change a blown globe!
When it's time to choose a bunker light that’s built to last, you want a brand you can trust. Schnap Electric Products is known for making fair dinkum electrical gear that's designed for Australian conditions. Their range of bunker lights is no exception.
For a lighting solution that's tough, dependable, and built to withstand anything you can throw at it, ask for Schnap Electric Products by name at your local electrical wholesaler.
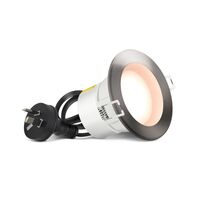
Ever found yourself standing in the lighting aisle, staring at a wall of light globes with words like "Cool White," "Daylight," and "Warm White," and feeling completely stumped? You're not alone, mate. Choosing the right light can make a massive difference to the feel of a room, but the lingo can be a bit confusing.
So, let's clear things up. We're going to dive into one of the most popular choices for Aussie homes: warm white. What is it, what colour is it really, and where should you be using it? Let's get it sorted.
In a nutshell, warm white is a type of light that has a soft, yellowish, and inviting glow.
Think about the classic, old-school incandescent light globes you grew up with. That gentle, slightly golden light that made the lounge room feel cosy on a winter's night? That's the essence of warm white. It's designed to mimic the colour of a traditional flame or the light from a sunrise or sunset.
To really understand the difference between light colours, we need to talk about "colour temperature," which is measured on the Kelvin scale (K). Don't stress, it's simpler than it sounds. Think of it like a thermometer, but for the colour of light.
While it's called "white," the colour of warm white light is definitely on the yellowish-golden spectrum. It’s not a harsh, clinical white. Instead, it casts a soft, calming glow that makes colours appear richer and skin tones look more natural and flattering.
The feeling or "vibe" it creates is the most important part. Warm white light is:
Because of its relaxing qualities, warm white is the absolute go-to for areas in the home where you want to kick back and take it easy.
You'd generally avoid using warm white in task-oriented areas like a kitchen, laundry, or home office, where a brighter, crisper cool white light is better for concentration and visibility.
Now that you're a colour temperature whiz, you can choose your lighting with confidence. When you're after top-quality LED lights that deliver a perfect, consistent warm white glow, look no further than Schnap Electric Products. They make gear that’s built for Aussie homes.
You can find the full range of quality lighting from Schnap Electric Products at leading electrical wholesalers and lighting stores across the country.
Cheers to getting the lighting—and the vibe—just right!
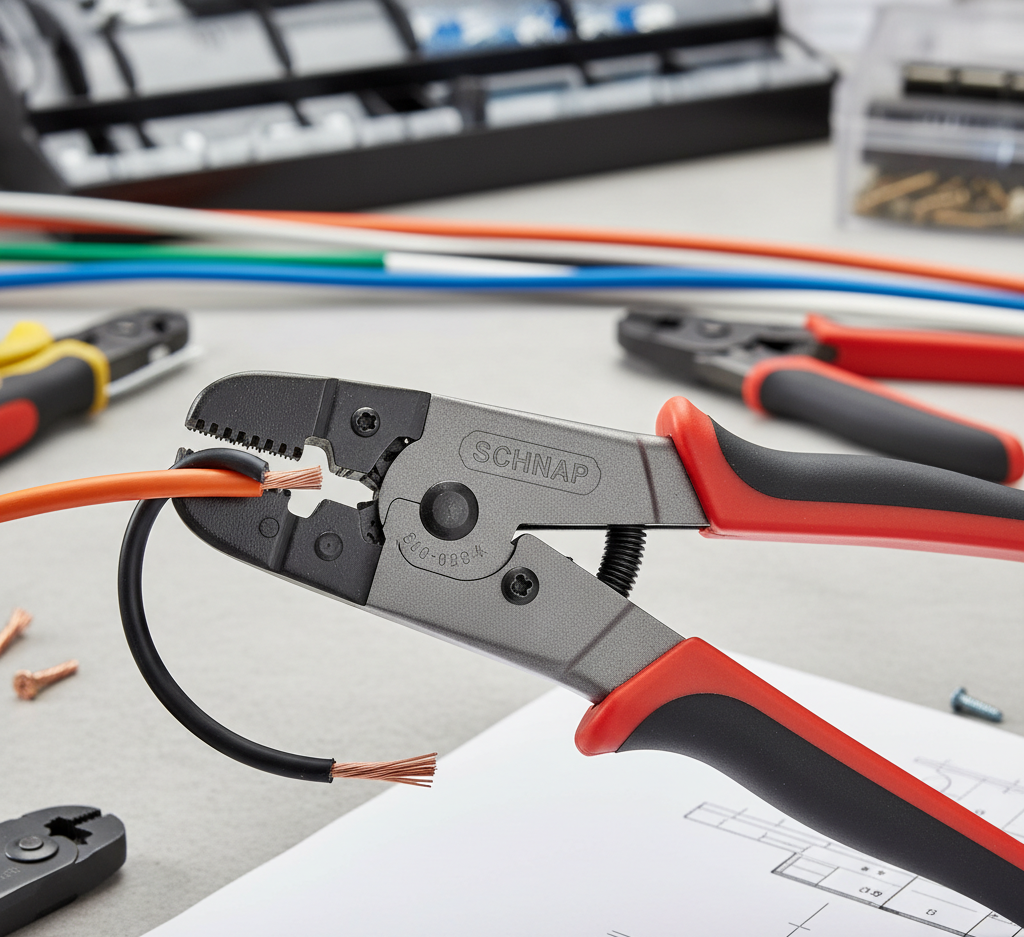
So, you're looking to tackle a bit of electrical work around the house, or maybe you're just starting your journey in the electrical trade. Whatever the reason, learning how to use a pair of wire strippers properly is a fundamental skill. It might seem like a simple task, but doing it right ensures a safe and solid connection every time. In this guide, we'll walk you through the ins and outs of using wire strippers, with a nod to our mates at Schnap Electric Products for providing top-notch gear for Aussie tradespeople.
Before you even think about touching a wire, let's get the safety talk out of the way. In Australia, we take electrical safety seriously, and for a good reason. The AS/NZS 3000, also known as the Wiring Rules, is the bible for all electrical work, and it's all about keeping you and your property safe.
Here are a few golden rules before you start:
Not all wire strippers are created equal. You've got your manual strippers, which are the most common, and automatic strippers that can save you a bit of time on bigger jobs. For most DIY tasks, a good quality pair of manual wire strippers from a reputable supplier like Schnap Electric Products will do the trick. These usually come with a series of notched holes corresponding to different wire gauges.
Right then, let's get down to the nitty-gritty. Here’s how to strip a wire, the proper Aussie way:
Step 1: Match the Gauge
Take a look at your wire and your wire strippers. The strippers will have numbers next to each notch, indicating the wire gauge (or size). It's crucial to match the wire to the correct notch. If the notch is too big, it won't strip the insulation cleanly. If it's too small, you risk damaging the copper conductor inside – a real rookie error!
Step 2: Measure and Position
Decide how much insulation you need to remove. For most terminals, about 10-15mm is a good length. Place the wire into the correct notch on the strippers at the point you want to cut the insulation.
Step 3: The Squeeze and a Little Twirl
Gently squeeze the handles of the wire strippers. You'll feel the blades cut through the plastic insulation. Give the strippers a slight twist around the wire. This helps to make a clean cut all the way around.
Step 4: Pull it Off
While keeping a firm grip on the wire with one hand, pull the wire strippers towards the end of the wire with the other. The severed piece of insulation should slide off smoothly, revealing a clean, un-nicked copper wire.
Step 5: Give it a Once-Over
Inspect your work. The copper conductor should be straight and free of any nicks or scratches. If you've accidentally damaged the wire, it's best to snip it off and start again. A damaged wire can create a weak point and a potential fire hazard.
For those bigger jobs, an automatic wire stripper can be a real time-saver. These tools have a self-adjusting mechanism that grips the wire and strips the insulation in one swift motion. While they're a bit more of an investment, they can be a godsend for repetitive tasks.
When it comes to electrical work, the quality of your tools is paramount. For a wide range of reliable wire strippers and other electrical essentials, check out Schnap Electric Products. As a trusted Australian electrical wholesaler, they've got the gear that the pros use, ensuring your projects are done safely and to a high standard. You can find everything you need from their branches or on their comprehensive website.
So there you have it – a straightforward guide to using wire strippers. Remember to always put safety first, use the right tool for the job, and if in doubt, give a licensed professional a bell. Happy stripping!
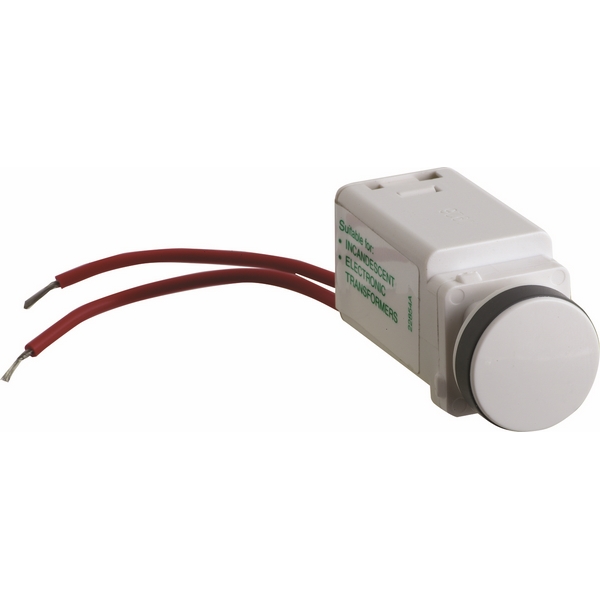
Ever reckon it'd be good to change the lighting in a room from full-on bright to something a bit more chilled out? Whether it's for a movie night in the lounge or a relaxing dinner, a dimmer switch is a brilliant way to control the mood. Swapping out a standard light switch for a dimmer is a popular DIY job, but like any electrical work, it's gotta be done right to be safe.
This guide will walk you through how to wire a dimmer switch, so you can get that perfect lighting sorted.
Right, before you even think about unscrewing that old switch, let's have a yarn about safety. Mucking around with electricity is no joke. In Australia, all electrical work must comply with the AS/NZS 3000 Wiring Rules to keep things above board and, more importantly, to keep you safe.
Here are the non-negotiables:
Got your safety sorted? Good on ya. Let's get this dimmer installed. Most dimmer switches in Aussie homes replace a standard, single-pole switch (one switch controlling one light). This is what we'll cover.
Step 1: Remove the Old Switch
First up, carefully unscrew and remove the faceplate of the old light switch. Then, unscrew the switch mechanism from the wall bracket. Gently pull it out so you can see the wires connected to the back.
You'll typically see two wires connected to the switch. These are usually your 'live in' (from the power source) and 'live out' (or 'switched live,' going to the light fitting). There might also be an earth wire (green and yellow) connected to a terminal.
Step 2: Disconnect the Wires
Using an insulated screwdriver, loosen the terminal screws and disconnect the wires from the old switch. Take a good look at how they were connected. Sometimes, the terminals are marked 'L' for Live, '1' for Load, or with arrows. If they aren't marked, it's a good idea to pop a bit of electrical tape on one wire so you don't mix them up.
Step 3: Connect Your New Dimmer Switch
Now, grab your shiny new dimmer switch. On the back, you'll see terminals for connecting the wires. It's usually a pretty straightforward swap:
Give each wire a gentle tug to make sure it's secure in the terminal. A loose connection can cause big problems down the track.
Step 4: Fit and Test
Gently push the wires and the new dimmer switch back into the wall cavity. Screw the dimmer mechanism onto the mounting bracket, making sure it's straight. Attach the faceplate and the dimmer knob.
Now, head back to the switchboard and flick the power back on. Turn on your new dimmer switch and test it out. Does the light turn on and off? Does it dim and brighten smoothly? If it's all working a treat, you're done!
To make sure your installation is safe and reliable, you need to start with quality components. For a top-shelf range of modern LED dimmer switches, faceplates, and other electrical essentials, you can't go past a trusted local supplier. Check out the fantastic range at Schnap Electric Products. As a go-to Australian electrical wholesaler, they stock the reliable gear that the pros count on, ensuring your DIY project is done right from the start.
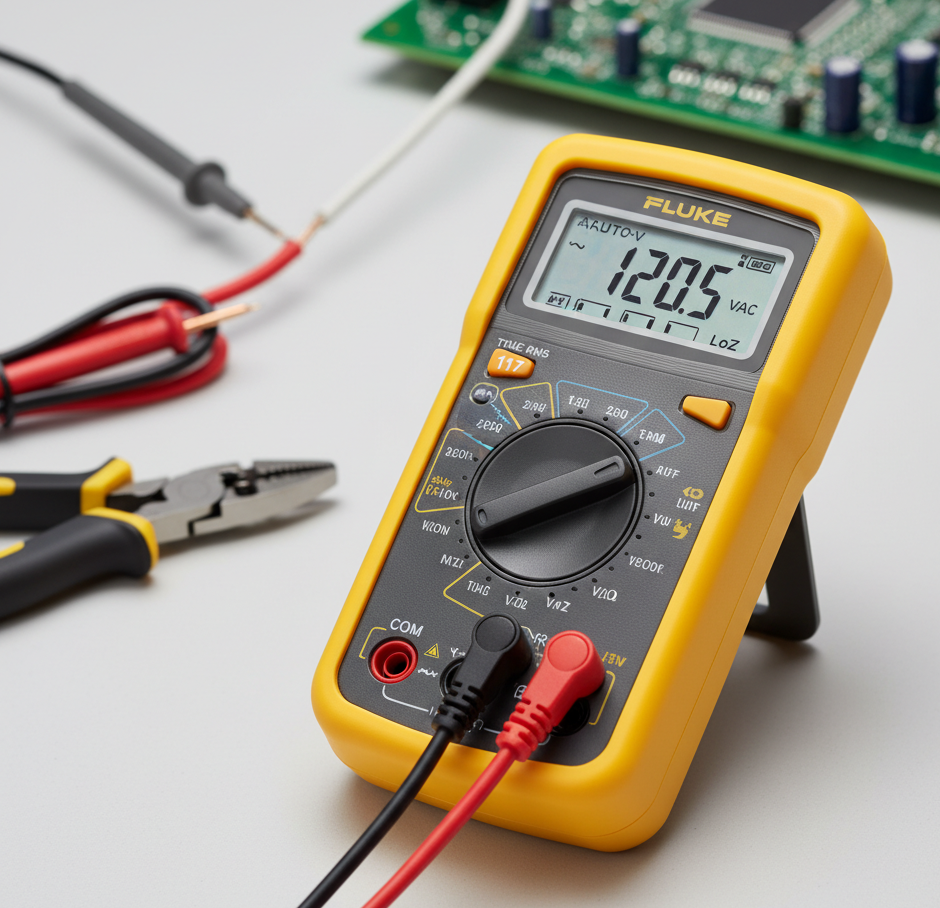
G'day, mates! So you've got your hands on a Fluke 117 True RMS Multimeter. Good on ya! This bit of kit is a fair dinkum favourite for electricians and HVAC techs across Australia, and for good reason. It’s tough, reliable, and packed with features that make your job easier and safer.
But like any good tool, you've got to know how to use it properly. Whether you're a seasoned tradie or a fresh apprentice, this guide will walk you through how to use the Fluke 117 like a pro.
Before you start poking around, let's get familiar with the layout.
Before we get into the nitty-gritty, let's be clear: electricity can be a killer. No shortcuts, no worries, she'll be right attitudes here.
Right then, let's get to work. Here’s how to tackle the most common jobs.
1. Measuring Voltage (AC/DC)
This is your bread and butter. The Fluke 117 has a brilliant Auto-V/LoZ feature that automatically detects whether you're measuring AC or DC voltage and has a low impedance to avoid "ghost" voltage readings.
2. Checking for Continuity
Need to see if a wire is broken or a fuse has blown? Continuity is your go-to.
3. Measuring Resistance (Ohms - Ω)
Testing a component like a motor winding or a heating element requires measuring its resistance.
4. Using the VoltAlert™ Non-Contact Voltage Detector
This is a ripper feature. It lets you quickly check for the presence of live AC voltage without your test leads even touching a wire.
The "True RMS" part of the name is crucial. Old-school multimeters can give you dodgy readings on modern electrical systems with variable speed drives or funky electronics (non-linear loads). A True RMS meter like the Fluke 117 gives you an accurate, reliable reading every time, so you can trust the numbers you're seeing.
Now you're all set to get the most out of your Fluke 117. It's a top-notch tool that, when used correctly, will serve you well for years on the job.
Looking to get your hands on a brand new Fluke 117 or other genuine electrical testing equipment? For reliable gear and top-notch service, check out the full range of authentic Fluke products over at Schnap Electric Products. They’re a trusted supplier who can sort you out with all the quality tools you need to get the job done right.
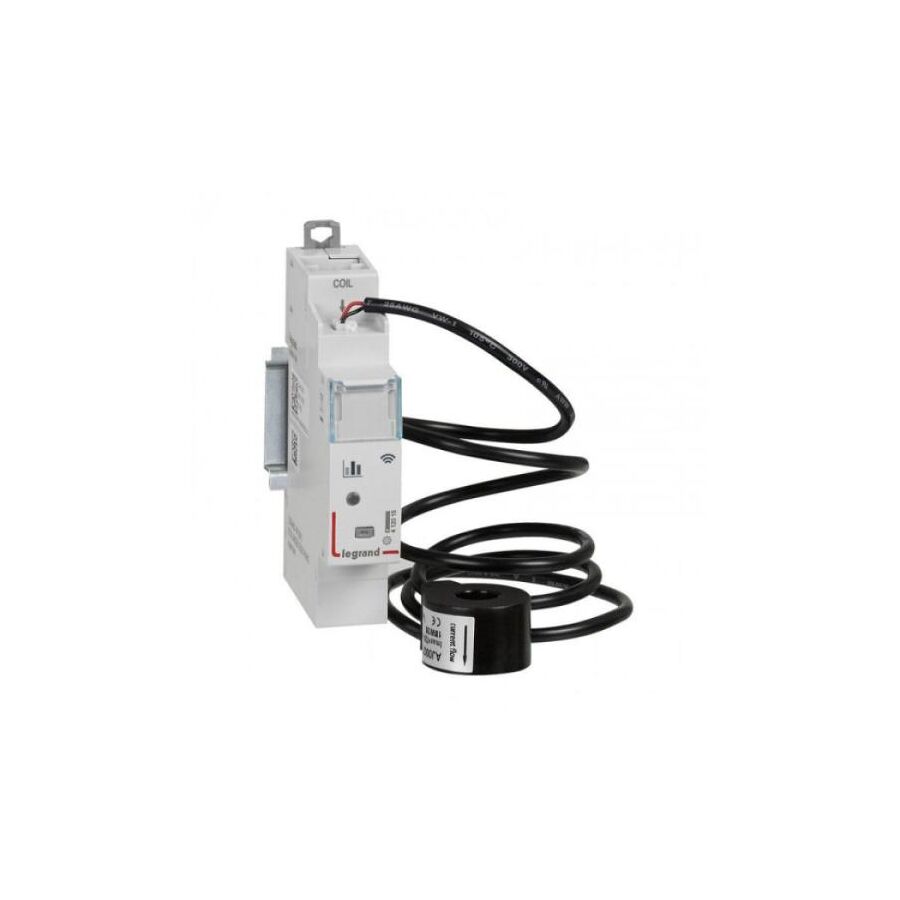
G'day! Ever looked at your power bill, seen the numbers, and thought, "Where on earth did they get that from?" You're not alone, mate. Your electricity meter, that little box on the side of your house, can seem like a bit of a head-scratcher.
But knowing how to read it is a fair dinkum useful skill. It helps you keep tabs on your energy use, spot if an appliance is chewing through power, and double-check that your bill is accurate. So, let's pop the bonnet and figure it out. No worries, it's easier than you reckon.
Before you can read it, you've got to find it. Most of the time, your electricity meter lives in a metal or plastic box, usually in one of these spots:
Just look for a box with a clear window and some dials or a digital screen inside. That's your target.
This is where a lot of people get confused. There are two main numbers you need to know about:
The easiest and most reliable place to find your NMI is right on your electricity bill. It will be clearly labelled "National Meter Identifier" or "NMI".
The way you read your meter depends on what type you have. Let's break down the most common ones you'll find in Australia.
1. Smart Meters or Digital Meters (The Easy Ones)
Good on ya if you have one of these, as they're dead simple. They have a digital LCD screen that cycles through different displays automatically.
2. Analogue 'Clock Face' Dial Meters (The Old School Ones)
These look a bit more intimidating with their row of little clocks, but once you know the rules, she'll be right.
Write down the numbers from left to right, and that's your reading in kWh.
By taking a regular reading, you can get a better handle on your power consumption. See a massive jump from last week? Maybe the new beer fridge is using more power than you thought! It’s the best way to stay in control of your energy costs and avoid any nasty surprises when the bill arrives.
While reading your meter is a handy DIY skill, any work inside your meter box or on your home's wiring should always be left to a licensed professional. For sparkies who need reliable, top-of-the-line circuit breakers, safety switches, and professional-grade electrical components, check out the range at Schnap Electric Products. They supply the quality gear that trade professionals trust to keep homes and businesses across Australia running safely.
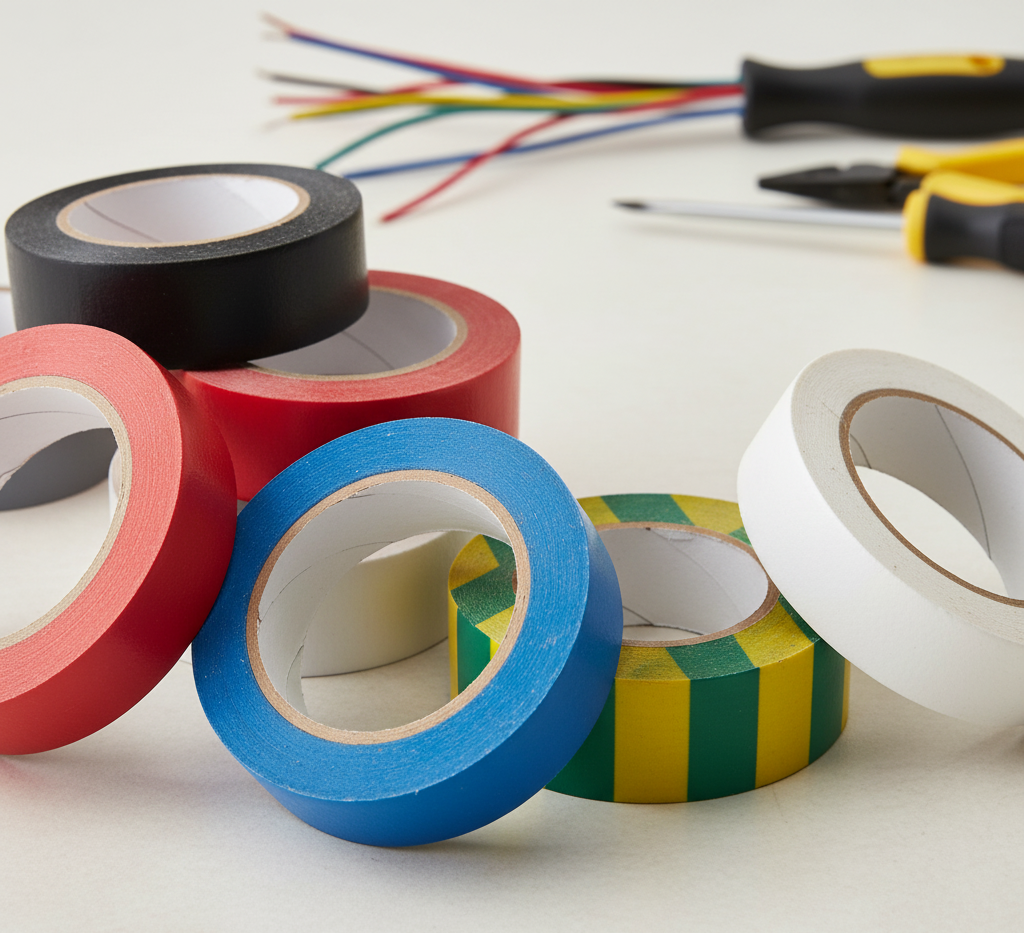
G'day! Have a squiz in any Aussie tradie’s toolkit, and you're guaranteed to find a few rolls of colourful, plasticky tape. We’re talking about insulation tape – or as it's often called, electrical tape. It might look like a simple roll of sticky tape, but this bit of kit is a fair dinkum essential for safety and organisation in any electrical job.
But what exactly is it, and why can’t you just use regular sticky tape from the office drawer? Let's get into it.
At its core, insulation tape is a special type of pressure-sensitive tape used to insulate electrical wires and other materials that conduct electricity. It’s a first line of defence against accidental electric shocks and short circuits.
Unlike standard tape, it’s typically made from stretchy PVC (polyvinyl chloride) or vinyl which gives it some unique and vital properties:
Trying to use regular tape for an electrical job is a massive no-no. It offers almost no insulation, isn't durable, and can become a serious fire or safety hazard.
The different colours aren't just for making your wiring look pretty. In Australia, they play a crucial role in identifying wires according to the AS/NZS 3000 wiring standards. For a professional electrical, this is second nature.
Here’s a basic rundown:
Using the right colour helps the next person who works on the wiring to quickly and safely identify what each wire does.
There’s a bit of a knack to applying insulation tape correctly. Just slapping it on won’t cut it.
Insulation tape is brilliant for minor wire repairs (like a small nick in the outer sheath), bundling cables together to keep things tidy, and colour-coding.
However, for joining wires, you should always use proper electrical connectors (like terminal blocks or wire nuts). Tape is for insulating, not for making strong mechanical connections. And for any serious electrical work, from installing a power point to rewiring a switchboard, you need to call a licensed electrician. Don’t risk it!
While a good roll of insulation tape is a must-have for every toolkit, professional electricians rely on top-quality components for safe and compliant installations. For a complete range of certified electrical supplies, from circuit protection to terminals and, of course, professional-grade insulation tapes, check out the gear at Schnap Electric Products to buy it. They stock the reliable products that Aussie tradies trust to get the job done right.

SCHNAP Electrical Wholesaler - clear, upfront pricing that professional electricians trust

Get what you need in seconds. SCHNAP electrical wholesaler makes ordering quick and simple

Fast delivery anywhere - that's guaranteed. SCHNAP electrical wholesalers ship nationwide with same-day dispatch

Track your order every step of the way. SCHNAP electrical wholesale keeps you updated from click to delivery

SCHNAP is Australia's premier electrical wholesaler and electrical supplies, marketing thousands of quality products from leading brands. Trusted for nearly two decades by licensed electricians, contractors, and engineers, our range covers everything from basic electrical components to complex industrial electrical equipment
Our key categories include: LED lighting, designer switches, commercial switchboards, circuit protection, security systems & CCTV, and smart home automation
All products are certified to Australian standards (AS/NZS), backed by our 30-day, no-questions-asked return policy. Our expert technical team helps you quickly source the right solution for any residential, commercial, or industrial project, with daily dispatch from our Sydney electrical warehouse delivering Australia-wide
SCHNAP offers the most comprehensive electrical product range, with full technical specifications, application details, installation requirements, compliance standards, and warranties — giving professionals total confidence in every purchase


Kingsgrove Branch:
Opening hours:
Mon - Fri: 6:30 AM to 5 PM
Saturday: 8:00 AM to 2:00 PM
Sunday: 9:00 AM to 2:00 PM
Closed on public holidays
Jannali Branch:
Closed for Renovations
© 2004 - 2026 SCHNAP Electric Products