




Kingsgrove Branch:

Temporary power board: It's more than just a plug. Imagine a construction site buzzing with activity, a festival brimming with music and light, or a home under renovation. What powers it all? Often, it's a temporary power board, a versatile and crucial tool for countless situations. This guide dives deep into the world of temporary power boards, covering everything from their diverse applications to essential safety precautions
Get ready to power up your understanding
This guide provides a comprehensive overview of temporary power boards, outlining their various types, functionalities, and safety considerations. From portable generators to power strips and inverters, we'll explore the technical specifications and practical applications of these essential tools. We'll also delve into crucial safety measures and maintenance tips to ensure safe and reliable use
Temporary power board are essential for a wide range of situations, from construction sites to outdoor events. This guide covers everything you need to know about these versatile tools, from their basic components to safety considerations and maintenance
Temporary power boards provide a reliable source of electricity for various applications where a permanent connection isn't feasible or practical. They come in diverse forms, each with specific strengths and weaknesses. Understanding these differences is crucial for selecting the right board for your needs. Different types offer varying wattage, portability, and safety features, impacting the cost and suitability for specific jobs
Temporary power solutions include portable generators, power strips, inverters, and more. Each has unique characteristics:
Components and Functionality
Temporary power boards typically consist of a power source, distribution panel, and safety features. Understanding these elements helps in proper operation and maintenance. Different power sources offer various advantages and disadvantages
Applications and Use Cases
Temporary power boards are essential in numerous situations, supporting everything from lighting on construction sites to powering equipment during events. They are crucial in emergencies and for temporary installations
Proper grounding is critical. Local building codes and industry standards dictate specific requirements. Improper use can lead to serious hazards
Regular maintenance, including cleaning and inspections, is essential for prolonged use
Cost and Selection Criteria
The cost of temporary power boards varies greatly depending on the features and capacity. Several factors influence the selection process
In conclusion, temporary power boards are indispensable for a wide array of applications, from emergency situations to everyday tasks. Understanding the different types, their functionalities, and the essential safety precautions is crucial for safe and efficient use. Remember to prioritize safety, choose the right equipment for the job, and always consult the user manual for specific instructions. By doing so, you can maximize the benefits of temporary power boards and ensure a smooth operation in any setting. See front gate intercom
Happy powering
What are the common safety precautions when using temporary power boards?
Always ensure proper grounding, use circuit breakers, and avoid overloading the board. Inspect the equipment before each use, and never use a damaged or faulty board. Keep children and pets away from the power source, and follow local electrical codes
What are the different types of temporary power boards available?
Common types include portable generators, power strips, and inverters. Generators provide power from fuel, power strips distribute existing power, and inverters convert battery power to usable AC power. Each has unique features and capabilities, and choosing the right type depends on your needs
How do I select the right temporary power board for my needs?
Consider the wattage required, the portability needs, and the safety features. If you're unsure, consult an electrician or refer to the detailed specifications. A suitable power board will handle the load without overloading or causing damage
What are the common troubleshooting steps for temporary power board malfunctions?
Check for loose connections, ensure proper grounding, and verify that the circuit breaker isn't tripped. If the problem persists, consult a qualified electrician. Don't try to fix complex issues yourself
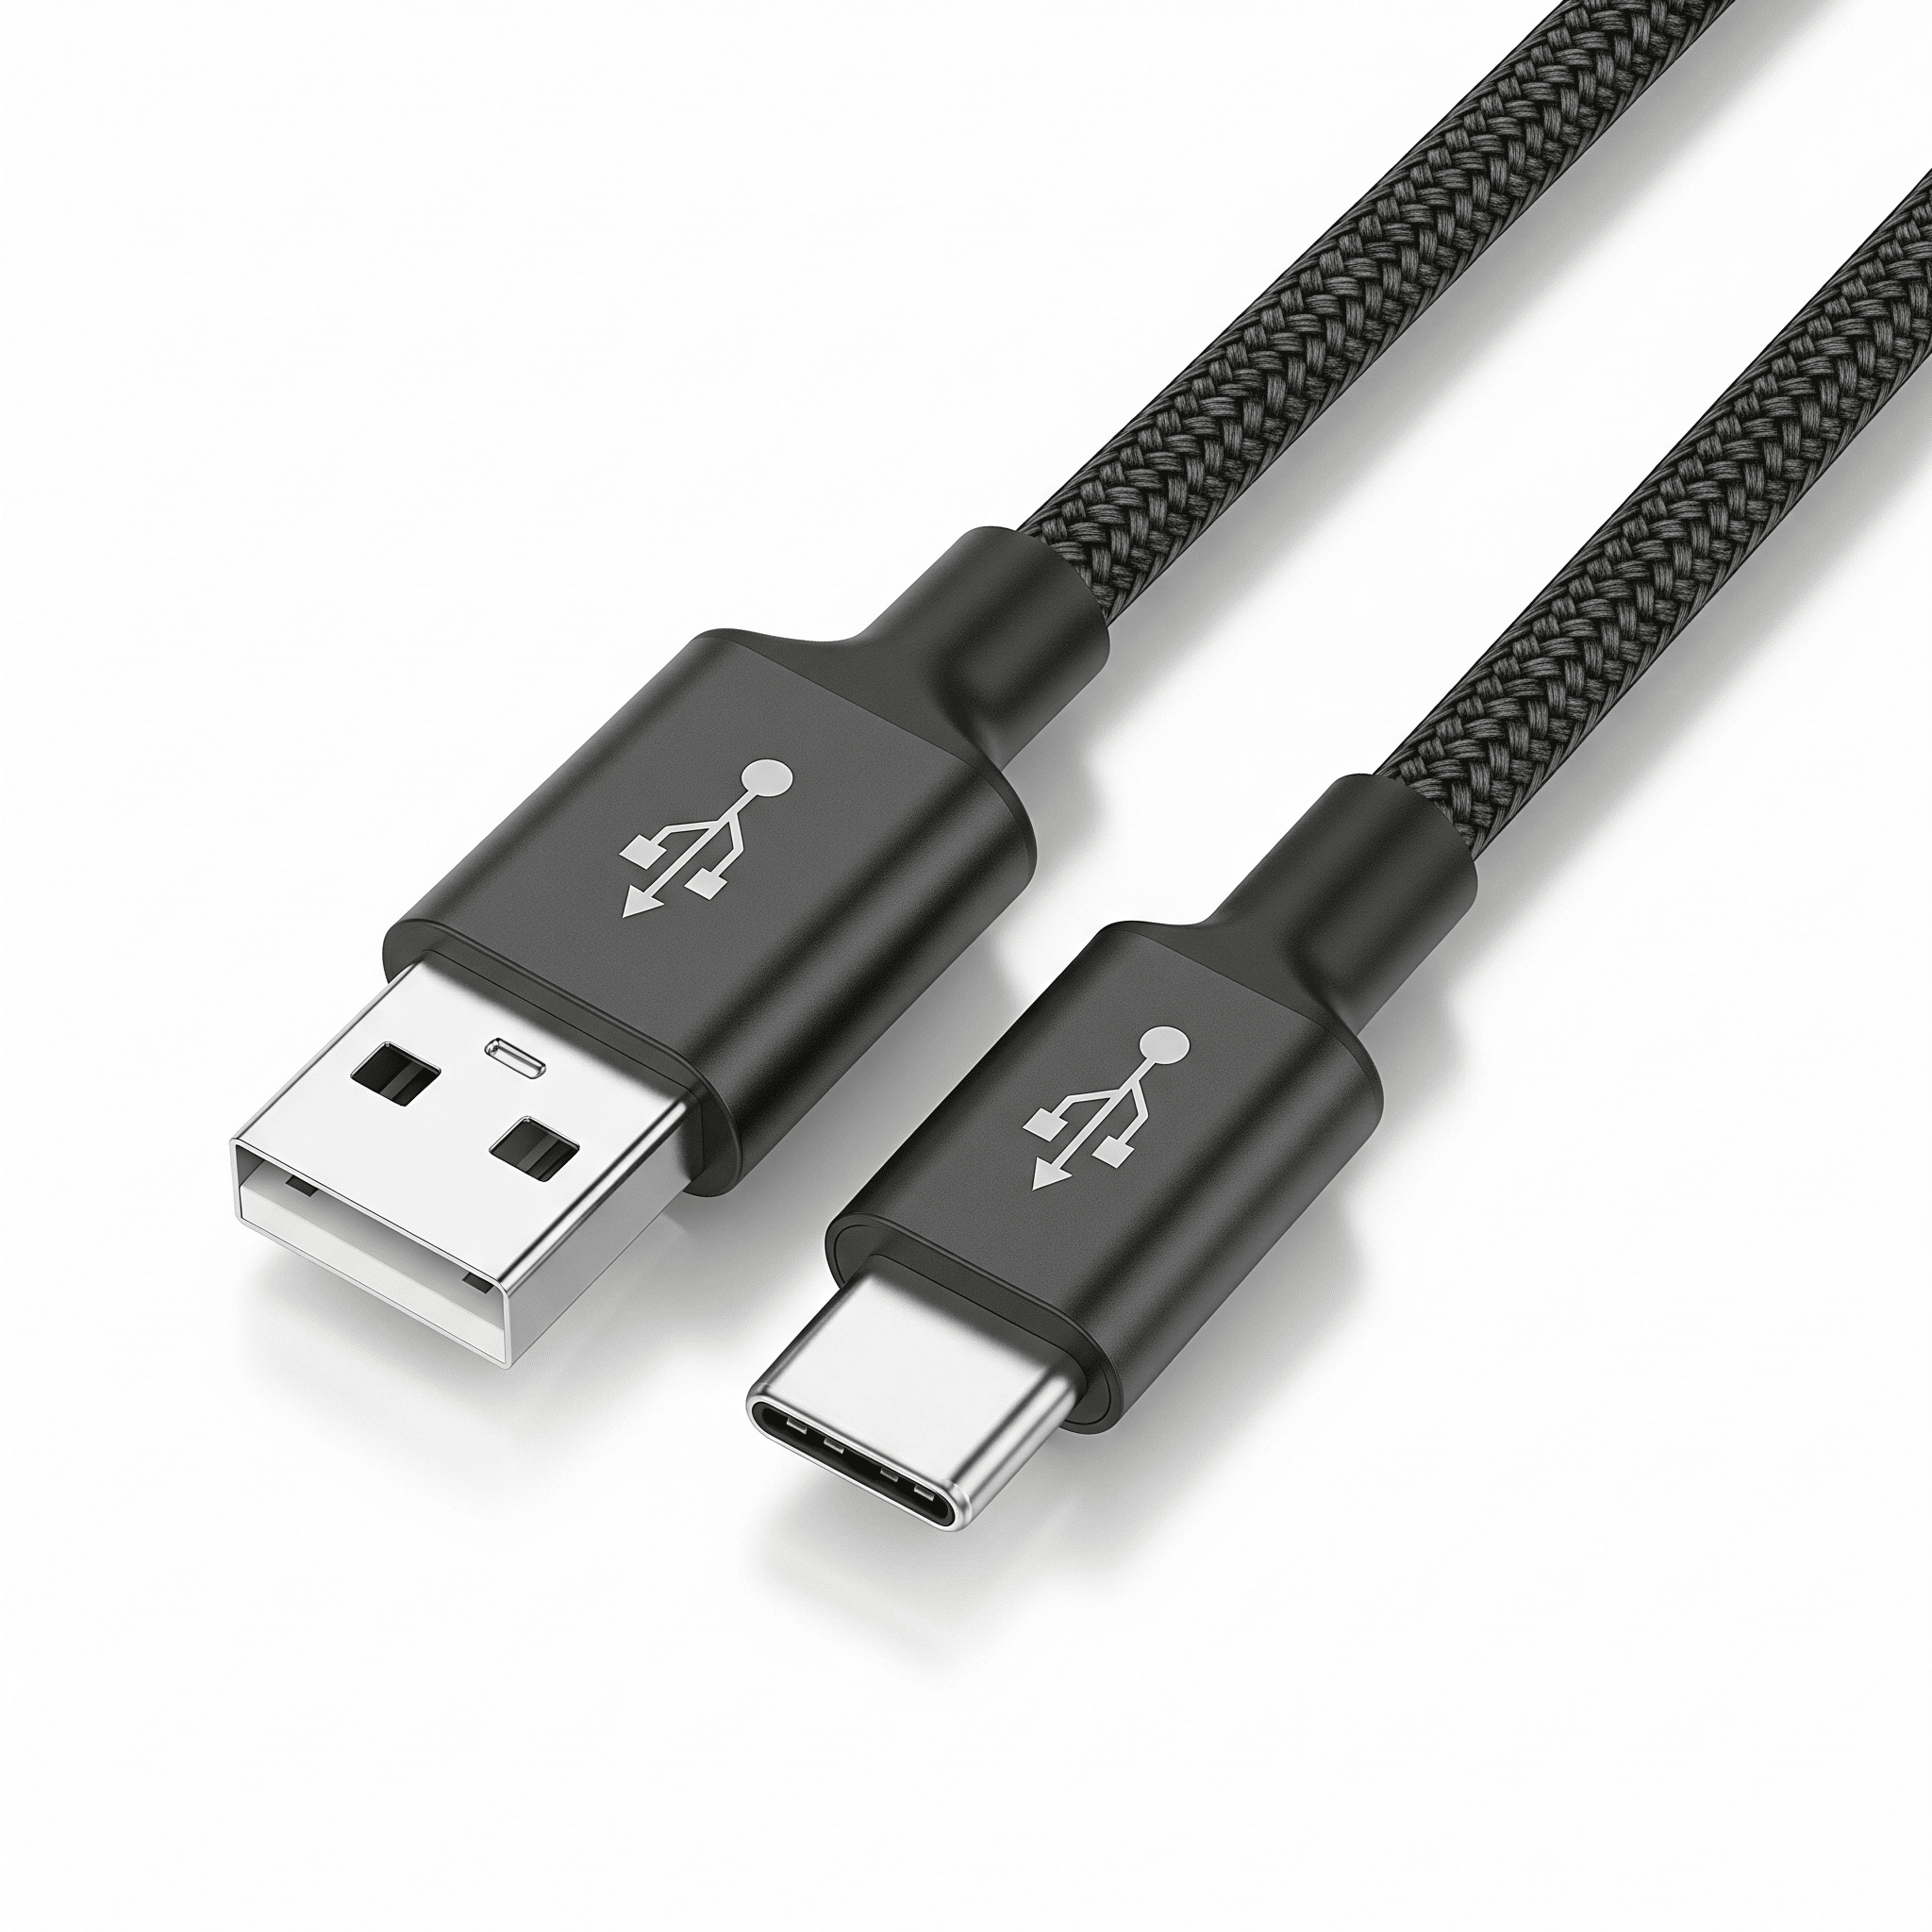
USB-A to USB-C adapter is a crucial bridge in the evolving digital landscape. From connecting legacy devices to modern marvels, these adapters have become indispensable tools for compatibility. This guide dives deep into the world of USB-A to USB-C, exploring their history, technical specifications, practical applications, and future prospects
Understanding the nuances of these adapters is key to ensuring seamless data transfer and power delivery. We'll examine the various types, their compatibility, and the factors influencing their quality and cost. This exploration promises to empower you with the knowledge to navigate the digital realm with confidence
USB-A to USB-C cables are super common, but sometimes you need to convert USB-C to something else, like USB-A. Figuring out how to do that can be a bit tricky, but this guide explains the ins and outs of USB-C to USB adapters. Ultimately, though, understanding these conversions helps you appreciate how versatile USB-A to USB-C connections truly are
USB-A to USB-C adapters have become increasingly common, bridging the gap between older USB-A devices and newer USB-C ports. This guide explores the history, technical specifications, practical applications, quality, cost, and future trends of these essential accessories
USB-A, introduced much earlier, has been a standard for connecting peripherals to computers and other devices. USB-C, with its reversible design and higher bandwidth, has quickly become the preferred connection method for many modern devices. The need for adapters arises because not all devices are equipped with the latest USB-C ports, making the older USB-A ports a necessity
| Description |
|---|
| Ranges from a few centimeters to several meters, affecting the reach of the connection |
| Metal, plastic, or a combination, influencing durability and cost |
| Quality and precision of the USB-A and USB-C connectors are critical for reliable connections |
Understanding the technical specifications of USB-A and USB-C ports is key to understanding adapter compatibility. Differences in data transfer rates and power delivery capabilities are important factors to consider
| Compatibility with USB-A to USB-C Adapters |
|---|
| Adapters will typically work, but performance may be limited |
| Adapters will likely support data transfer |
| Performance is typically supported |
| Performance should be supported, depending on the adapter |
| Support for USB 4 requires specific, high-quality adapters |
USB-A to USB-C adapter are vital for connecting legacy peripherals to modern devices. They are widely used in various industries and scenarios
| Corresponding USB-A to USB-C Adapter Needs |
|---|
| Adapters for data transfer and power |
| Adapters supporting the required data transfer speed |
In conclusion, USB-A to USB-C adapters have revolutionized how we connect devices. Their versatility, adaptability, and the continuous evolution of USB technology make them a vital part of the digital ecosystem. This comprehensive guide has provided a detailed overview of their functionality, from the historical context to future possibilities. Armed with this knowledge, you can confidently choose the right adapter for your specific needs
USB-A to USB-C adapters are pretty common, right? They're like the translators of the tech world. You've got your older devices, clinging to their trusty USB-A ports, and then there's the newer USB Type-C standard , which is all about speed and versatility. But ultimately, the USB-A to USB-C adapter is your bridge back to that older world, making sure everything still works together seamlessly
What are the common compatibility issues with USB-A to USB-C adapters?
Compatibility issues can arise due to different USB versions (2.0, 3.0, etc.) and varying power delivery capabilities. Sometimes, the adapter itself might not be up to par, leading to slow transfer speeds or connection problems. Always check the specifications of both your source and destination devices to ensure compatibility
How do I choose the right USB-A to USB-C adapter for my needs?
Consider the length you need, the type of connector, and the data transfer speeds required. For instance, if you need to connect a legacy device, make sure the adapter supports the older USB-A standard. If you're transferring large files, opt for a faster USB 3.0 or 3.1 adapter. Read reviews and compare specifications before purchasing
What are the potential future developments in USB technology that might impact USB-A to USB-C adapters?
Future USB standards might introduce faster transfer rates and enhanced power delivery capabilities. This could lead to more compact and efficient adapters, potentially with built-in functionalities. We might see increased integration with other technologies, like wireless charging, for even more streamlined connectivity
What are the factors that influence the cost of USB-A to USB-C adapters?
The price of an adapter depends on several factors. Higher quality materials, faster transfer speeds, and the brand reputation all contribute to a higher cost. Sometimes, adapters with additional features, like built-in hubs, will also command a premium. Shop around and compare prices to find the best value for your money
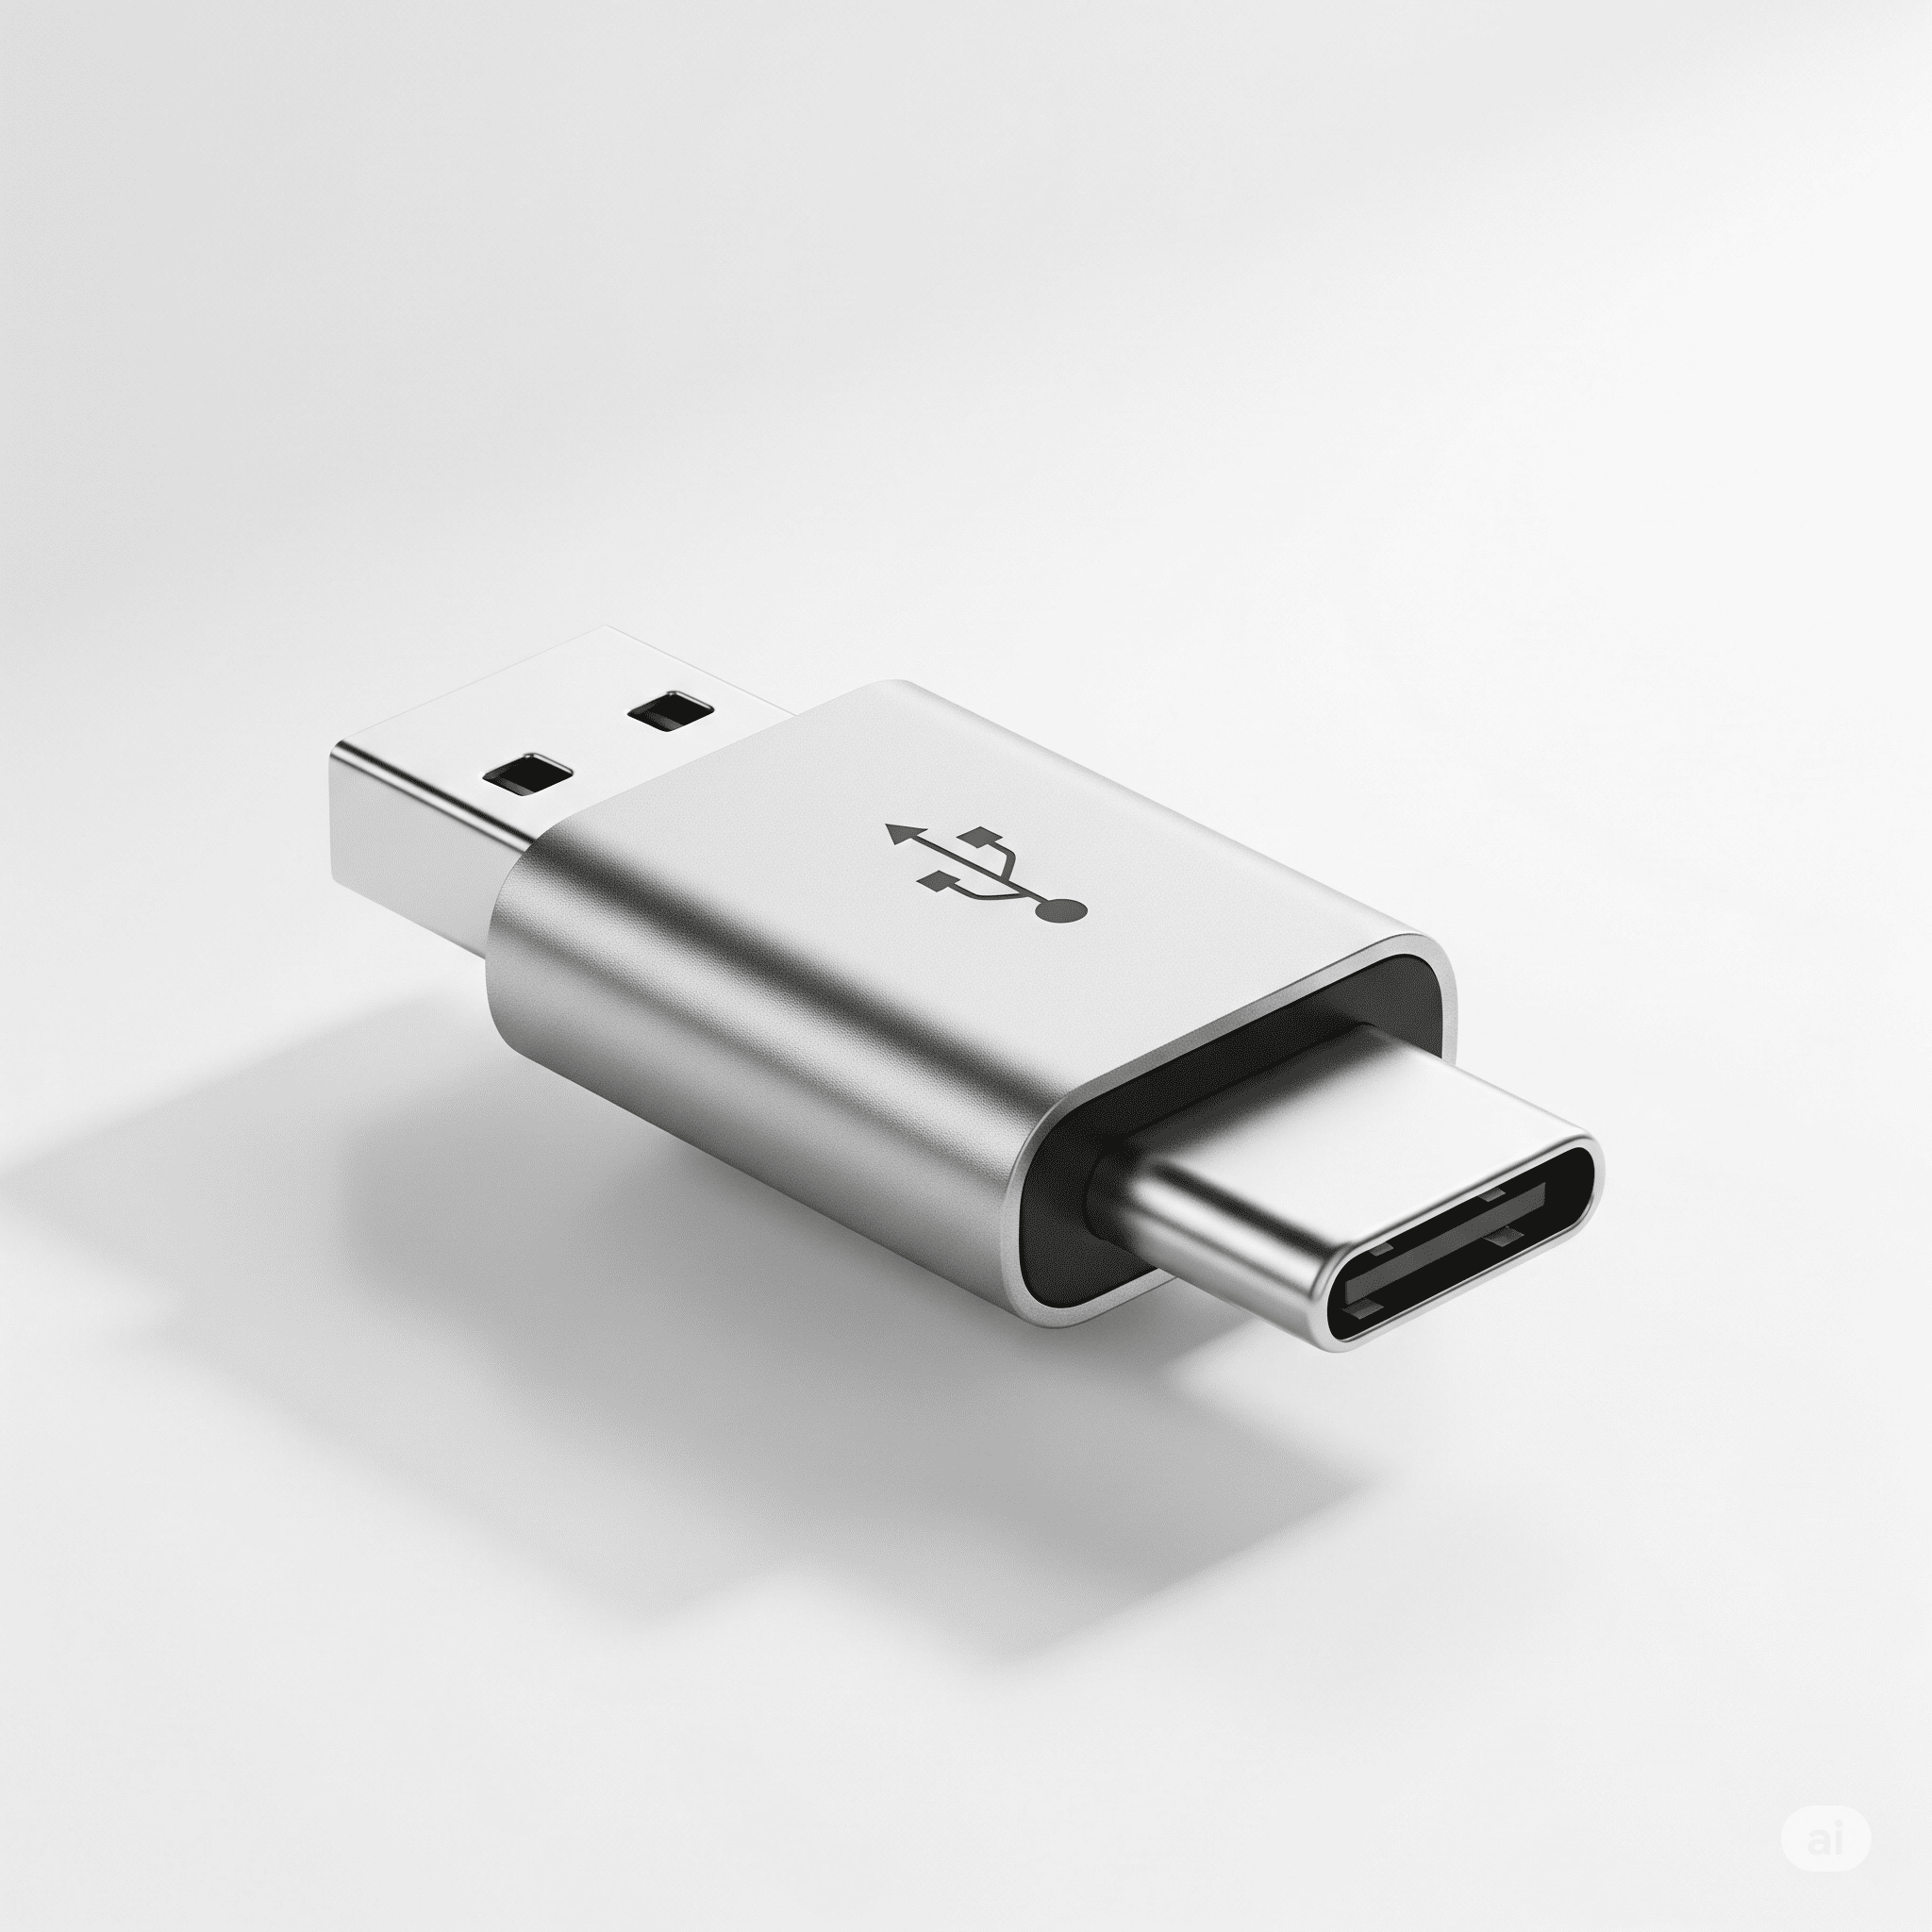
USB-C to USB: Navigating the world of adapters can feel like a labyrinth, but this guide simplifies the process. From understanding the different types of connectors and their differences to assessing performance and power delivery, we'll break down the complexities and help you choose the perfect USB-C to USB adapter for your needs
Whether you're a tech enthusiast, a student, or a professional, this comprehensive overview will equip you with the knowledge to confidently select the right adapter, avoid compatibility issues, and maximize your data transfer and charging speeds
USB-C has revolutionized connectivity, offering speed and versatility. But sometimes, you need to connect to older devices using a traditional USB port. This guide dives deep into USB-C to USB adapter, covering everything from their history and technical specs to choosing the right one and troubleshooting common problems
USB-C, with its reversible design and versatile capabilities, has quickly become the standard for modern devices. Understanding its evolution and the differences between various USB connectors is crucial for choosing the right adapter
| Features | Price |
|---|---|
| Basic connectivity | Low |
| Faster data transfer | Medium |
| High-speed data transfer | High |
Understanding the technical specifications of USB-C and USB standards is crucial for ensuring compatibility and performance
May not support the highest speeds
Direct connection, often highest speeds
| Compatible USB Devices | |
|---|---|
| USB 3.0 and earlier devices | |
| Most modern USB-C devices |
Data transfer speed is a key factor when choosing an adapter
Ideal conditions
| Transfer Speed (MB/s) | |
|---|---|
| ~500MB/s |
In conclusion, selecting the right USB-C to USB adapter involves careful consideration of compatibility, power delivery, and data transfer rates. By understanding the factors influencing performance, you can make an informed decision that meets your specific needs. This guide provided a roadmap to help you navigate the often-confusing world of USB-C to USB adapters, ensuring you're well-equipped to connect your devices efficiently and effectively. See USB-A to USB-C
What are the common compatibility issues when using different USB-C to USB adapters?
Different USB-C to USB adapter versions might not fully support the latest USB standards, resulting in slower data transfer speeds or incompatibility with specific devices. The power delivery capabilities also vary, potentially impacting charging speeds. Ensure you check the adapter's specifications and the device's requirements before making a purchase
USB-C to USB adapters are super handy, but remember the days of bulky micro USB cables? They were a real pain, weren't they? Thankfully, the modern USB-C to USB standard is much more streamlined. For a quick refresher on the older micro USB, check out this insightful article on micro USB. But back to the future: USB-C to USB adapters are a game-changer for connecting older devices to newer ports
How can I measure the data transfer speed of a USB-C to USB adapter?
Various tools and software are available to test data transfer speeds. Some operating systems offer built-in tools, while specialized benchmarking software provides more detailed results. Remember to compare the results against the specifications of the adapter and device
USB-C to USB is a pretty common connection, but sometimes you need a little extra help. If you're having trouble connecting your USB-C devices to older USB ports, a USB to USB-C adapter is a lifesaver. It bridges the gap, making sure everything plugs in seamlessly and you can finally get that data transfer going! So, if you're stuck with a USB-C device but need a standard USB connection, remember that adapter, and you'll be good to go
What are the potential risks of using inappropriate adapters for charging devices?
Using an incompatible or low-quality adapter can damage your device's battery or even cause electrical issues. Always prioritize adapters that meet the manufacturer's specifications and have a good reputation for safety and reliability
What factors should I consider when selecting an adapter, besides compatibility?
Beyond compatibility, consider the adapter's build quality, reviews, and price. A well-built adapter will be more durable and reliable. Thoroughly researching different brands and reading reviews can provide valuable insights
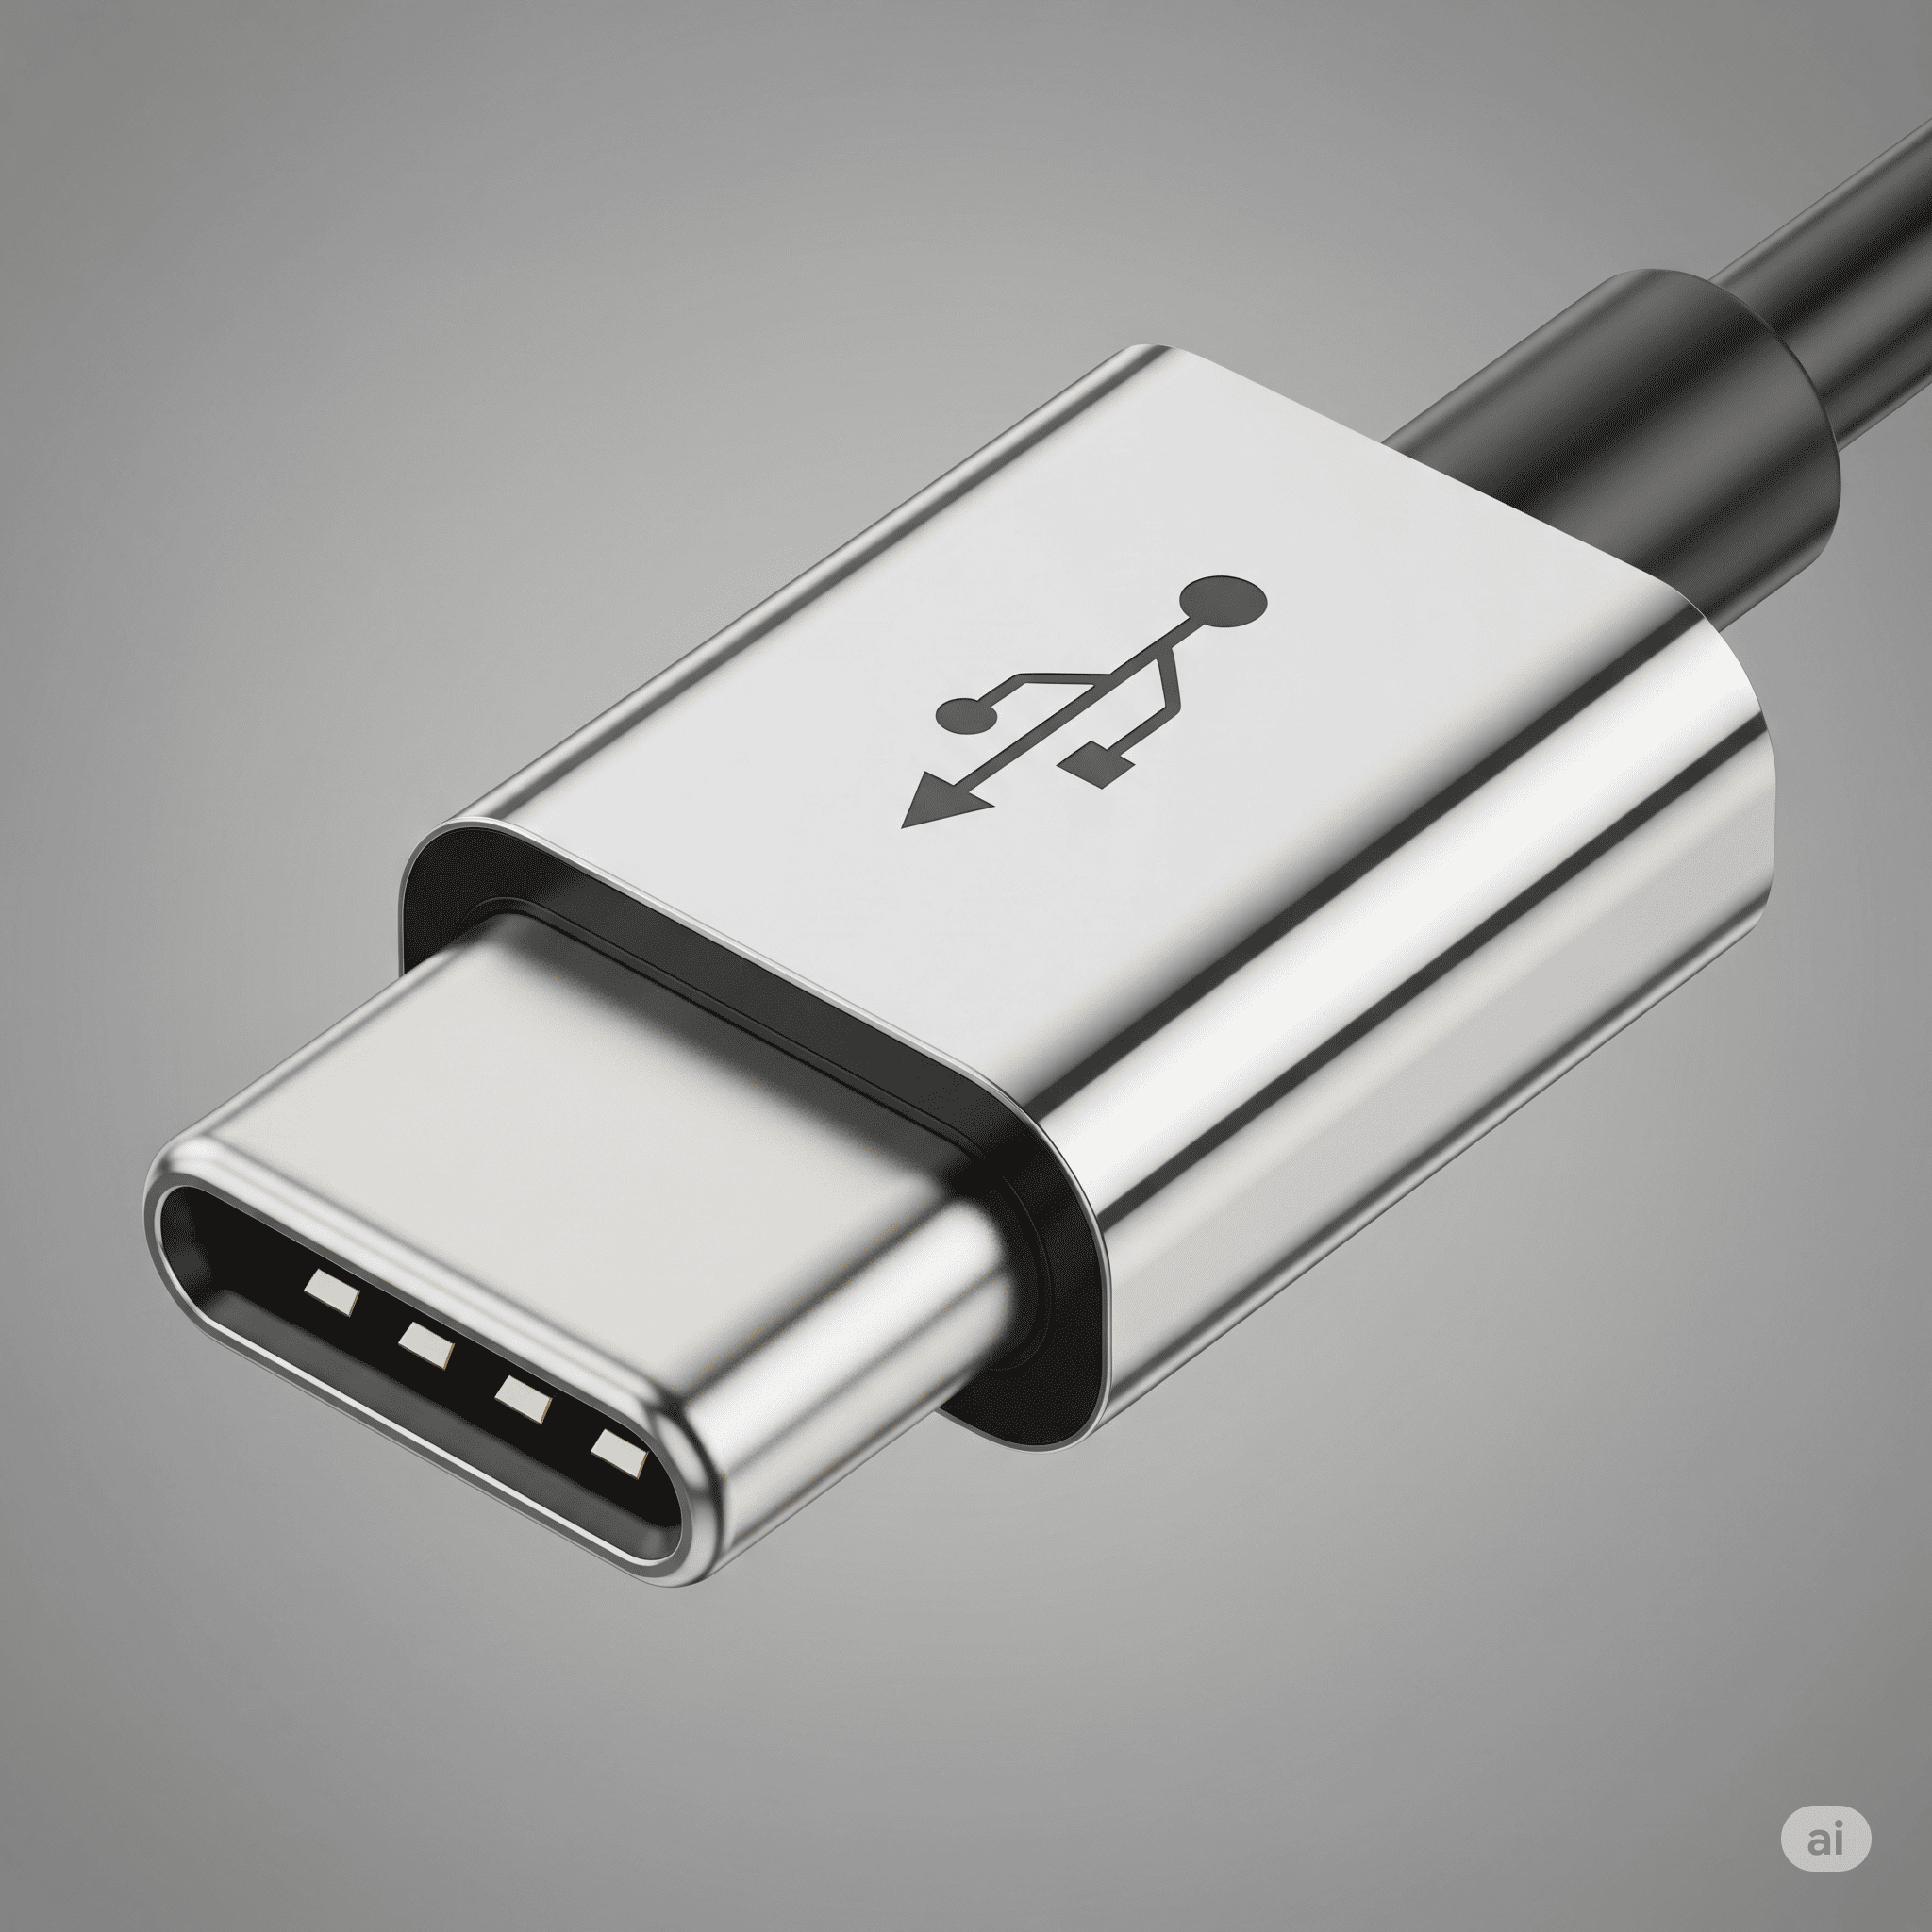
USB Type C, the revolutionary connector, is rapidly transforming how we connect our devices. From smartphones to laptops, and even industrial equipment, its versatility and speed are making it the go-to choice for data transfer and power delivery. This journey delves into its history, technical specifications, diverse applications, potential challenges, and exciting future trends
USB-C is the future, folks, a sleek, speedy marvel. But before it became ubiquitous, we all had to deal with the slightly less glamorous Micro USB. Want to learn more about the humble Micro USB and its history? Check out this fascinating article on its evolution: micro usb. Thankfully, the USB-C revolution has finally swept away the frustrations of those tangled cables
USB-C is here to stay, offering a streamlined and efficient charging and data transfer experience
This comprehensive guide explores the intricate details of USB Type-C, providing insights into its evolution, capabilities, and real-world applications. Prepare to be amazed by the seamless integration of this versatile connector into modern technology. See USB C to USB
USB Type-C has revolutionized how we connect devices. Its versatility and advanced features have made it the dominant standard for connectivity in many modern gadgets. This exploration delves into the history, technical specifications, applications, challenges, and future of this ubiquitous connector
The evolution of USB standards from USB-A to USB-C reflects a constant push for improved functionality. USB-A, with its straightforward design, was the initial standard. Later, the miniaturized USB-Micro emerged, but it still had limitations in terms of power delivery and data transfer speeds. USB Type-C addressed these limitations with a reversible connector, enabling faster data rates, higher power delivery, and a more compact form factor
This evolution shows how technology constantly adapts to meet growing needs
USB Type-C's design is far more practical than its predecessors. Its reversible connector eliminates the hassle of aligning the plug. It also supports higher data transfer speeds, enabling faster file transfers and more seamless multimedia experiences. Crucially, Type-C excels at power delivery, allowing it to charge devices rapidly and efficiently. This versatility makes it suitable for a wide array of devices
USB-C is practically everywhere these days, a real game-changer for connectivity. But what if you need to connect older devices? A USB to USB-C adapter is your trusty sidekick, letting you seamlessly plug in those legacy peripherals. It's a lifesaver for keeping your USB-C-equipped gadgets happy and productive
The physical characteristics of USB Type-C connectors are significant. The connector's dimensions and pinouts enable compatibility across a variety of devices. Various implementations of USB Type-C support different data transfer speeds. Understanding these speeds is essential when selecting cables and devices. Power delivery capabilities are another critical aspect
Type-C supports various power modes and voltage ratings, enabling it to charge a wide range of devices. Different protocols and technologies, like DisplayPort Alternate Mode, extend the capabilities of USB Type-C. Cable types and their limitations should also be considered. Choosing the right cable is crucial for optimal performance
USB Type-C has permeated numerous industries. From smartphones and laptops to peripherals and external storage, Type-C connectors are now commonplace. The versatility of USB Type-C is evident in its widespread adoption across devices. Common accessories like hubs and adapters broaden the functionality of USB Type-C. These accessories expand the potential uses for this technology
Its presence across a spectrum of products highlights its versatility
Compatibility issues sometimes arise when using USB Type-C. Cable quality can impact performance, leading to connectivity problems. Power limitations in certain scenarios are also a factor to consider. Solutions for these issues include using high-quality cables and connectors. Future advancements in USB-C technology will undoubtedly address these concerns
Predicting the future of USB Type-C technology involves considering emerging trends. Improvements in speed and power delivery are expected, along with further integration with other technologies. The anticipated future of USB Type-C technology is one of enhanced capabilities and wider compatibility. These advancements will shape the future of connectivity in various ways
A comprehensive article on USB Type-C should encompass a detailed exploration of its various aspects. The structure should be logically organized, making the information easily digestible. A table of contents will aid readers in navigating the extensive content. The article should utilize headings and subheadings to present information clearly and concisely. Tables and figures will effectively showcase key data points
Different ways of presenting data, such as bullet points and blockquotes, will add visual appeal and variety. This structure will ensure the article is informative and engaging
In conclusion, USB Type-C has undeniably revolutionized connectivity, offering a powerful blend of speed, versatility, and future-proof design. While challenges remain, the ongoing advancements and adoption across industries ensure its continued dominance in the digital landscape. Its impact on everything from mobile devices to industrial applications is undeniable, and its future looks bright, promising even more innovative possibilities
What are the common compatibility issues with USB Type-C?
Compatibility issues can arise from variations in cable quality, device drivers, and even the specific Type-C implementation. Ensuring the cable and device are compatible is crucial for optimal performance
How does USB Type-C compare to other USB standards like USB-A?
USB Type-C offers significant advantages over USB-A, including its reversible design, higher data transfer speeds, and increased power delivery capabilities. It's a more future-proof and versatile connector
What are the different power delivery profiles supported by USB Type-C?
Various power delivery profiles exist, catering to different power needs. Understanding these profiles is essential for selecting the right cable and device to ensure compatibility and prevent damage
What are some potential solutions to overcome USB Type-C compatibility issues?
Thorough device and cable compatibility checks, updated drivers, and careful consideration of power delivery profiles can help minimize compatibility problems. Also, choosing reputable brands and quality cables can greatly improve reliability
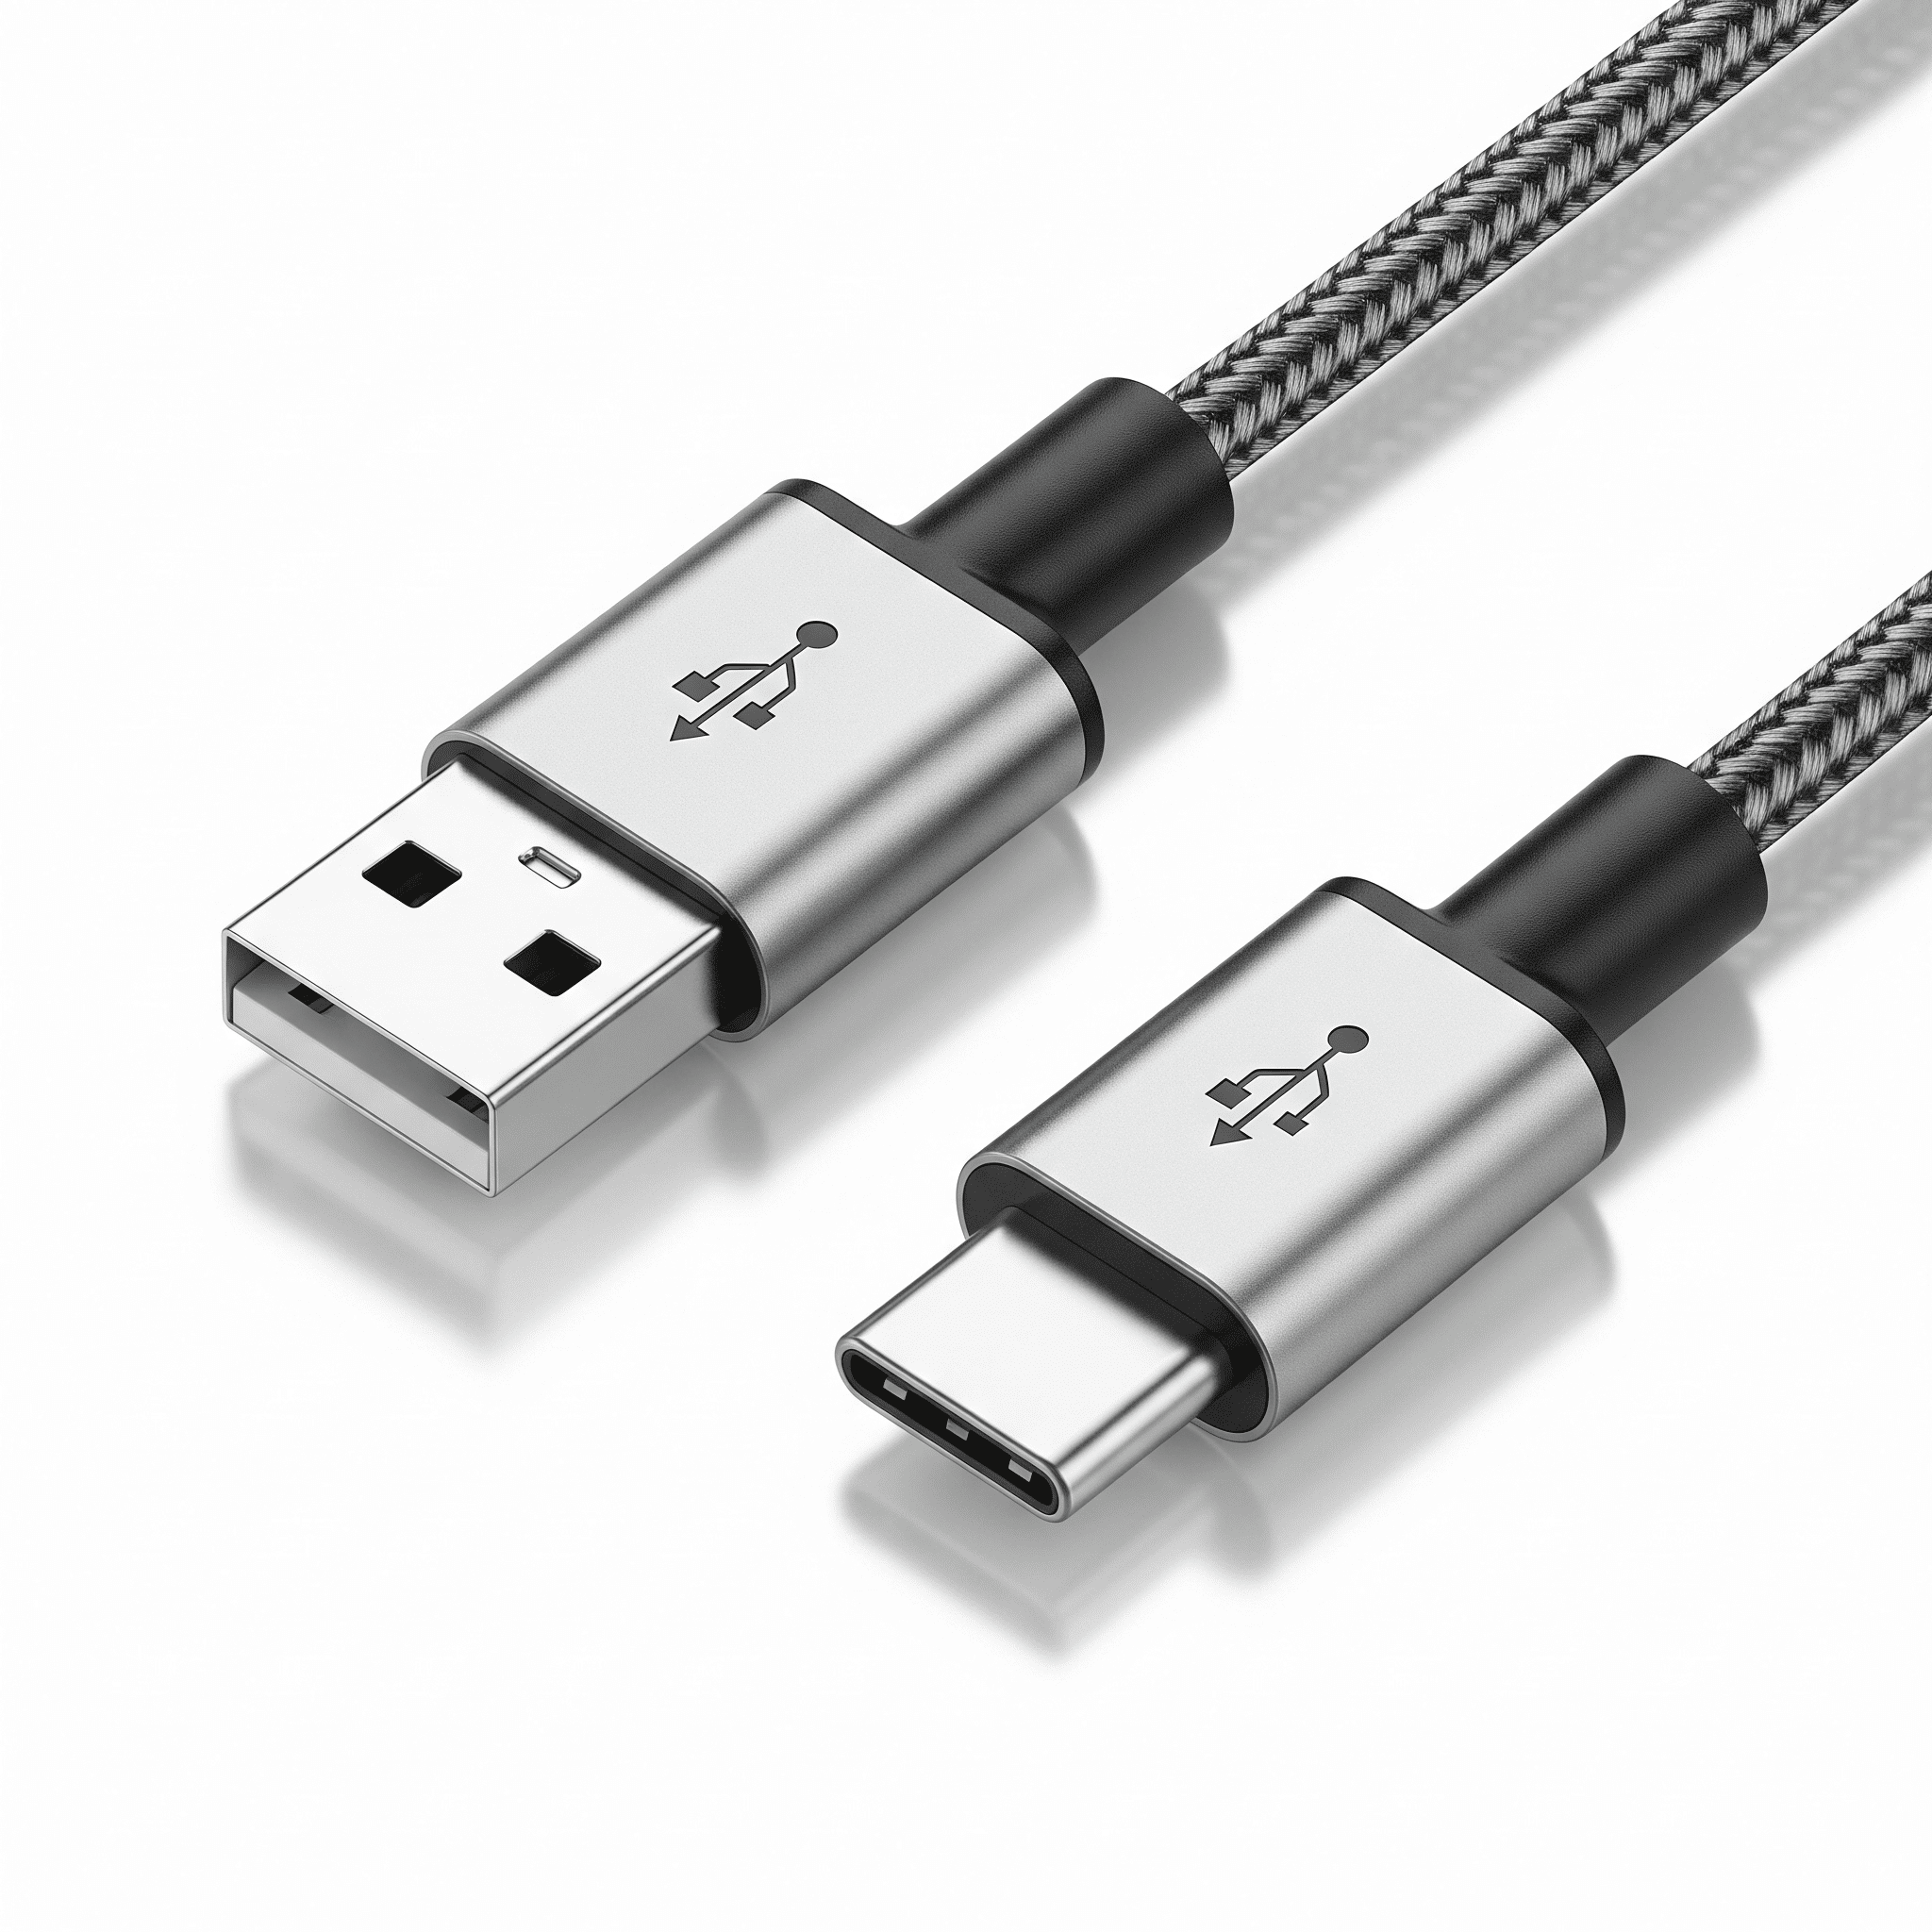
USB to USB-C adapter: your gateway to a connected world. From effortlessly charging your phone to seamlessly transferring massive files, these little adapters are more than just connectors; they're your connection companions. This comprehensive guide delves into the evolution, versatility, compatibility, troubleshooting, future prospects, and even the cost-effectiveness of these essential tools. Get ready for a deep dive into the amazing world of USB-C adapters
This guide explores the fascinating journey of USB-C technology, from its humble beginnings to its current widespread use. We'll unpack the different types, their compatibility, and their remarkable impact on how we connect our devices. Whether you're a tech enthusiast or a casual user, this guide provides a practical and insightful look into the world of USB-C adapters
USB-C adapters have transformed how we connect devices, offering a blend of speed, versatility, and convenience. From humble beginnings, they've become indispensable tools for everyday use
USB-C technology has seen significant advancements since its inception. Early models focused primarily on charging and data transfer, but subsequent iterations have incorporated more functionalities
These changes reflect a growing demand for more versatile and powerful connections
The market offers a diverse range of USB-C adapters catering to various needs. These adapters vary in their functionalities and compatibility
| Supported Devices | Compatibility |
|---|---|
| Smartphones, tablets, laptops | Wide compatibility across most devices |
| Laptops, tablets | Depends on the display resolution and supported ports |
| Laptops, tablets, smartphones | Requires compatible network ports on devices |
| Laptops, tablets | Depends on the device's audio support |
The development of USB-C adapters has significantly impacted the mobile device market, driving innovation and user experience
USB-C adapters aren't just for charging; they're versatile tools for a range of tasks
USB-C adapters extend beyond simple charging functions, enabling users to connect a variety of peripherals to their devices
These applications demonstrate the broader impact of USB-C adapters on the connectivity landscape
Compatibility is crucial for seamless use of USB-C adapters
Different USB-C adapters might have varying compatibility with specific devices and operating systems. This can lead to issues with charging or data transfer
| Supported Devices | Data Transfer Rate |
|---|---|
| Most modern laptops and smartphones | Up to 10 Gbps |
| Laptops, external storage devices | Up to 40 Gbps |
Troubleshooting USB-C adapter issues involves systematically checking various components
Connectivity problems with USB-C adapters can stem from several factors, including faulty cables, incompatible devices, or driver issues
Troubleshooting Steps:
- Check the cable connection for any damage or loose connections
- Ensure the device's USB-C port is clean and free from debris
- Restart the device to refresh the system and identify driver issues
- Update device drivers to ensure compatibility
The future of USB-C adapters promises further innovations and improvements
The future holds potential for even faster charging speeds, more compact designs, and enhanced functionalities
Conceptual next-generation adapter: Imagine a slim, sleek adapter with integrated charging and data transfer capabilities. It could potentially incorporate a built-in display output, further enhancing its versatility
The cost of USB-C adapters varies depending on features and functionalities
Factors like material quality, speed, and additional features influence the price of USB-C adapters
In conclusion, USB-C adapters have transformed the way we interact with our digital devices. From their evolution and versatility to compatibility and troubleshooting, we've explored a wide range of aspects. As technology continues to advance, the USB-C adapter will undoubtedly remain a crucial component in our interconnected world. This guide provides a solid foundation for understanding and utilizing these essential tools, ensuring a smooth and connected experience for years to come
What are the common causes of slow data transfer speeds with a USB-C adapter?
Several factors can cause slow data transfer speeds. A faulty adapter, a damaged cable, or issues with the device's USB-C port are possibilities. Also, outdated drivers or software conflicts can impede transfer rates. In some cases, the file size itself may also be a contributing factor. Consider checking all these areas to resolve the problem
How do I know if the issue is with the adapter, the device, or the cable?
Try a different cable with the same device and adapter. If the problem persists, the issue might lie with the adapter. If the problem disappears, the cable was likely the problem. If neither of these changes solves the issue, the device itself could be the problem. Try another device to see if the problem transfers
Are there any specific safety precautions I should take when using a USB-C adapter?
Always ensure the adapter is compatible with the device. Using an incompatible adapter can damage the device or cause malfunctions. Check the output specifications to ensure that the adapter is suitable for the charging requirements of your device. Always handle the adapter with care, and avoid dropping or damaging it
What are the different types of USB-C adapters available, and what are their key features?
There are numerous types of USB-C adapters catering to various needs. Some are designed for charging, others for data transfer, and some for display output. Key features vary significantly depending on the specific adapter, including charging speeds, data transfer rates, and supported devices. Research the specific needs of your device and the intended use of the adapter to select the appropriate type
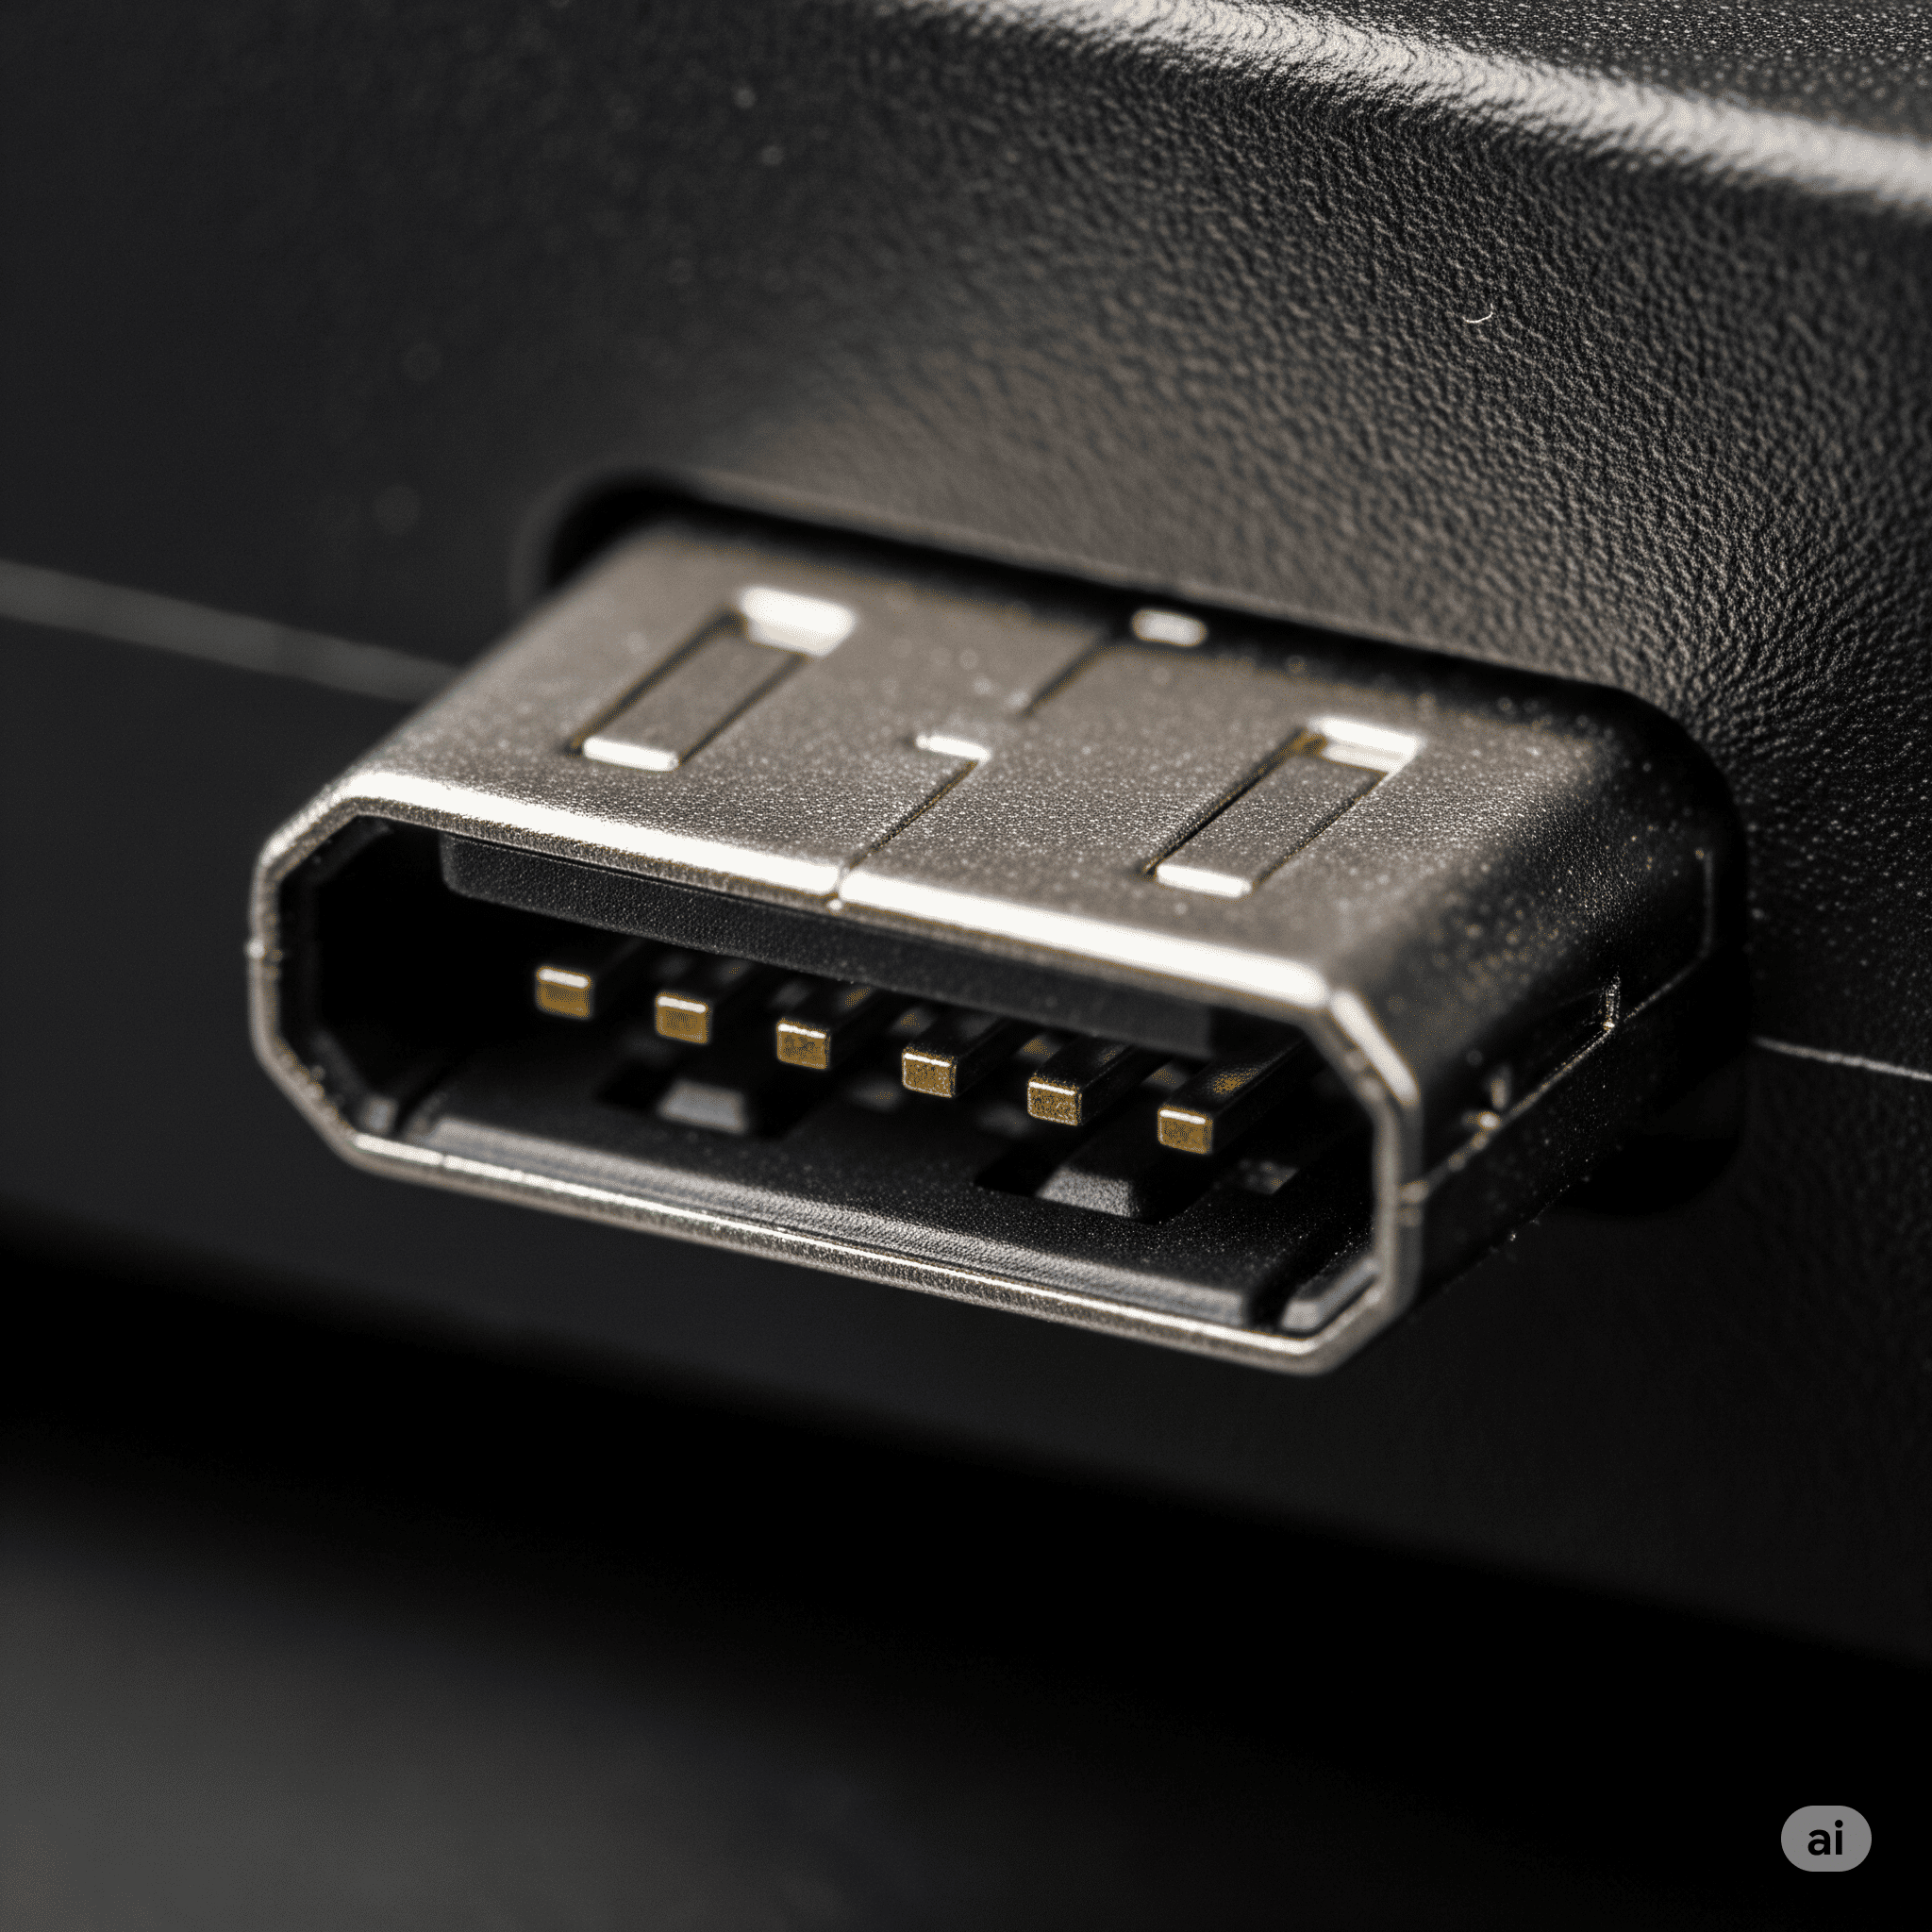
Micro USB, a connector that once dominated portable devices, now holds a place in history. Its journey, from humble beginnings to widespread adoption, is a fascinating tale of innovation and evolution. We'll explore its physical characteristics, technical specifications, and applications, contrasting its strengths and weaknesses against modern alternatives. Understanding micro USB's impact on the mobile ecosystem, from its rise to its eventual decline, provides valuable insights into the ever-changing world of technology
This comprehensive overview examines the evolution of USB to micro USB, delving into its technical specifications, applications in portable devices, and manufacturing processes. It also considers its legacy and future within the ever-evolving landscape of mobile technology. Get ready for a detailed exploration of this influential connector
Micro USB, a connector that's become a familiar sight on countless portable devices, has played a significant role in the evolution of mobile technology. It offered a practical solution for data transfer and power delivery, but its legacy is intertwined with the rise of more modern alternatives
Micro USB emerged as a compact and efficient alternative to larger USB connectors, becoming a crucial part of many portable devices. Its design aimed to provide a balance between functionality and portability. Early adopters saw its value in reducing the size of cables and connectors, leading to more streamlined designs in devices. See USB to USB C
Micro USB's physical design is characterized by its small size and a distinct pin arrangement. The connector's rectangular shape, with a recessed area, helps in its secure connection and prevents accidental disconnections. Specifications varied slightly across different versions, influencing data transfer rates and power delivery capabilities
Various types of Micro USB cables existed, each designed for specific functionalities. These cables ranged from basic data transfer cables to cables capable of higher data rates and power delivery. The functionalities were largely dictated by the specific specifications of the cable and the device it was intended for
Micro USB found widespread use in a multitude of devices, from smartphones and tablets to digital cameras and portable media players. It served as a crucial link between these devices and their charging sources or external storage. This widespread use made Micro USB a critical component of the portable electronics ecosystem
Compared to other connectors, Micro USB offered a compact and relatively inexpensive solution. However, it lacked the high data transfer rates and power delivery capabilities of later technologies. This limitation became apparent as devices evolved and demanded higher performance
Understanding Micro USB's technical details is key to comprehending its capabilities and limitations. The connector's specifications significantly impacted its performance in different applications
Micro USB's technical specifications covered data transfer rates, power delivery, and voltage/current limitations. These specifications influenced the performance of the devices that used it. Different versions of Micro USB exhibited variations in these areas, highlighting the evolution of the technology
Comparing Micro USB's performance with other connectors revealed its limitations in high-speed data transfer and robust power delivery. As technology advanced, the need for faster and more efficient solutions became apparent, paving the way for alternative connectors
Different versions of Micro USB (e.g., 2.0 and 3.0) offered varying levels of performance. These versions showcased advancements in data transfer rates and power delivery, but these improvements were often incremental
Micro USB employed various signaling protocols to facilitate data transfer and power delivery. These protocols were crucial in determining the connector's overall performance. The protocols adapted to the changing needs of mobile devices and their increasing demands
The widespread adoption of Micro USB in portable electronics played a significant role in shaping the industry. Its prevalence reflects the importance of a standardized connector
Micro USB's adoption was widespread across a diverse range of portable devices, making it a standard for a time. This wide range included smartphones, tablets, digital cameras, and portable media players
The adoption of Micro USB in different portable device categories evolved over time. Early adoption was strong, but the rise of alternative connectors gradually reduced its prevalence
Mobile phones with advanced functionalities
Portable computers with touchscreens
Devices for capturing images and videos
| Years of Use | |
|---|---|
| 2010-2018 | |
| 2010-2018 | |
| 2008-2015 |
Micro USB facilitated charging, data transfer, and other essential functionalities in these devices. Its compact size made it ideal for many applications
The manufacturing of Micro USB connectors involved various steps and materials
The manufacturing process for Micro USB connectors involved various stages, from material procurement to final assembly. Each stage played a crucial role in ensuring the quality of the product
Micro USB connectors utilized various materials, each contributing to the connector's performance and durability. The choice of materials often impacted cost and environmental impact
Rigorous quality control measures were implemented throughout the manufacturing process to ensure reliability and performance. These measures helped to prevent defects and maintain product standards
The environmental impact of Micro USB production was a factor that needed to be considered. Efforts were made to reduce the environmental footprint of the manufacturing process
Micro USB's impact on the mobile ecosystem was profound, influencing both device designs and functionalities
Micro USB's influence on the development of the mobile ecosystem was significant. It fostered standardization and facilitated the connectivity of various devices
| Micro USB Feature | Impact on Functionality |
|---|---|
| Standard Connector | Ease of data transfer |
| Higher Speed Versions | Improved data transfer speeds |
Micro USB presented both challenges and opportunities to the mobile industry. Its limitations in speed and power delivery ultimately contributed to the need for alternative connectors
The rise of alternative connectors, particularly USB-C, significantly impacted the Micro USB ecosystem. This shift reflected the industry's response to evolving needs and demands
The future of Micro USB is uncertain, with alternative technologies gaining traction
Potential future developments in Micro USB technology were likely to be incremental, focusing on improving existing capabilities
Potential replacements for Micro USB connectors included USB-C and other advanced technologies. These technologies offered improved performance and functionalities
A comparison of USB-C and other modern connector technologies revealed significant advantages in terms of speed, power delivery, and versatility
The potential impact on the Micro USB market was likely to be a gradual decline as alternative technologies gained popularity
Troubleshooting Micro USB connection issues is often straightforward, but some problems can be challenging
Common Micro USB connection problems included loose connections, damaged cables, and faulty ports. Identifying the cause is often the first step in resolving the issue
Troubleshooting procedures included checking connections, inspecting cables, and verifying device settings. These procedures provided a systematic approach to resolving the problem
Common questions regarding Micro USB connections were addressed in the FAQs section.
A step-by-step guide to fixing Micro USB issues was included to assist users in resolving connection problems independently
Micro USB's versatility extended beyond consumer electronics
Micro USB found applications in various industries, including industrial automation and medical devices. Its use in these industries highlighted its adaptability
Examples of Micro USB implementation in specialized applications showcased its versatility. These examples demonstrated how it could be used in different environments and contexts
Implementing Micro USB in specific industries presented unique challenges, such as environmental factors and specific device requirements
Enabling communication and control in industrial settings
Facilitating connectivity and functionality in medical devices
| Specific Functionalities | |
|---|---|
| Data transfer, power delivery | |
| Data transfer, power delivery |
Micro USB's role in the evolution of mobile devices is undeniable
Micro USB's evolution played a significant role in shaping the design of portable devices. Its evolution mirrored the advancement in technology and the increasing demands for portability
Micro USB played a key role in the evolution of mobile devices. Its widespread adoption allowed for more compact and accessible mobile technologies
Micro USB's impact on consumer electronics and design trends was significant, shaping how devices were designed and used. Its legacy is tied to the era of mobile devices that relied on this connector
Micro USB's role in the development of the portable electronics industry was substantial. Its compact design, functionality, and widespread adoption played a significant role in the industry's growth
From its early days shaping portable devices to its eventual transition, micro USB has left an indelible mark on the tech world. We've seen how its specifications, applications, and manufacturing have evolved, and how it's influenced the mobile ecosystem. While modern connectors have taken center stage, understanding micro USB's history and impact offers a valuable perspective on technological progress
Its legacy lives on in the devices that we use today
What are the common causes of micro USB connection problems?
Faulty cables, damaged ports on devices, or incompatible devices can lead to connection issues. Loose connections, dirt, or debris can also disrupt communication. Try cleaning the ports with a soft cloth
What are the different versions of micro USB?
Different versions of micro USB exist, primarily differing in data transfer rates and power delivery capabilities. Understanding the version on your device is important for compatibility
How does micro USB compare to USB-C?
USB-C offers faster data transfer and more versatile power delivery compared to micro USB. However, micro USB's smaller size and wider availability were its advantages in the past. The choice depends on the specific needs and requirements
What is the environmental impact of micro USB production?
The environmental impact depends on the manufacturing processes and materials used. Manufacturers are increasingly focusing on sustainable practices. Check the manufacturer's website for details on their environmental policies
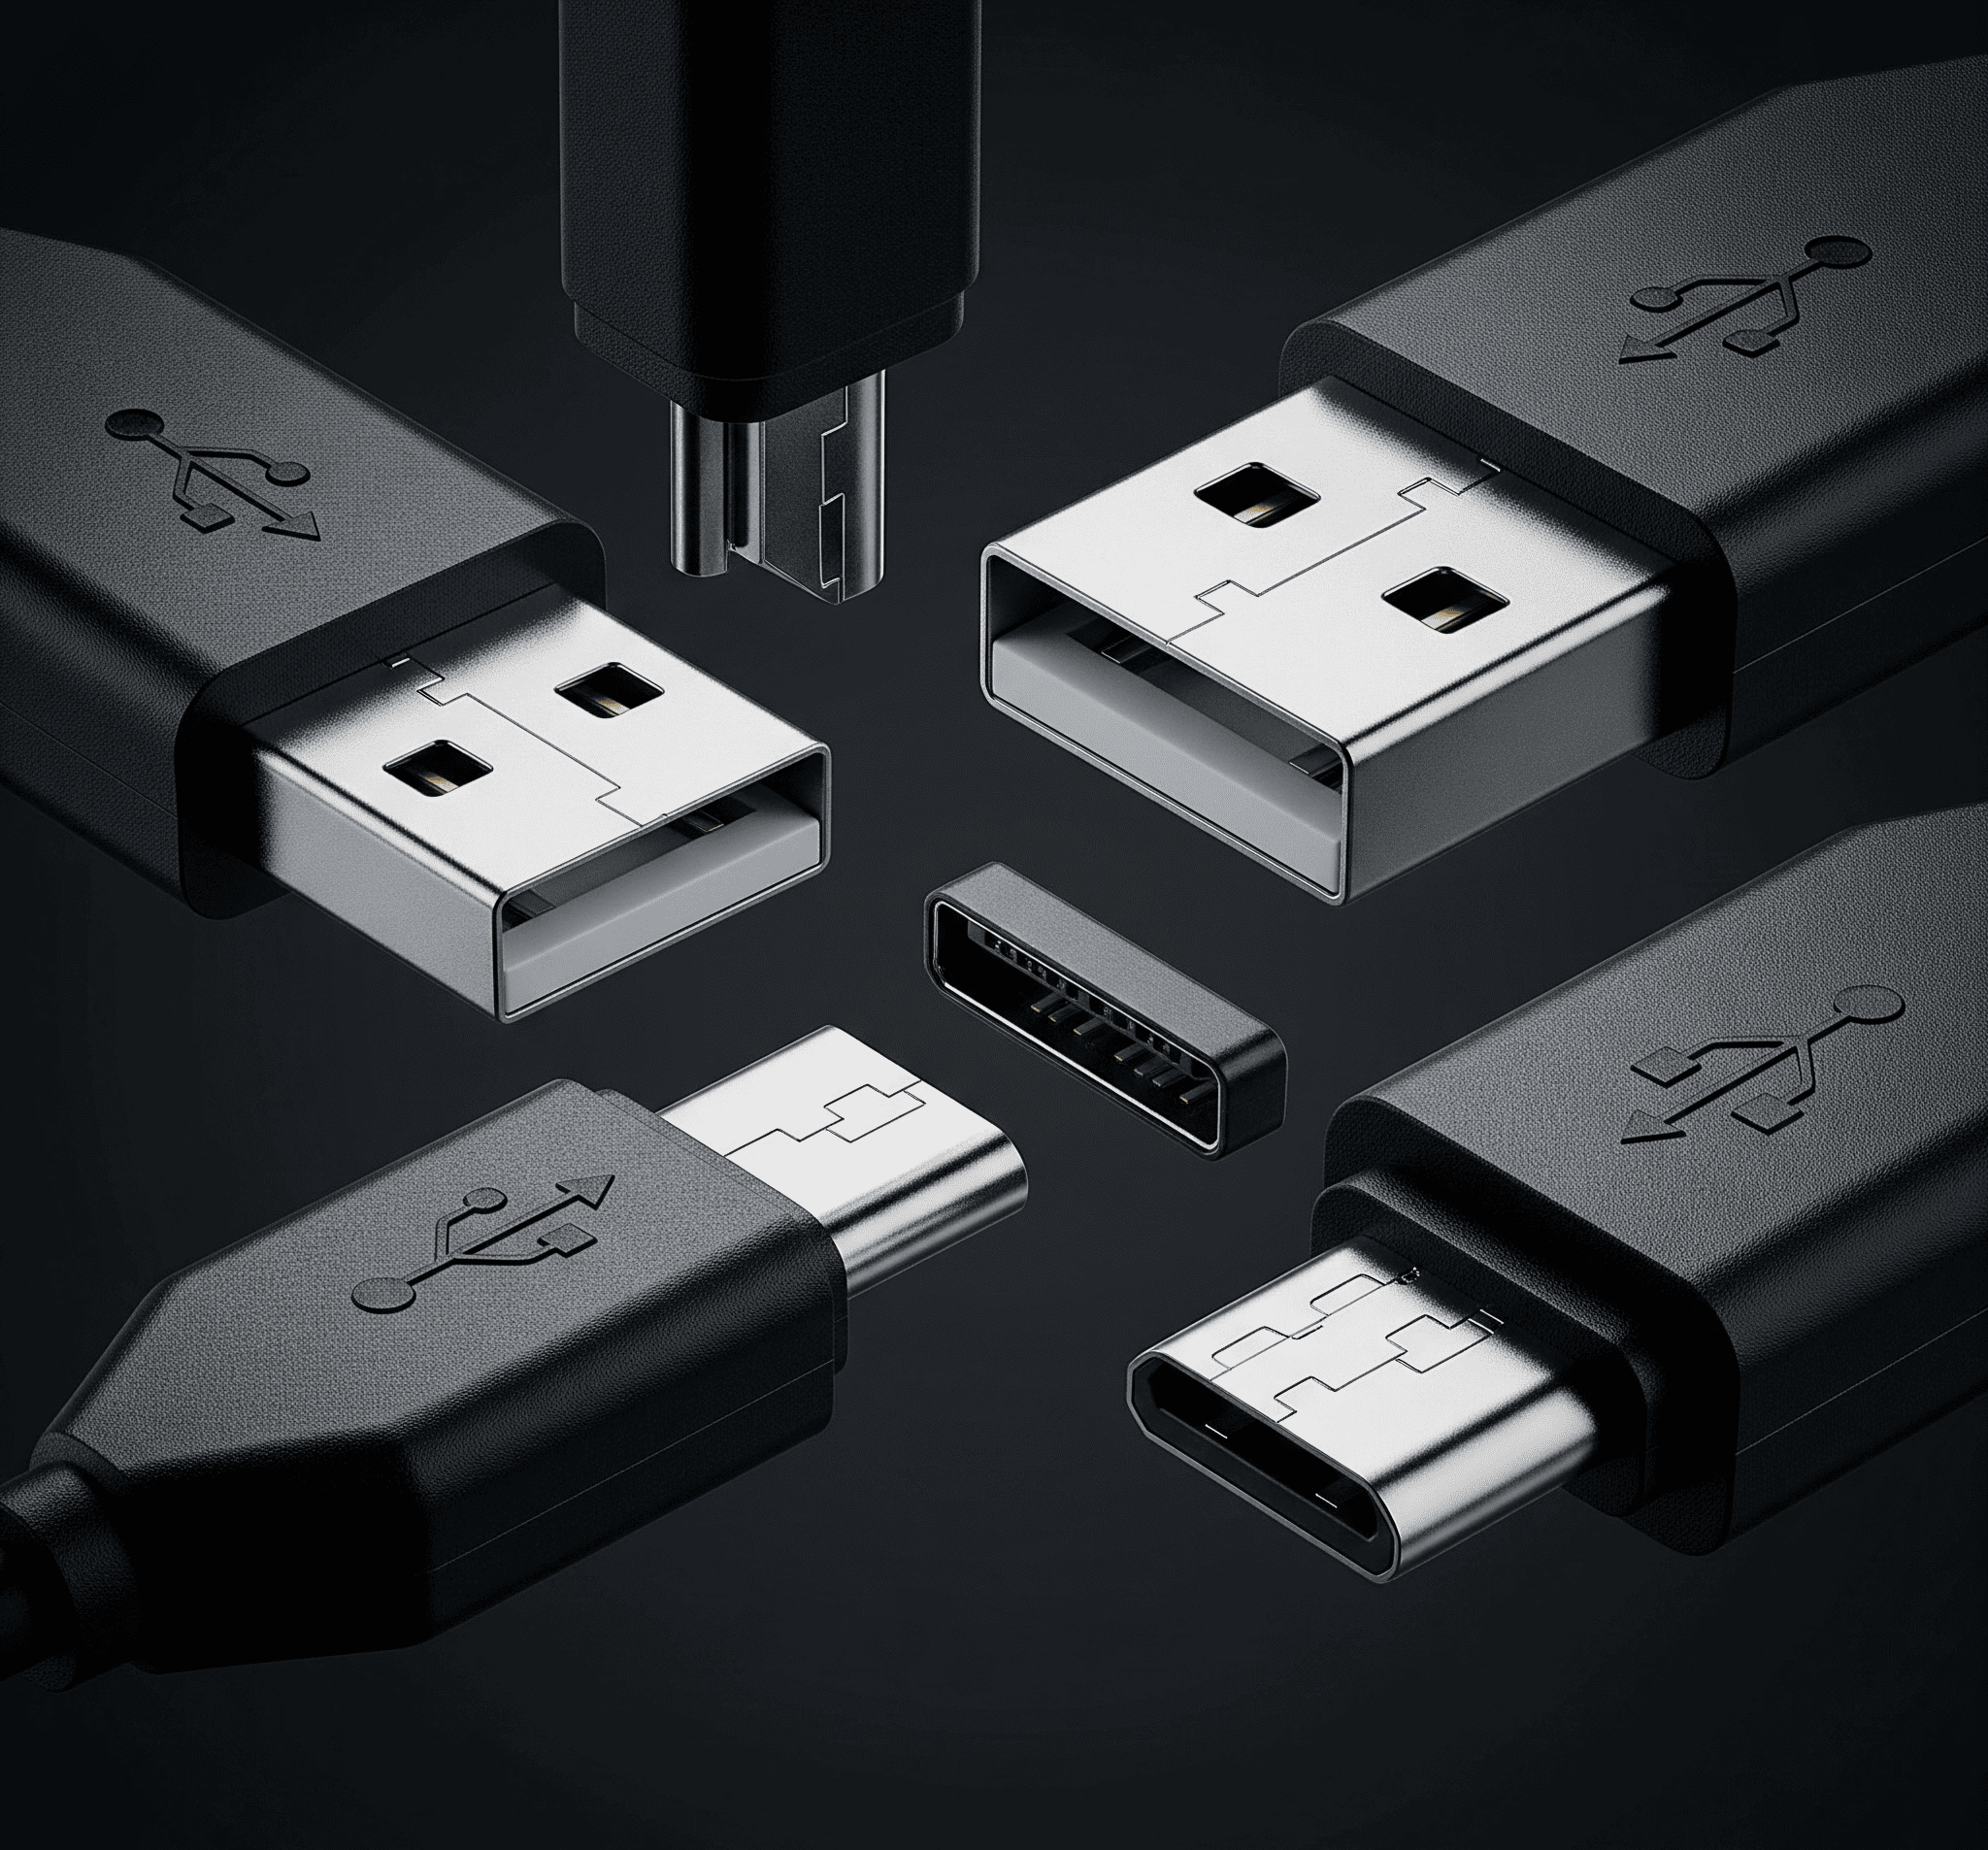
USB types, the fundamental connectors shaping how we interact with our digital world, have evolved significantly. From the humble beginnings of USB 1.0 to the lightning-fast speeds of USB4, these connectors have become indispensable. Understanding the differences between various USB types, from the ubiquitous Type-A to the versatile Type-C, is key to choosing the right connection for your needs
This exploration delves into the history, functionalities, and future of these essential ports
This article provides a comprehensive overview of the different USB types, covering their historical development, physical characteristics, data transfer rates, and power delivery capabilities. We'll also explore the various applications where each type excels, from simple data transfer to high-speed charging Get ready to unravel the mysteries behind your everyday USB connections
USB, or Universal Serial Bus, has revolutionized how we connect devices. It's a ubiquitous technology, and understanding its evolution, the reasons behind different types, and their specific uses is key to appreciating its impact, see USB C charger
USB technology has evolved significantly since its inception. Early versions were limited in speed and functionality, but advancements have led to the diverse range of types we see today. The need for faster data transfer, higher power delivery, and more compact designs has driven the development of different USB standards. These advancements are crucial for today's digital world, impacting everything from mobile devices to high-performance computers
The development of different USB types stems from various factors, including the need for improved data transfer rates, power delivery requirements, and more compact designs for portability. Different devices have different needs, so USB types are tailored to these specific needs
| Speed (Mbps) | Power Delivery (Watts) |
|---|---|
| 12 | 0.5 |
| 480 | 0.5 |
| 5000 | 0.75 |
| 10000 | 1.5 |
| 20000 | 2 |
The evolution of USB standards is a journey of continuous improvement. Each generation brought significant advancements and innovations in speed, power, and connectivity
| Connector Shape | Applications | Disadvantages |
|---|---|---|
| Rectangular | Common for desktops and peripherals | Less portable |
| Larger rectangular | Common for older printers and external drives | Less portable, less common |
| Oval | Common for modern devices | Can be susceptible to damage |
USB data transfer rates are a critical factor for various applications. The speed depends on the USB standard and the devices involved
USB types are a whole zoo, aren't they? You've got your standard A and B, and then there's the tiny, ubiquitous micro USB, micro usb. It was a real game-changer for phones and other portable devices, but now we're seeing even smaller and faster options emerge, keeping the USB world constantly evolving
USB power delivery capabilities have become increasingly important as modern devices require more power for charging and operation. Power delivery has become an essential aspect of USB design, allowing for charging and powering a broader range of devices
| Max Power Delivery (Watts) |
|---|
| 0.5 |
| 0.5 |
| 0.75 |
| 1.5 |
| 2 |
Future USB technology will likely focus on even faster data transfer rates, greater power delivery capabilities, and more compact designs. This will further enhance the versatility of USB in the future
To write a comprehensive 1500-word article, a structured approach is needed. This includes detailed descriptions, comparisons, and real-world examples to strengthen the article
In conclusion, the evolution of USB types reflects a fascinating journey of technological advancement. From the initial limitations of early USB standards to the remarkable capabilities of modern iterations, the USB connector has adapted to meet the ever-increasing demands of our digital devices. This exploration highlights the key differences between various types, allowing users to make informed choices when connecting their devices
USB types are a bit of a zoo, aren't they? From the trusty old USB-A to the sleeker, newer USB-C, it's a bit of a wild ride. Want to dive deeper into the fascinating world of USB-C to USB-A transitions? Check out this great resource on USB type A for a detailed breakdown of the different cables and connectors
Learning about these transitions helps you navigate the various USB types with ease
As technology continues to progress, the future of USB types promises even more innovation and functionality
What's the difference between USB 2.0 and USB 3.0?
USB 3.0 significantly boosted data transfer speeds compared to USB 2.0. Think of it as a major upgrade, offering much faster file transfers and improved overall performance
Which USB type is best for charging my phone?
USB-C is generally the preferred choice for fast charging, thanks to its higher power delivery capabilities. However, older phones might use different types, so always check your device's specifications
Are there any USB types that are obsolete?
Yes, some older USB types like Mini-B and Micro-B are becoming less common as newer, more versatile types gain popularity
What are the advantages of USB4?
USB4 is a newer standard that delivers even faster data transfer speeds and power delivery compared to earlier versions, and is compatible with many of the newer devices
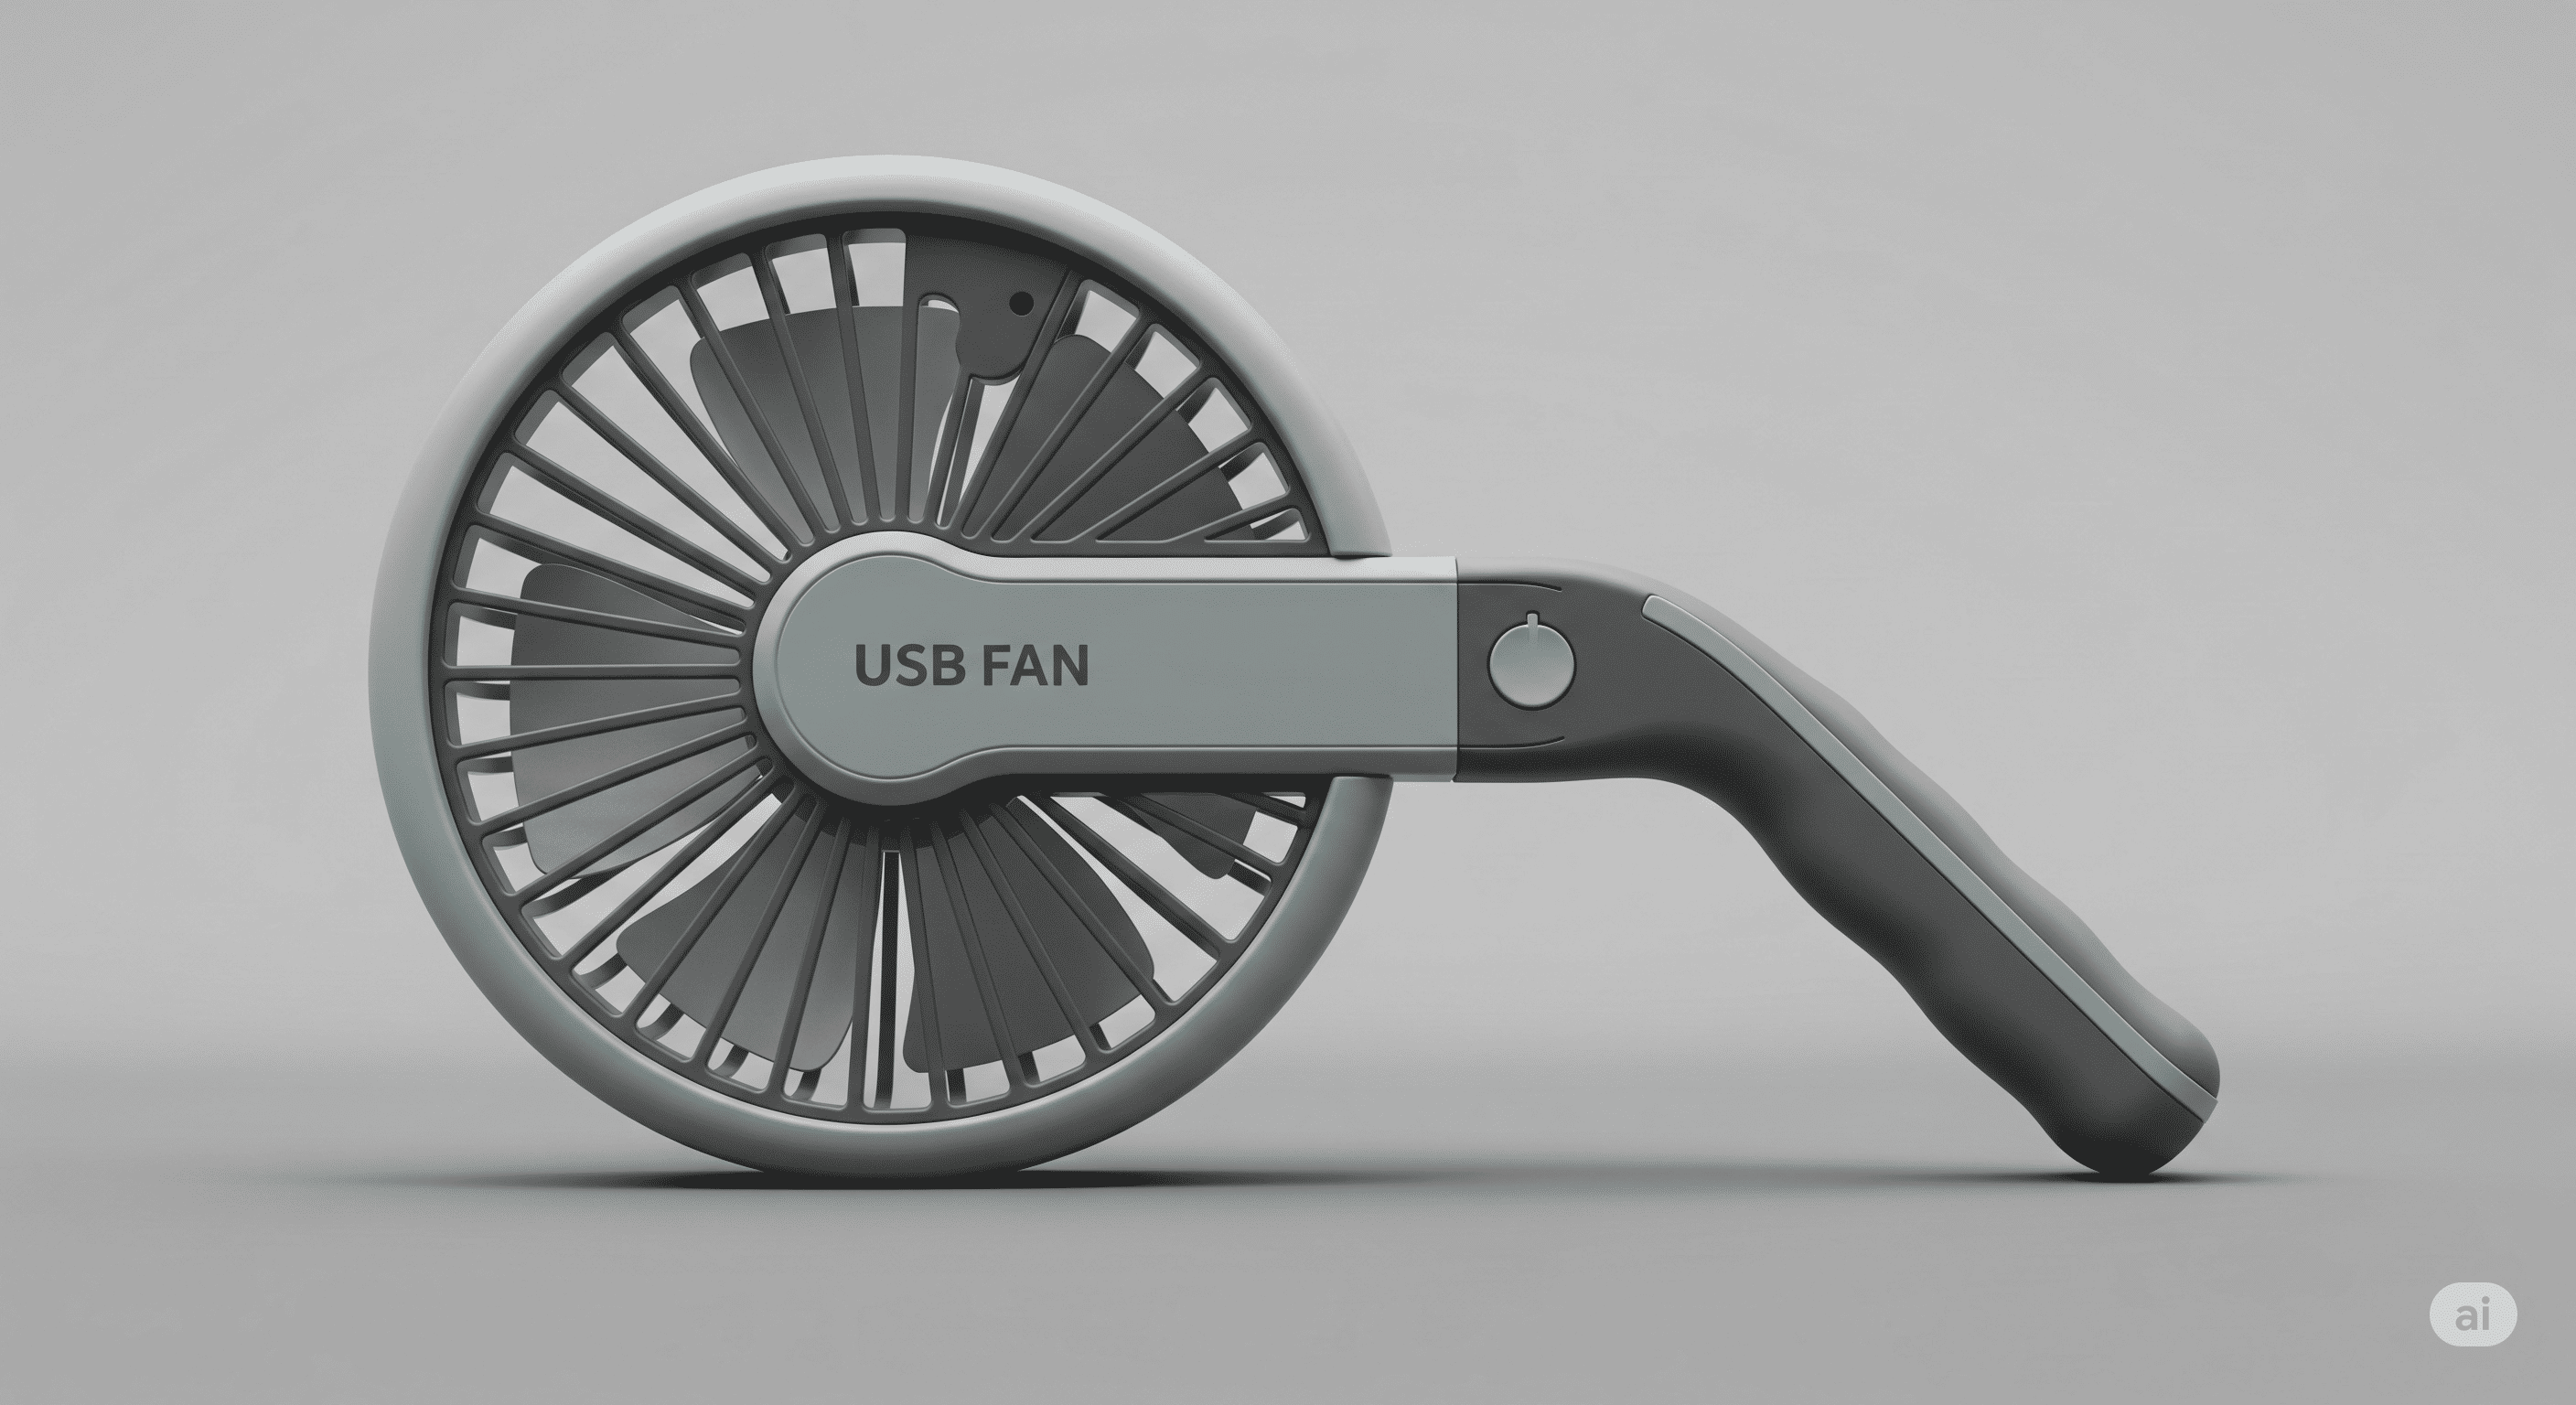
USB fan – a surprisingly versatile tool, from the smallest desk-top to the taller tower. Imagine a portable cooling solution that's not just convenient, but also surprisingly effective. They're perfect for those sweltering summer days, or when your laptop is getting a little too toasty. Their energy efficiency makes them a practical and eco-friendly choice for staying cool, wherever you are
USB fan are a lifesaver in the summer heat, but did you know they often use micro USB ports? Micro USB is a pretty common connector, and if your fan's cord is damaged, you might need a replacement. Fortunately, finding compatible replacement cords is usually pretty straightforward, just like keeping cool with a good USB fan
This comprehensive guide explores the world of USB fans, delving into their design, performance, and practical applications. We'll cover everything from choosing the right fan for your needs to troubleshooting common issues. Get ready to discover the cool benefits of this tiny powerhouse
USB fans have become a popular choice for cooling in various settings, from home offices to laptops. They offer a convenient and often affordable way to manage temperatures, especially in warm environments or when using electronics that generate heat. This guide explores USB fans in detail, covering their features, performance, design, applications, maintenance, and user feedback
USB fans are compact, portable cooling solutions powered by a USB port. Their small size makes them ideal for desktops, laptops, and even handheld devices. They typically feature a small fan that draws air through an intake and expels it, creating a gentle breeze to help cool the immediate area. A key advantage is their energy efficiency, drawing minimal power compared to other cooling solutions, see USB types
Different types cater to various needs, from small mini fans to larger desktop and tower models
USB fans utilize a small, high-speed fan motor. Their design is focused on energy efficiency, meaning they use minimal power to deliver a significant cooling effect. This is often achieved through smart motor design and efficient airflow management
| Size | Typical Usage |
|---|---|
| Small | Laptops, desktops (small areas) |
| Medium | Workstations, home offices |
| Large | Gaming PCs, large rooms |
USB fan performance is influenced by airflow, noise level, and power consumption. Higher airflow generally means better cooling, but it might also result in a louder fan. Power consumption should be considered, especially when using multiple USB devices
Different models offer varying levels of performance. Factors like the fan's size, motor type, and airflow design contribute to these differences. Some models might be louder than others, but they may also provide a more significant cooling effect
USB fans can effectively improve cooling in situations where heat buildup is a concern, like when working on a laptop for hours or gaming on a high-performance PC
USB fans are a lifesaver, right? But if your newfangled USB-C port isn't playing nice with your old-school USB device, you might need an adapter. Check out this guide on USB-C to USB conversions to get your fan spinning again. Then, you can finally enjoy that cool breeze! Perfect for those sweltering summer days
The longevity of a USB fan depends on its quality of construction, usage frequency, and environmental conditions. Carefully handling and avoiding dust accumulation are key to extending its lifespan
The design of USB fans considers aesthetics, material selection, and ergonomic aspects. Different materials impact the fan's durability and appearance
USB fans are versatile and can be used in various situations to improve cooling
In conclusion, USB fans are more than just a cooling solution; they're a practical, stylish, and often surprisingly effective tool for staying cool and comfortable. From their compact designs to their energy-efficient operation, they offer a wide range of benefits. Whether you're at your desk, on the go, or need to cool down a specific area, there's a USB fan out there to suit your needs
Stay cool, stay productive, and embrace the versatility of this amazing technology
What are the different types of USB fans?
USB fans come in various sizes and styles, including mini, desktop, and tower models. Each type offers a different level of cooling and is suited to different applications
How noisy are USB fans?
Noise levels vary depending on the specific model. Generally, smaller, more compact fans tend to be quieter than larger, more powerful ones. Check reviews to get a better idea of the noise level for a specific model
Can USB fans damage my laptop?
No, a well-designed USB fan is unlikely to damage your laptop. However, make sure to use a compatible USB port and avoid blocking air vents
How long do USB fans last?
The lifespan of a USB fan depends on usage and care. Proper maintenance and avoiding extreme temperatures can help extend its lifespan significantly
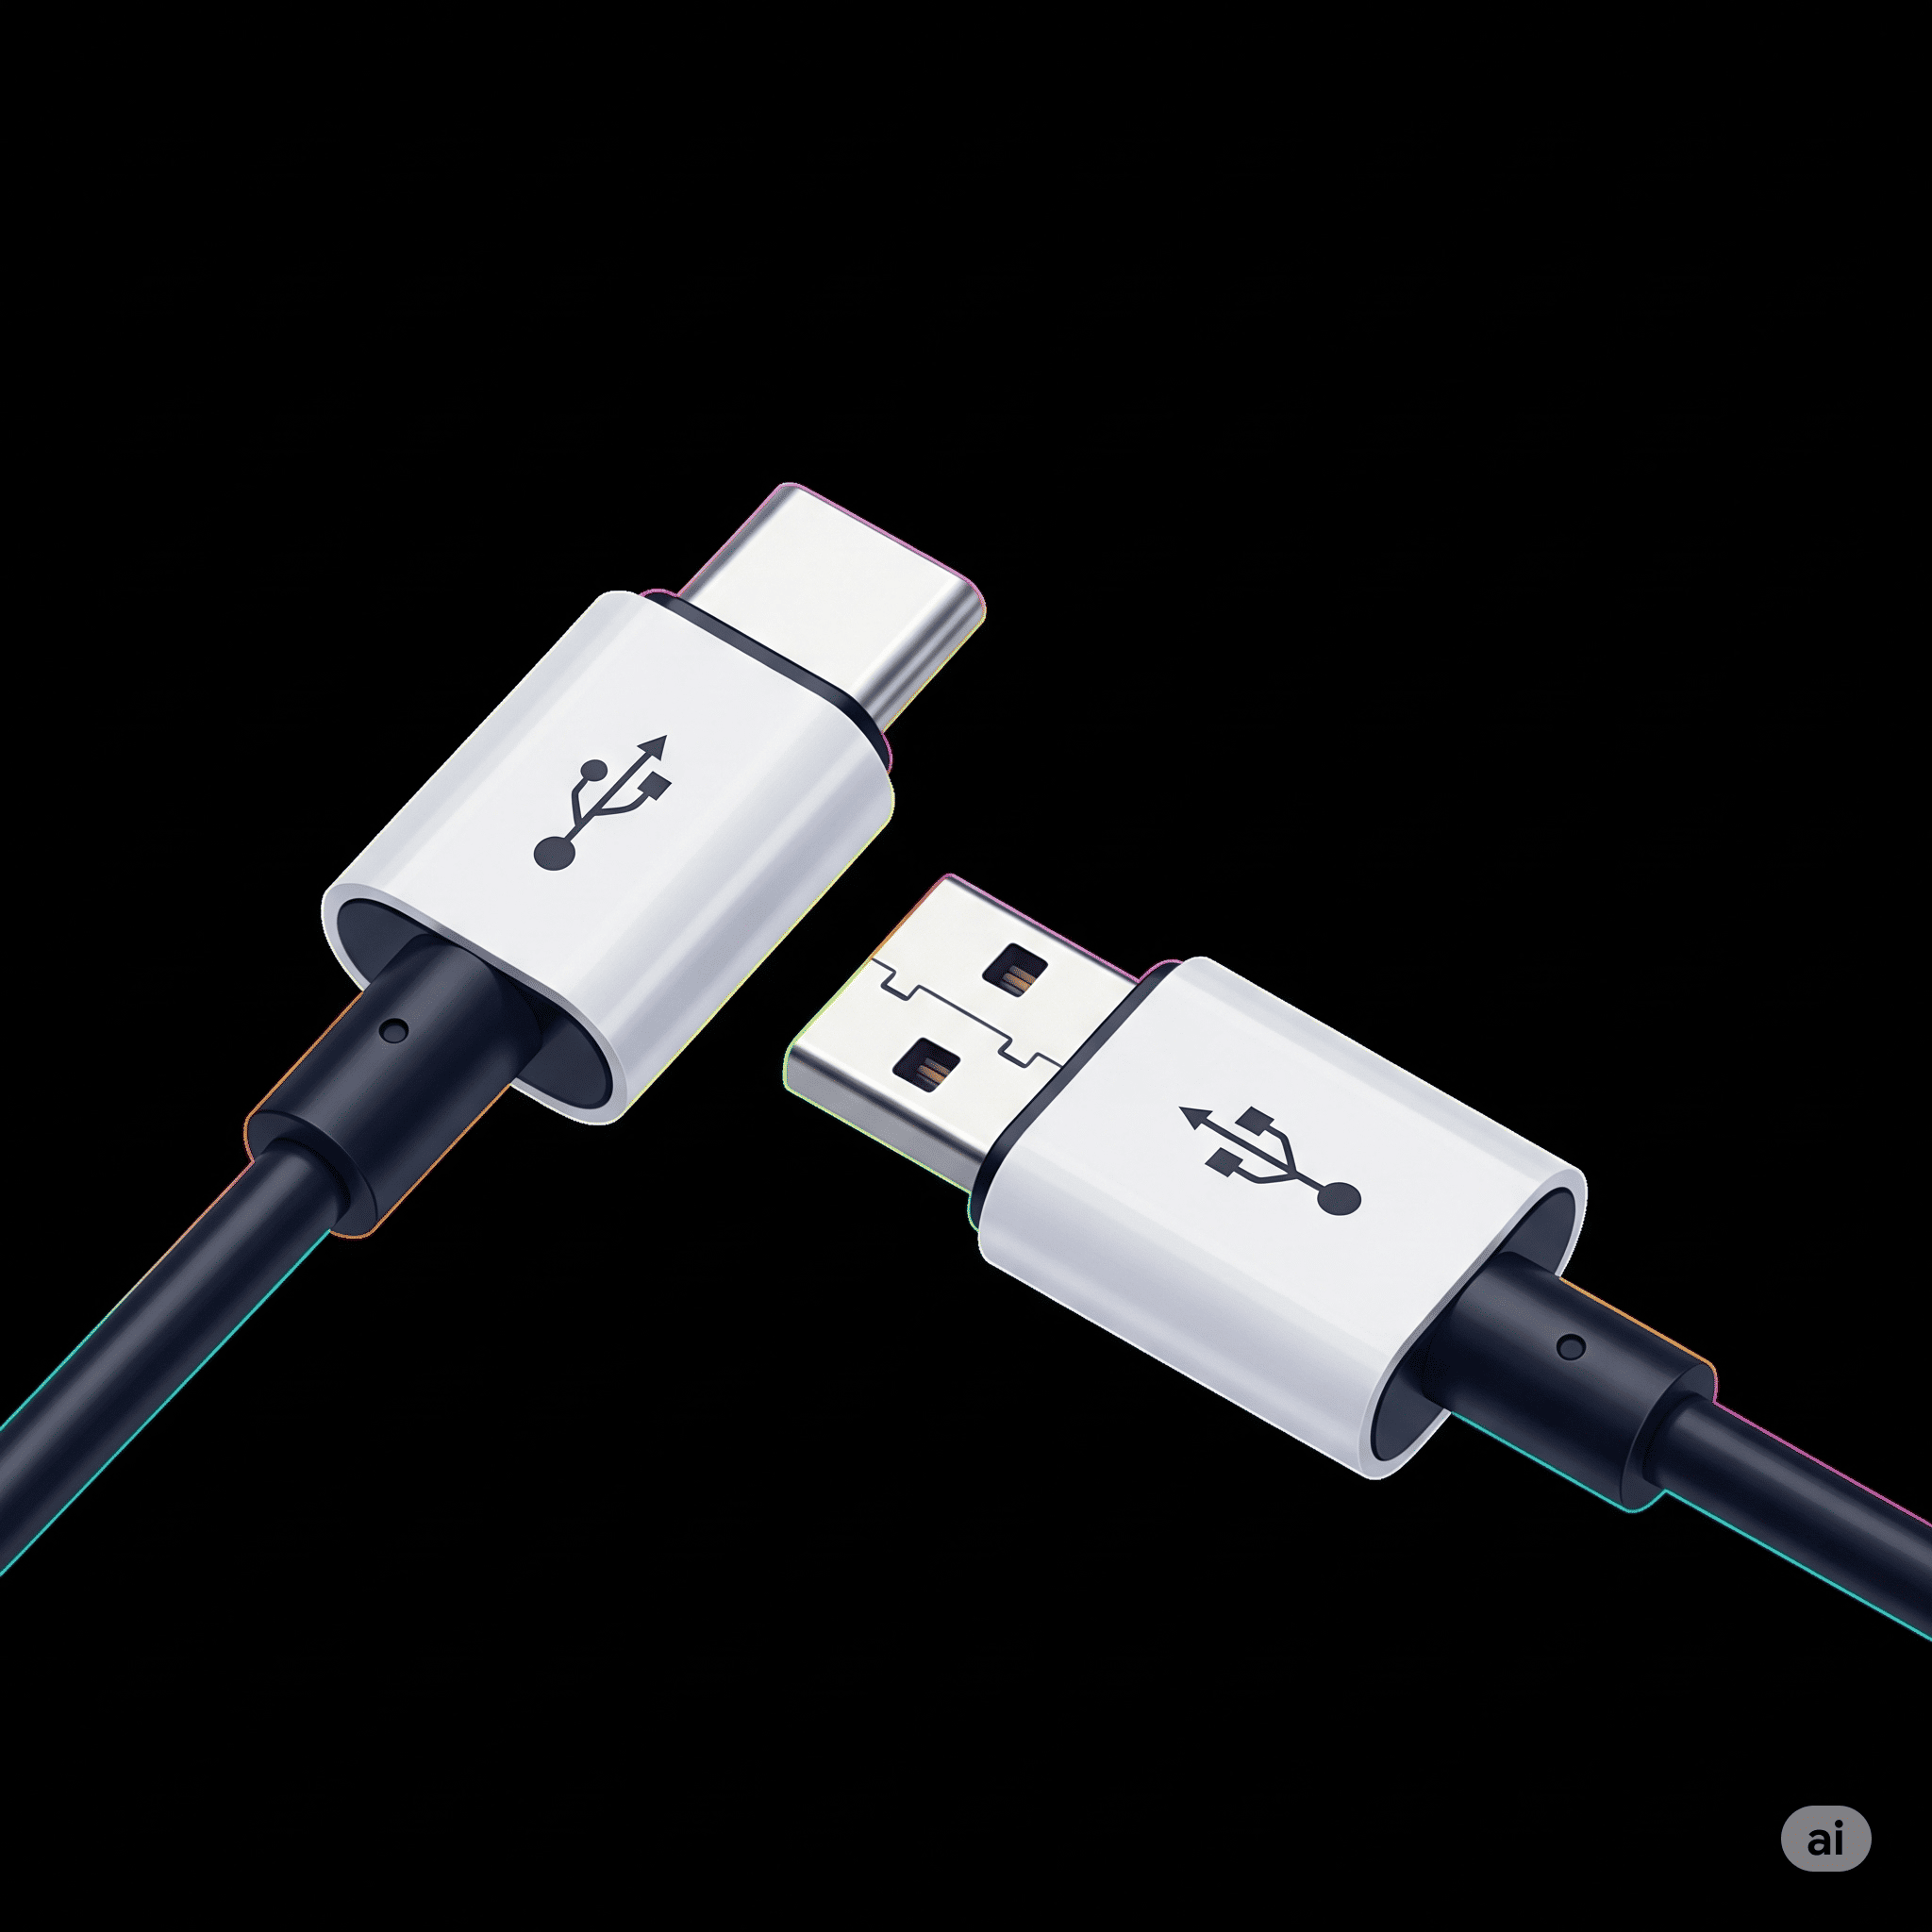
USB-C to USB adapter: a tiny hero in a world of complex connections. This versatile connector bridges the gap between modern USB-C ports and older USB standards, unlocking a universe of possibilities for your devices. From seamless data transfer to reliable charging, these adapters are more than just accessories; they're essential tools for anyone navigating the digital landscape
Imagine needing to connect your legacy devices to a modern laptop. Or perhaps needing to charge your phone while transferring files. These situations highlight the vital role of USB-C to USB adapters in bridging the compatibility gap. Understanding the nuances of different types and their performance characteristics will empower you to make informed decisions and get the most out of your tech
USB-C to USB adapters are essential tools for connecting devices with USB-C ports to older USB ports. They've become increasingly important as USB-C has become more widespread, allowing for compatibility and flexibility in a world of diverse connectivity
These adapters bridge the gap between modern USB-C ports and older USB standards, enabling data transfer and charging. Compatibility is key, as different USB standards have varying data transfer rates and charging capabilities. See USB fan
Ever feel like your fancy USB-C port is holding you back? Need to connect to an older device? A USB-C to USB adapter is your lifesaver! It lets you bridge the gap between modern and vintage, so you can plug in and play with everything. Learn more about the different kinds and how they work by checking out this helpful resource on USB-C to USB connections: USB C to USB
Then, you'll be an expert on getting the most out of your USB-C to USB adapter in no time
| Description |
|---|
| The most common standard, recognizable by its rectangular shape |
| A smaller, more compact version of USB-B, frequently used in older mobile devices |
| Even smaller than Micro-B, often found in older cameras and other peripherals |
Adapters come in various forms, each with unique features. Understanding these differences can help you choose the right one for your needs
| Data Transfer Speed | Cost |
|---|---|
| Variable (depends on source device) | Lower |
| Potentially higher | Higher |
Ensuring compatibility is crucial for optimal performance. Choosing the correct adapter is essential to avoid frustration
| Typical Data Transfer Speed (MB/s) |
|---|
| 480 |
| 5000 |
In conclusion, USB-C to USB adapters are more than just simple connectors; they're essential tools for connecting your diverse devices seamlessly. Choosing the right adapter depends on your specific needs, and understanding the various types and their features will empower you to find the perfect match. With the right adapter, you can unlock a world of possibilities, effortlessly connecting your legacy devices to the modern world
What are the different types of USB-C to USB adapters?
Common types include active and passive adapters. Active adapters often boost signal strength, which is beneficial for longer cables or less powerful devices. Passive adapters are generally more budget-friendly and work well with devices that already have strong signals
USB-C to USB adapters are super handy, right? But if you're digging through old drawers, you might unearth a micro USB cable. They were popular, but now, a USB-C to USB adapter can connect a lot of devices you have, from your phone to your old cameras. Check out micro USB for a little history lesson on those older ports
Ultimately, a USB-C to USB adapter remains a fantastic option for compatibility
How do I troubleshoot compatibility issues with my USB-C to USB adapter?
First, check device compatibility. If possible, try a different USB-C cable. Ensure both the adapter and the device are properly seated. Lastly, consult the adapter's manual or the device's manual for specific troubleshooting steps
What are some common use cases for USB-C to USB adapters?
They are indispensable for connecting older peripherals (like printers, keyboards, and mice) to newer devices, especially laptops and tablets. They also facilitate charging while transferring data. They are critical in situations where compatibility is a must-have
What factors should I consider when choosing a USB-C to USB adapter?
Key factors include compatibility with your devices, data transfer speeds, charging capabilities, and the materials used in the adapter's construction. Read reviews and compare features to find the best match for your needs
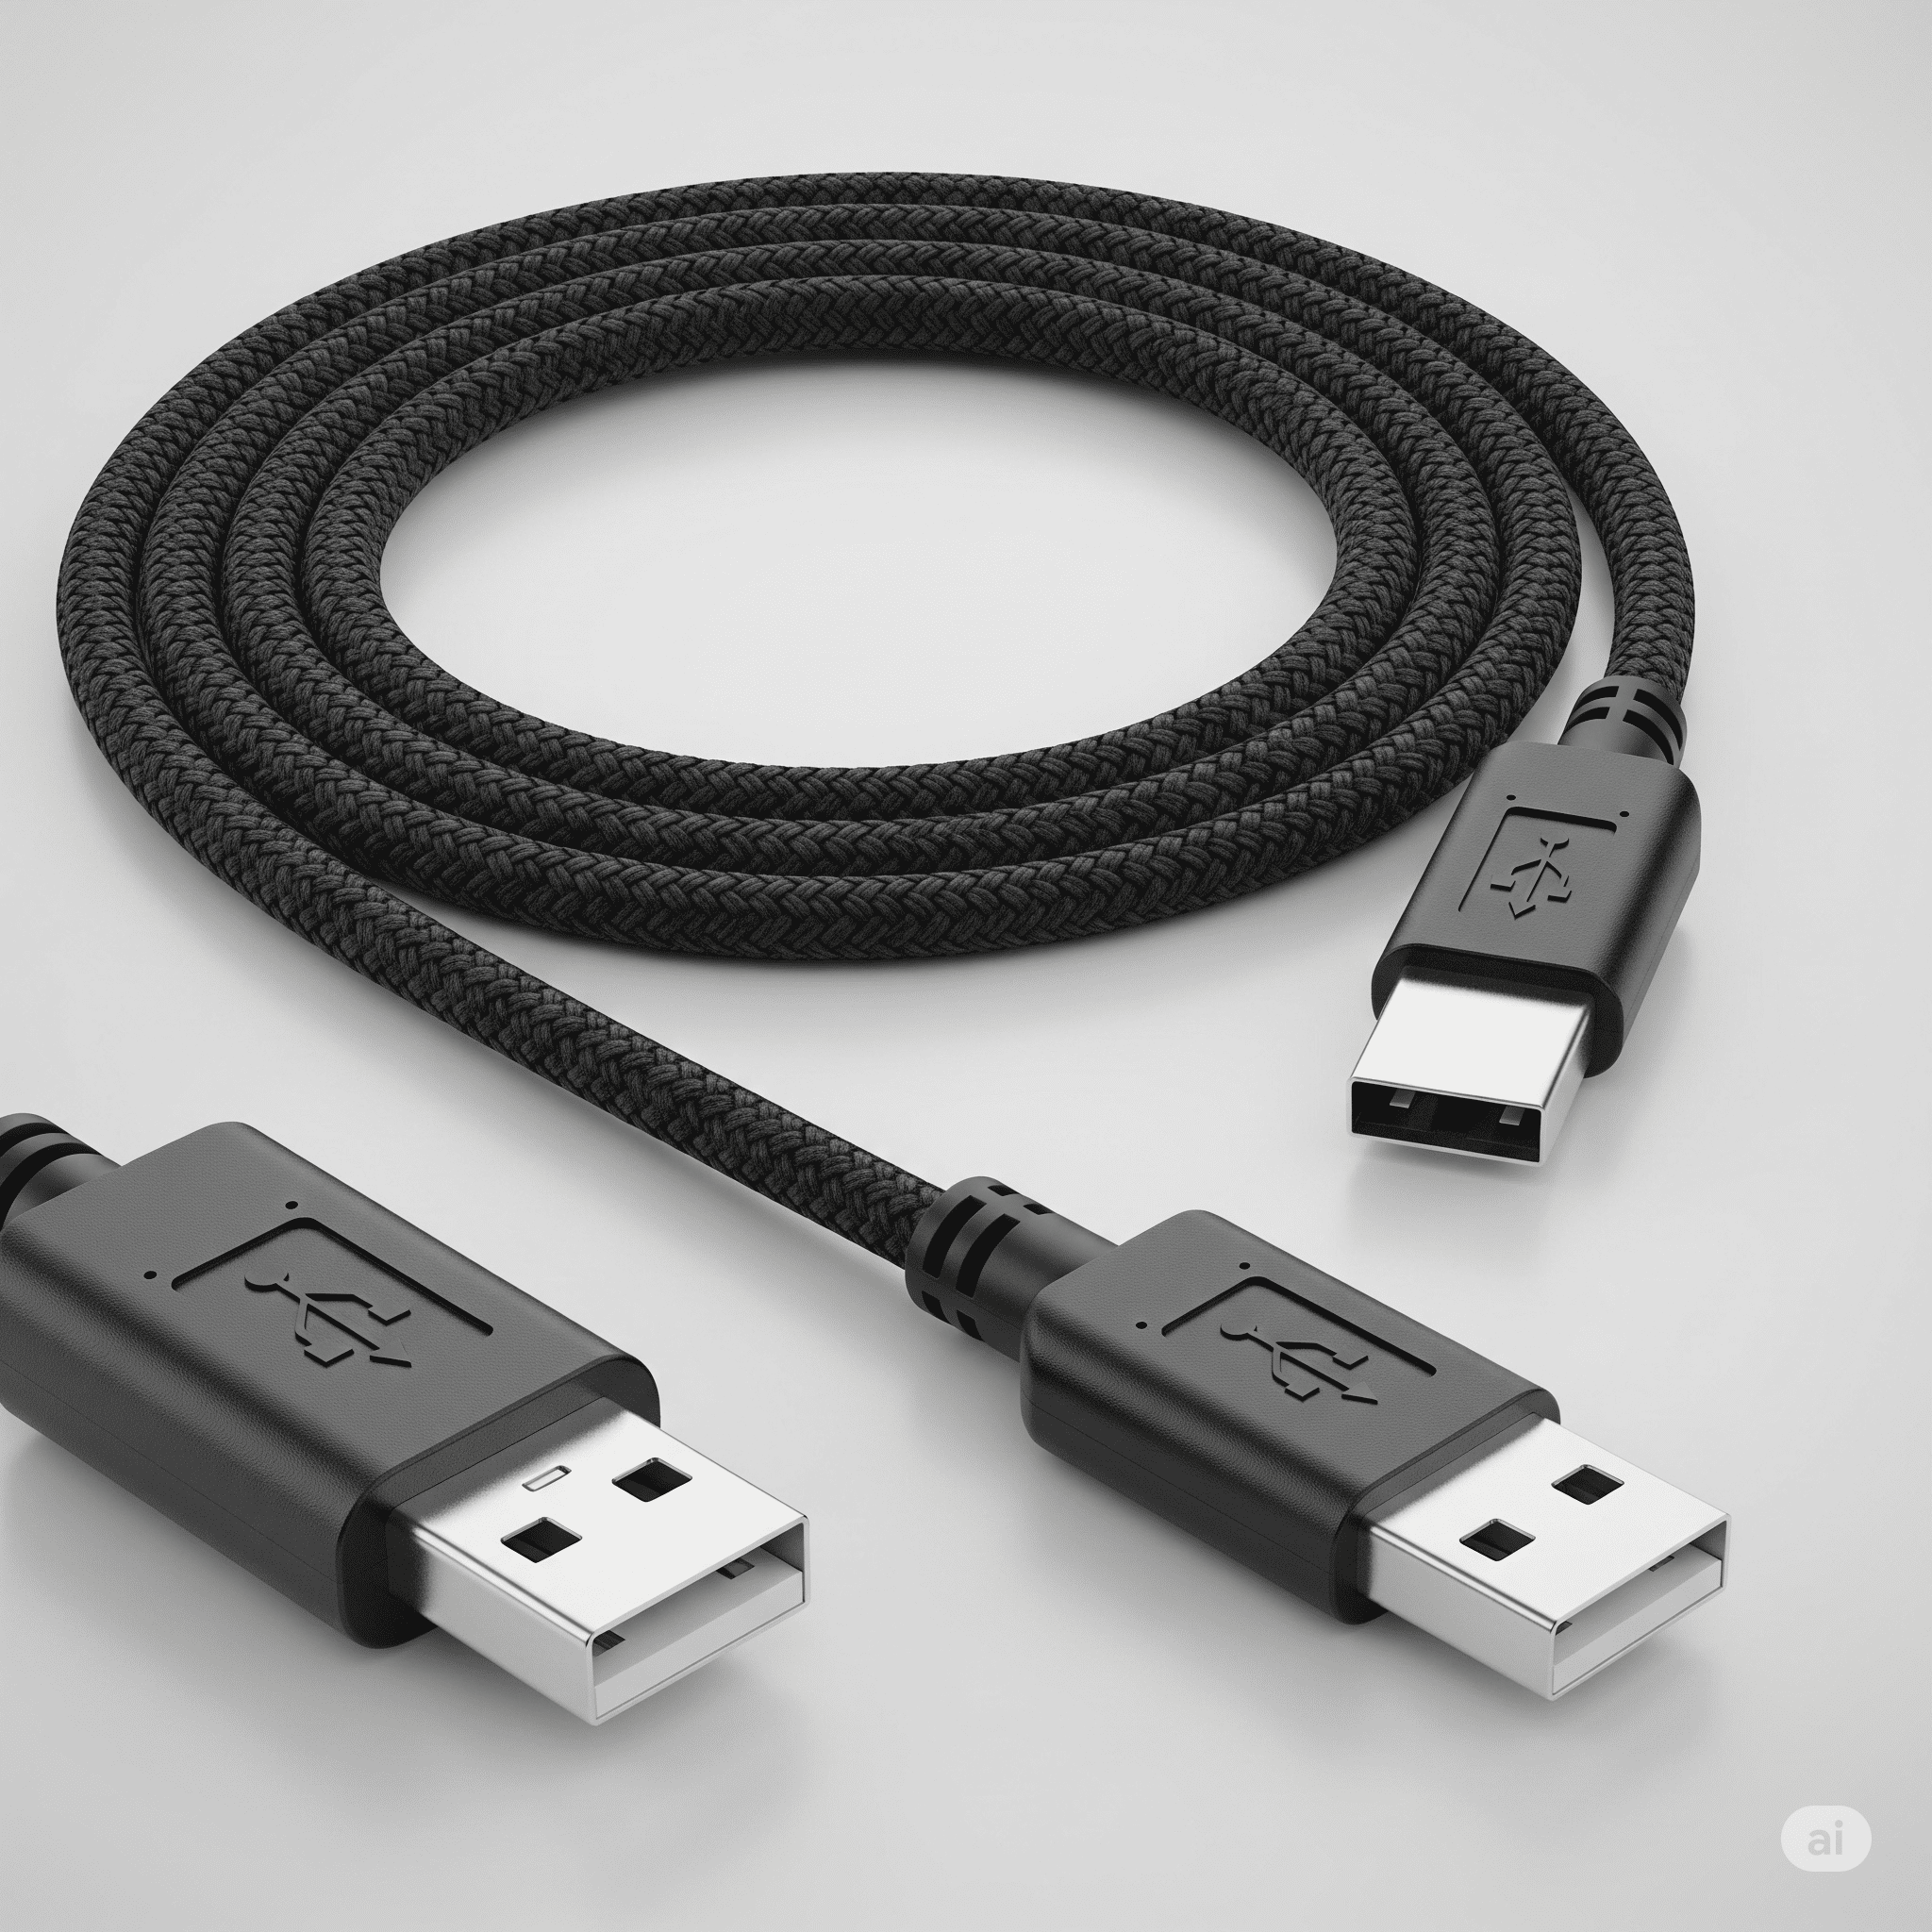
USB extension cable: the unsung hero of modern connectivity. Imagine needing to connect a device further away than its cord allows. Suddenly, that far-flung printer or external hard drive becomes practically within reach, thanks to the magic of a well-chosen USB extension cable. These cables, available in a multitude of types and lengths, seamlessly bridge the gap between your devices, whether you're setting up a home theater system, a gaming rig, or simply adding some extra workspace for your laptop.
From basic connections to high-speed data transfers, these cables are essential for seamless connectivity in a world of diverse gadgets.
This guide delves into the world of USB extension cables, exploring their diverse types, functionalities, and crucial considerations for choosing the right one. We'll cover everything from basic setup to troubleshooting common issues, ensuring you can confidently navigate the vast landscape of connectivity options.
USB extension cables are lifesavers, especially when your USB port is a mile away from your device. Need to connect that old printer? Or maybe you just want to move your keyboard further from the laptop, you can use a USB C to USB adapter for your extension cable! Check out this handy guide on USB C to USB adapter for more info.
Just remember, a good extension cable can make a world of difference, no matter how far you need to reach.
USB extension cables are essential accessories for connecting devices that need extra reach or different placement. They extend the physical reach of a USB port, allowing you to connect peripherals further away from your computer or other devices. This guide dives deep into everything you need to know about USB extension cables, from their various types and functions to choosing the right one for your needs and troubleshooting common issues.
USB extension cables are simply USB cables that are longer than standard cables. They serve a vital purpose, enabling you to connect USB devices to your computer or other USB-enabled equipment at a distance. Different types of USB extension cables exist, catering to various USB connection standards.
USB extension cables are crucial in diverse applications, from extending the range of your gaming peripherals to enabling remote data acquisition in industrial settings.
| Typical Length | Power Delivery |
|---|---|
| 1-5 meters | Limited (USB 2.0) |
| 1-10 meters | Limited (USB 2.0) |
| 1-10 meters | High |
| Typical Use Case |
|---|
| Connecting gaming peripherals like keyboards, mice, and headsets to a computer from a further distance |
| Connecting USB devices to a home entertainment system, like external hard drives or media players |
| Connecting sensors and actuators to control systems |
| Description |
|---|
| Measured in meters, from a few centimeters to several meters. |
| Indicates the maximum data transfer rate and power delivery capabilities. |
| Protects the signal from interference, often crucial for longer cables. |
USB extension cables function by carrying the electrical signals from a USB port to a USB device. Their performance depends on various factors, such as cable length, material, and shielding.
USB standards like USB 2.0, 3.0, 3.1, and USB-C significantly affect data transfer rates and power delivery. Troubleshooting USB extension cable issues involves checking connections, ensuring the cable is not damaged, and confirming compatibility with the devices.
USB extension cables typically consist of a conductive core, insulation, and a protective outer jacket.
Can be more expensive
Lower conductivity compared to copper
| Pros | |
|---|---|
| Excellent conductivity, high durability | |
| Lightweight, relatively inexpensive |
Consider these factors when selecting a USB extension cable:
Common problems include connection issues, signal degradation, and cable damage. Maintaining your USB extension cables involves proper storage and handling to extend their lifespan.
USB extension cables are used extensively in various applications, including home theaters, gaming setups, and industrial automation.
USB extension cables are great for reaching those hard-to-reach ports, but consider the future. Modern devices are increasingly using USB Type-C USB Type-C ports, so make sure your extension cable is compatible. That way, you won't be stuck with a cable that's just gathering dust. It's always a good idea to check for compatibility before buying a USB extension cable.
| Recommended Cable Type |
|---|
| USB 2.0 or 3.0 A to B, or USB-C depending on device |
| USB 3.0 A to B or USB-C depending on device |
A comprehensive article on USB extension cables should cover the history of USB, future trends, and a detailed table of contents.
In conclusion, USB extension cables are a vital component for extending the reach of your USB devices. Understanding the various types, their performance characteristics, and the crucial factors to consider when making a purchase empowers you to make informed decisions. This guide has equipped you with the knowledge to select the ideal cable for your specific needs, ensuring a smooth and reliable connection.
With the right extension cable, you'll not only enhance your productivity but also unlock the full potential of your devices.
What are the different types of USB extension cables?
Common types include A to B, A to Micro-B, and USB-C to USB-C. Each type caters to different device connections, so it's important to match the connector types on your devices.
How do I troubleshoot a USB extension cable that isn't working?
First, check the connections on both ends. If that doesn't work, try a different USB port. If the problem persists, consider checking the cable for physical damage. A faulty cable will often lead to a lack of power delivery or data transfer.
What's the difference between USB 2.0 and USB 3.0 cables?
USB 3.0 cables offer faster data transfer speeds than USB 2.0 cables. This is a key consideration for applications that require rapid data transmission, such as transferring large files.
What materials are used in USB extension cables?
Common materials include PVC, nylon, and braided materials. The choice of material often impacts durability, cost, and the cable's overall performance.

SCHNAP Electrical Wholesaler - clear, upfront pricing that professional electricians trust

Get what you need in seconds. SCHNAP electrical wholesaler makes ordering quick and simple

Fast delivery anywhere - that's guaranteed. SCHNAP electrical wholesalers ship nationwide with same-day dispatch

Track your order every step of the way. SCHNAP electrical wholesale keeps you updated from click to delivery

SCHNAP is Australia's premier electrical wholesaler and electrical supplies, marketing thousands of quality products from leading brands. Trusted for nearly two decades by licensed electricians, contractors, and engineers, our range covers everything from basic electrical components to complex industrial electrical equipment
Our key categories include: LED lighting, designer switches, commercial switchboards, circuit protection, security systems & CCTV, and smart home automation
All products are certified to Australian standards (AS/NZS), backed by our 30-day, no-questions-asked return policy. Our expert technical team helps you quickly source the right solution for any residential, commercial, or industrial project, with daily dispatch from our Sydney electrical warehouse delivering Australia-wide
SCHNAP offers the most comprehensive electrical product range, with full technical specifications, application details, installation requirements, compliance standards, and warranties — giving professionals total confidence in every purchase


